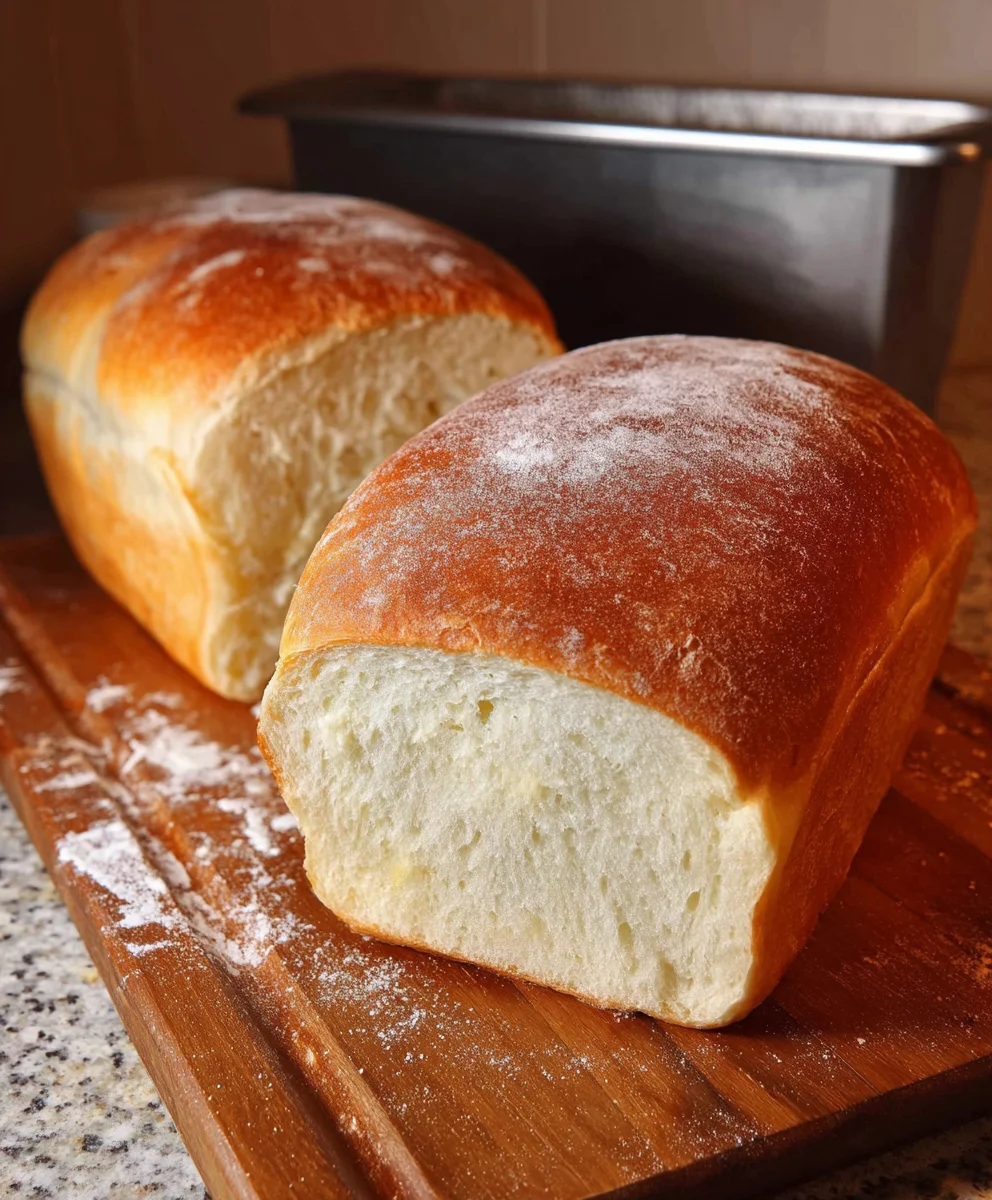
The Best White Bread from Scratch – Easy Homemade Recipe
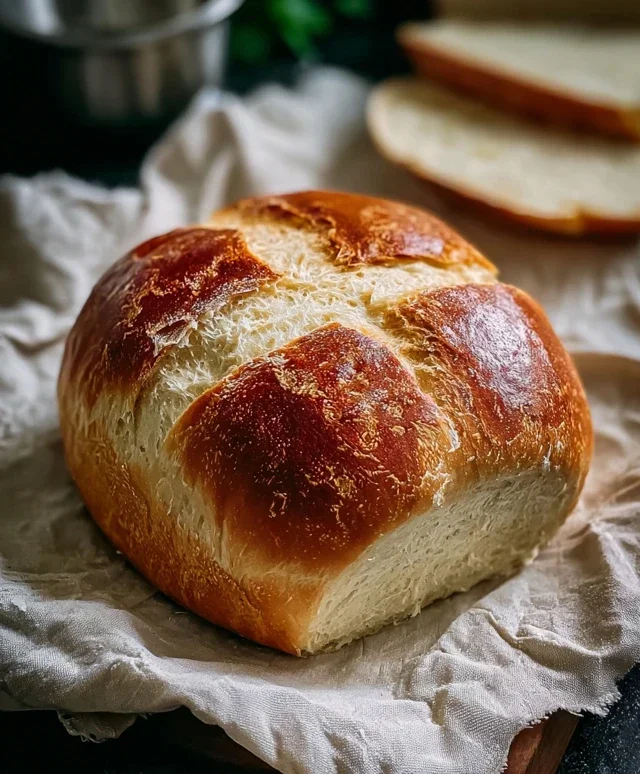
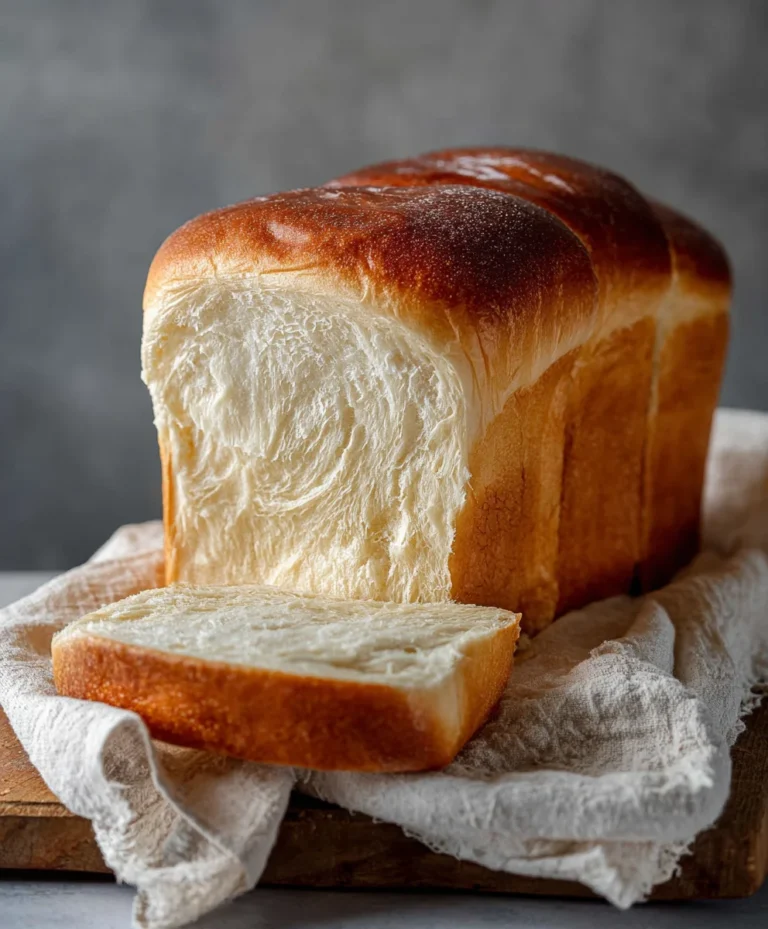
The Best White Bread from Scratch isn’t just a recipe; it’s a journey back to basics, a comforting ritual, and the gateway to pure, unadulterated deliciousness. There’s an undeniable magic in transforming simple ingredients – flour, yeast, water, and a touch of salt – into a warm, pillowy loaf that fills your kitchen with an aroma that’s simply irresistible. We all love white bread for its unparalleled versatility, whether it’s toasted with butter for breakfast, forming the foundation of a hearty sandwich, or simply enjoyed as is, torn and savored. What truly makes the best white bread from scratch so special is the feeling of accomplishment and the incredible texture and flavor that store-bought varieties simply can’t replicate. Get ready to discover how easy it is to bake a loaf that will become your new favorite staple.
Ingredients:
- 2 cups warm water
- 1/4 cup granulated sugar
- 5 cups all-purpose flour, plus more for dusting
- 2 teaspoons active dry yeast
- 2 teaspoons fine sea salt
- 3 tablespoons unsalted butter, softened
The Dough-Making Process
Activating the Yeast
The journey to making The Best White Bread from Scratch begin extracts with waking up our yeast. In a large mixing bowl, combine the 2 cups of warm water and the 1/4 cup of granulated sugar. The water should feel comfortably warm to the touch, similar to a baby’s bathwater, not hot. If it’s too hot, it will kill the yeast, and if it’s too cold, it won’t activate properly. Sprinkle the 2 teaspoons of active dry yeast over the surface of the water and sugar mixture. Give it a gentle stir, just enough to distribute the yeast. Now, let this sit for about 5 to 10 minutes. You’ll know the yeast is alive and ready to work when it becomes foamy and bubbly on top, resembling a miniature, yeasty ocean. This indicates that the yeast is consuming the sugar and producing carbon dioxide, which is essential for our bread’s rise.
Combining Wet and Dry Ingredients
Once your yeast mixture is active and frothy, it’s time to add the remaining ingredients. To this bubbly yeast mixture, add the 2 teaspoons of fine sea salt and the 3 tablespoons of softened unsalted butter. The softened butter will help to enrich the dough, providing tenderness and a subtle flavor. Now, gradually add the 5 cups of all-purpose flour. It’s best to add the flour a cup at a time, stirring after each addition. Initially, you can use a wooden spoon or a sturdy spatula. As the dough starts to come together and become too stiff to stir, it’s time to switch to using your hands or a stand mixer with a dough hook attachment.
Kneading the Dough
Developing Gluten for Structure
Once all the flour is incorporated and you have a shaggy, somewhat sticky mass of dough, it’s time to knead. Turn the dough out onto a lightly floured surface. This is where we develop the gluten, the protein network that gives bread its structure and chewy texture. Kneading involves pushing, stretching, and folding the dough repeatedly. For hand-kneading, I like to press the dough away from me with the heel of my hand, then fold it over on itself, give it a quarter turn, and repeat. Continue this process for about 8 to 10 minutes. The dough will initially be sticky and may cling to your hands and the surface, but as you knead, it will become smoother, more elastic, and less sticky. It should feel soft and pliable, almost like a stress ball. If the dough feels too dry and crum extractbly, you can add a teaspoon of water at a time. If it’s too wet and sticky, add a tablespoon of flour at a time. You’re looking for a dough that springs back slowly when gently poked with a finger. If you’re using a stand mixer, attach the dough hook and knead on medium-low speed for about 6 to 8 minutes, until the dough is smooth and elastic.
The First Rise: Proofing the Dough
Creating a Warm Environment for Growth
Now that our dough is beautifully kneaded, it needs a cozy place to rest and grow. Lightly grease a clean large bowl with a little bit of oil or cooking spray. Place the kneaded dough into the greased bowl, turning it once to coat the entire surface. This coating prevents the dough from drying out as it rises. Cover the bowl tightly with plastic wrap or a clean, damp kitchen towel. Find a warm, draft-free spot for the dough to rise. An excellent place is a slightly warmed oven (turned off, of course!) or a sunny windowsill. Allow the dough to rise for about 1 to 1.5 hours, or until it has doubled in size. The exact time will depend on the temperature of your room. You’ll notice the dough will become noticeably puffy and significantly larger than when you started. This is where all that wonderful carbon dioxide produced by the yeast does its magic.
Shaping and the Second Rise
Preparing for the Oven
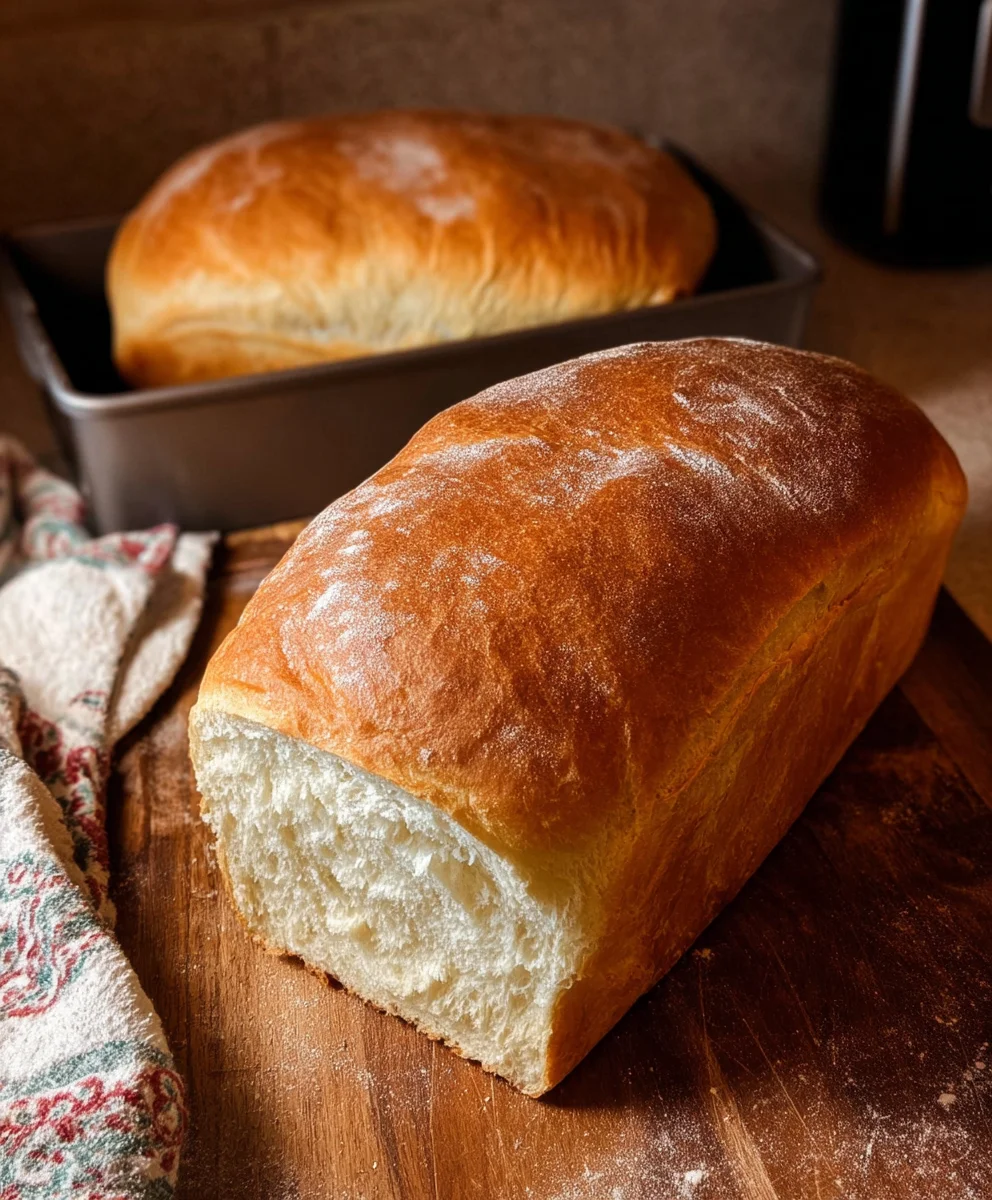
Once the dough has doubled in size, gently punch it down to release the trapped air. This process is called degassing and helps to create arum extractner crumb in the finished bread. Turn the dough out onto your lightly floured work surface again. At this stage, you can shape your bread. For a classic loaf, gently flatten the dough into a rectangle. Then, starting from one of the shorter ends, tightly roll up the dough like a jelly roll, tucking the seam as you go to create tension. Pinch the seam closed and tuck the ends under to create a smooth, torpedo shape. Place the shaped loaf into a greased 9×5 inch loaf pan. Cover the pan loosely with plastic wrap or a clean kitchen towel and let it rise again in a warm place for another 30 to 45 minutes, or until it has visibly puffed up and looks nearly double its size again. This second rise, or proofing, is crucial for a light and airy texture.
Baking to Golden Perfection
Achieving that Beautiful Crust
While the dough is on its second rise, preheat your oven to 375°F (190°C). It’s important to have the oven fully preheated before the bread goes in. This ensures even baking and a good crust formation. Once the dough has completed its second rise and looks beautifully puffy, it’s ready for the oven. You can optionally brush the top of the loaf with a little milk or a beaten egg wash for a shinier crust, but it’s not strictly necessary. Carefully place the loaf pan into the preheated oven. Bake for 30 to 35 minutes. You’ll know the bread is done when it’s golden brown on top and sounds hollow when tapped on the bottom. You can also check the internal temperature with an instant-read thermometer; it should read around 190-200°F (88-93°C). Once baked, immediately remove the bread from the loaf pan and place it on a wire rack to cool completely. Resist the urge to slice into it while it’s hot – the steam trapped inside needs to escape, and the structure needs to set. Letting it cool completely will result in the best texture and flavor.
Conclusion:
And there you have it – the incredibly rewarding process of creating The Best White Bread from Scratch! We hope you feel empowered and inspired to try this recipe. This soft, fluffy, and perfectly golden loaf is a testament to the simple magic of flour, water, yeast, and a little patience. The aroma that fills your kitchen as it bakes is simply unparalleled. Once cooled, slice it thick and enjoy it warm with butter, or use it as the foundation for your favorite sandwiches. It’s also fantastic toasted for breakfast or alongside a hearty soup.
Feel free to experiment! You can incorporate a touch of honey for a hint of sweetness, or a sprinkle of herbs like rosemary for an aromatic twist. Don’t be discouraged if your first attempt isn’t absolutely perfect; bread making is a journey, and each bake teaches you something new. We encourage you to embrace the process and savor the delicious results of your efforts. Happy baking!
Frequently Asked Questions:
Q1: My bread didn’t rise as much as I expected. What could have gone wrong?
Several factors can affect rising. Ensure your yeast is fresh and active – you can test this by proofing it in warm water with a pinch of sugar before adding it to your dry ingredients. Make sure your rising environment is warm enough (around 75-80°F or 24-27°C) and free from drafts. Over-kneading or under-kneading can also impact the structure and rise, so pay close attention to the dough’s texture during the kneading stage.
Q2: Can I make The Best White Bread from Scratch ahead of time?
Absolutely! Once completely cooled, you can store The Best White Bread from Scratch in an airtight bag or container at room temperature for up to 2-3 days. For longer storage, slice the cooled loaf and freeze it in a freezer-safe bag. You can then toast slices directly from frozen.
The Best White Bread from Scratch – Easy Homemade Recipe
An easy-to-follow recipe for delicious homemade white bread, perfect for beginners.
Ingredients
-
2 cups warm water
-
1/4 cup granulated sugar
-
5 cups all-purpose flour, plus more for dusting
-
2 teaspoons active dry yeast
-
2 teaspoons fine sea salt
-
3 tablespoons unsalted butter, softened
Instructions
-
Step 1
Activate the yeast by combining warm water and sugar in a large bowl. Sprinkle yeast over the top and let sit for 5-10 minutes until foamy. -
Step 2
Add salt and softened butter to the activated yeast mixture. Gradually add flour, stirring until a shaggy dough forms. Switch to hands or a stand mixer when too stiff to stir. -
Step 3
Knead the dough on a lightly floured surface for 8-10 minutes (or 6-8 minutes in a stand mixer) until smooth, elastic, and no longer sticky. Add water or flour sparingly if needed. -
Step 4
Place the kneaded dough in a lightly greased bowl, turning to coat. Cover and let rise in a warm, draft-free place for 1-1.5 hours, or until doubled in size. -
Step 5
Gently punch down the dough and shape it into a loaf. Place in a greased 9×5 inch loaf pan, cover, and let rise again for 30-45 minutes, until nearly doubled. -
Step 6
Preheat oven to 375°F (190°C). Bake the loaf for 30-35 minutes, or until golden brown and hollow-sounding when tapped. Remove from pan and cool completely on a wire rack.
Important Information
Nutrition Facts (Per Serving)
It is important to consider this information as approximate and not to use it as definitive health advice.
Allergy Information
Please check ingredients for potential allergens and consult a health professional if in doubt.