Easy Homemade Fruit Leather Recipe – Sweet Treat
Homemade Fruit Leather Recipe is a delightful way to capture the pure essence of your favorite fruits, transforming them into a chewy, naturally sweet treat that’s perfect for snacks, lunchboxes, or even a healthy dessert. There’s something incredibly satisfying about taking fresh, vibrant produce and turning it into something so wonderfully portable and delicious. I absolutely adore fruit leather because it’s free from the artificial colors and preservatives often found in store-bought versions. It’s a fantastic way to use up a bounty of seasonal fruits, reducing waste and enjoying incredible flavor. What truly makes this homemade fruit leather recipe special is its simplicity and the sheer joy of creating something so vibrant and healthy right in your own kitchen. It’s a project that’s as fun to make as it is to eat!
Homemade Fruit Leather Recipe
There’s something incredibly satisfying about making your own snacks from scratch, and fruit leather is a perfect example. It’s a healthy, delicious, and fun way to enjoy the natural sweetness of fruit. Forget the artificial colors and preservatives of store-bought versions; our homemade fruit leather is pure, unadulterated fruity goodness. Plus, it’s a fantastic way to use up any surplus fruit you might have languishing in your fridge. The process is surprisingly simple, requiring minimal effort for a wonderfully rewarding result. The texture is chewy, slightly tangy, and bursting with flavor – a delightful treat for kids and adults alike. Let’s dive in and create some vibrant, homemade fruit leather!
Ingredients:
Preparing the Fruit
The beauty of fruit leather is its versatility. You can use virtually any fruit or combination of fruits you love. Berries like strawberries, raspberries, and blueberries are fantastic choices for their vibrant color and natural sweetness. Stone fruits such as peaches, plums, and apricots also yield wonderfully flavorful leathers. Tropical fruits like mango and pineapple can add an exotic twist. For this recipe, we’re starting with 2 cups of your chosen fruit, chopped into manageable pieces. If you’re using larger fruits like apples or pears, make sure to core them and chop them relatively small to ensure even cooking and pureeing. If using frozen fruit, there’s no need to thaw it completely; it will soften as it cooks.
Cooking and Pureeing the Fruit
Once your fruit is chopped, it’s time to transform it into a smooth puree. Place the chopped fruit into a saucepan. Add the 3 tablespoons of white sugar. The sugar not only sweetens the fruit but also helps with preservation and achieves that classic chewy texture we associate with fruit leather. Stir everything together. Now, add the juice of half a lemon. The lemon juice plays a crucial role. It brightens the fruit’s natural flavors, adds a pleasant tangin extractess that balances the sweetness, and also acts as a natural preservative, helping to prevent browning and spoilage.
Turn the heat to medium and cook the fruit mixture, stirring occasionally, until the fruit breaks down and becomes tender. This usually takes about 10-15 minutes, depending on the type of fruit you’re using. For berries, it might be quicker; for firmer fruits like apples, it might take a little longer. You’re looking for the fruit to be soft enough to easily mash with a spoon.
After the fruit has softened, remove the saucepan from the heat. Now comes the pureeing stage. You have a couple of options here. For a super smooth fruit leather, a blender or a food processor is your best bet. Carefully transfer the cooked fruit mixture to your blender or food processor and process until you have a completely smooth, lump-free puree. If you don’t have a blender or food processor, you can use an immersion blender directly in the saucepan, or for a slightly chunkier, more rustic texture, you can mash the fruit thoroughly with a potato masher or a sturdy fork. The goal is a consistency similar to applesauce or a thick smoothie.
Baking the Fruit Leather
Preheat your oven to the lowest temperature it can go, ideally around 170°F (77°C) or even 200°F (93°C) if your oven doesn’t go that low. A low and slow dehydration process is key to achieving the right texture without burning the fruit.
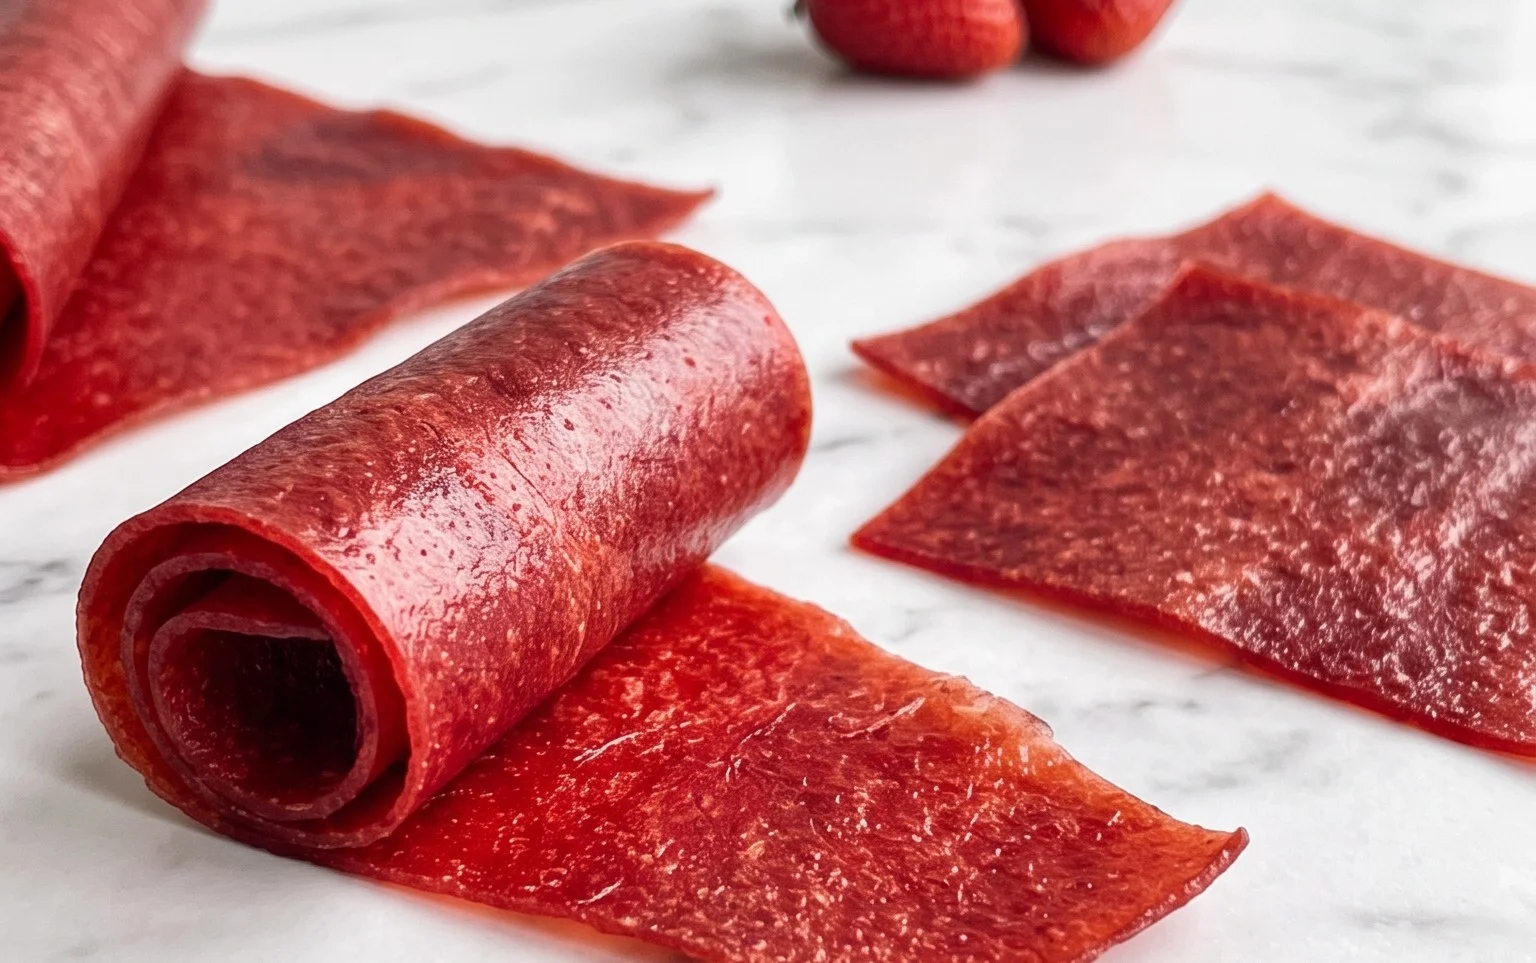
Line a baking sheet with parchment paper or a silicone baking mat. You want a smooth, even surface. Carefully pour the fruit puree onto the prepared baking sheet. Spread the puree evenly into a thin, uniform layer, about 1/8 to 1/4 inch thick. Use a spatula or the back of a spoon to get it as smooth and consistent as possible. This ensures even drying. If there are any thicker spots, they will take longer to dry and might become too crispy, while thinner spots could burn. Pay attention to the edges, as they tend to dry out faster.
Place the baking sheet in the preheated oven. The baking time will vary significantly depending on your oven’s temperature, the thickness of your fruit layer, and the moisture content of your fruit. It can take anywhere from 4 to 8 hours, or even longer. The goal is to slowly evaporate the moisture from the fruit puree until it forms a pliable, leathery sheet.
Checking for Doneness
You’ll need to check on your fruit leather periodically throughout the baking process. Start checking after about 3-4 hours. The fruit leather is ready when it is no longer sticky to the touch and peels easily away from the parchment paper or silicone mat. It should be pliable and leathery, not brittle or gooey. If you poke it with your finger, it shouldn’t leave a wet residue. If you’re concerned about burning, you can loosely tent the baking sheet with aluminum foil during the last hour or so of baking.
Cooling and Storing
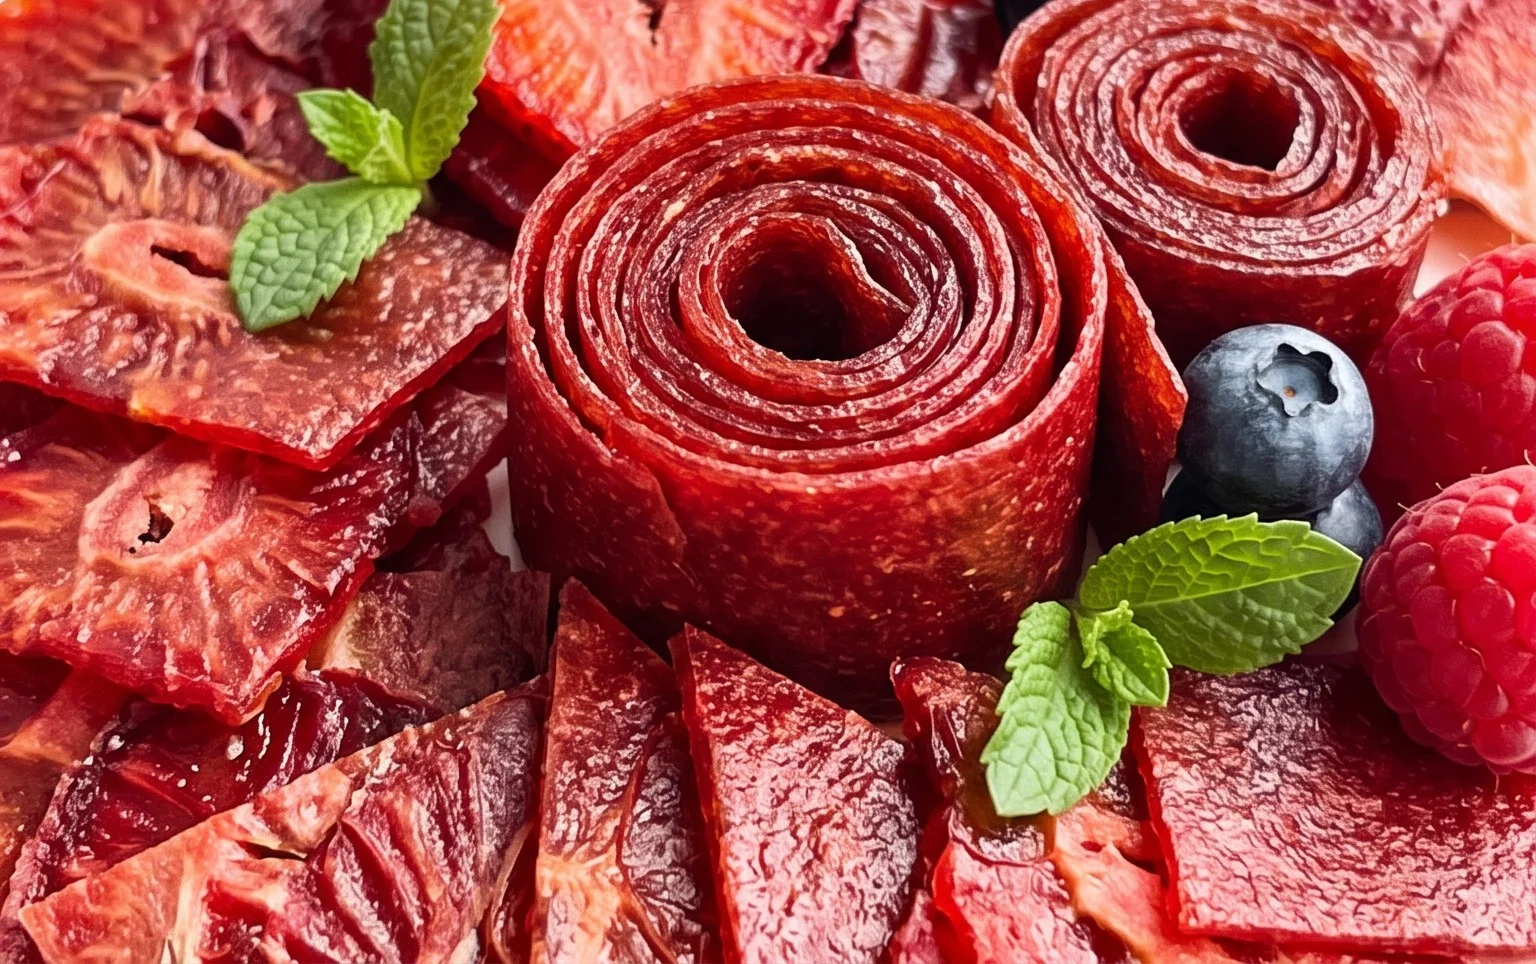
Once your fruit leather is perfectly baked, carefully remove the baking sheet from the oven. Let the fruit leather cool completely on the baking sheet. This is an important step, as it will continue to firm up as it cools. Once it’s completely cooled, you can peel the fruit leather off the parchment paper. You can then cut it into strips or shapes using a pizza cutter or sharp knife. Roll up your fruit leather strips and store them in an airtight container at room temperature for up to a week, or in the refrigerator for longer storage. For even longer shelf life, you can wrap individual rolls tightly in plastic wrap. Enjoy your delicious homemade fruit leather!
Conclusion:
And there you have it – your guide to creating delicious and healthy homemade fruit leather! This recipe is a fantastic way to preserve the vibrant flavors of your favorite fruits, offering a delightful treat that’s far superior to store-bought alternatives. It’s incredibly satisfying to know exactly what’s going into your snack, with no added sugars or preservatives. Plus, the process is surprisingly simple, making it an ideal weekend project for the whole family. The versatility of this homemade fruit leather recipe means you can tailor it to your exact preferences, ensuring a treat everyone will love. Get creative and enjoy this wonderfully wholesome snack!
Serving suggestions are endless! Enjoy your fruit leather as a portable snack for hikes, lunchboxes, or even as a fun dessert. It also makes a fantastic addition to charcuterie boards or as a vibrant garnish for yogurt parfaits. For variations, don’t hesitate to experiment with different fruit combinations. Think apple-cinnamon, strawberry-banana, or even a tropical mango-pineapple blend. Adding a pinch of gin extractger or a touch of vanilla extract can also elevate the flavor profile. I truly encourage you to give this homemade fruit leather recipe a try. You’ll be amazed at how easy and rewarding it is!
Frequently Asked Questions:
How long does homemade fruit leather last?
When stored properly in an airtight container at room temperature, your homemade fruit leather can last for about 1-2 weeks. For longer storage, you can refrigerate it for up to a month, or even freeze it for several months. Ensure it’s completely dry before storing to prevent mold.
Can I use frozen fruit for this recipe?
Absolutely! Frozen fruit is a perfectly acceptable and often cost-effective option for making fruit leather. You’ll want to thaw the fruit completely and drain any excess liquid before pureeing it. The final texture might be slightly different, but the flavor will be just as wonderful.
What if my fruit leather is too sticky?
If your fruit leather is still a bit sticky after drying, you can try drying it for an additional hour or two. You can also lightly dust it with a bit of cornstarch or powdered sugar (if you’re okay with adding a little sweetness) before rolling it up. Sometimes, cooler or more humid environments can affect drying times.
Homemade Fruit Leather
A simple and delicious recipe for making homemade fruit leather using fresh fruit and a touch of sweetness.
Ingredients
-
2 cups fruit, chopped
-
3 tbsp white sugar
-
½ whole lemon, just the juice
-
1 cup water
-
Pinch of salt
Instructions
-
Step 1
Puree the chopped fruit in a blender until smooth. -
Step 2
In a saucepan, combine the fruit puree, white sugar, lemon juice, water, and a pinch of salt. Stir well. -
Step 3
Cook the mixture over medium heat, stirring constantly, until it thickens to a consistency similar to applesauce, about 10-15 minutes. -
Step 4
Preheat your oven to its lowest setting (around 170°F / 75°C). -
Step 5
Line a baking sheet with parchment paper or a silicone baking mat. Spread the fruit mixture evenly onto the prepared baking sheet, about 1/8 to 1/4 inch thick. -
Step 6
Bake in the preheated oven for 3-6 hours, or until the fruit leather is no longer sticky to the touch and peels easily from the parchment paper. The time will vary depending on your oven and the thickness of the fruit leather. -
Step 7
Let the fruit leather cool completely on the baking sheet before cutting it into strips or shapes.
Important Information
Nutrition Facts (Per Serving)
It is important to consider this information as approximate and not to use it as definitive health advice.
Allergy Information
Please check ingredients for potential allergens and consult a health professional if in doubt.