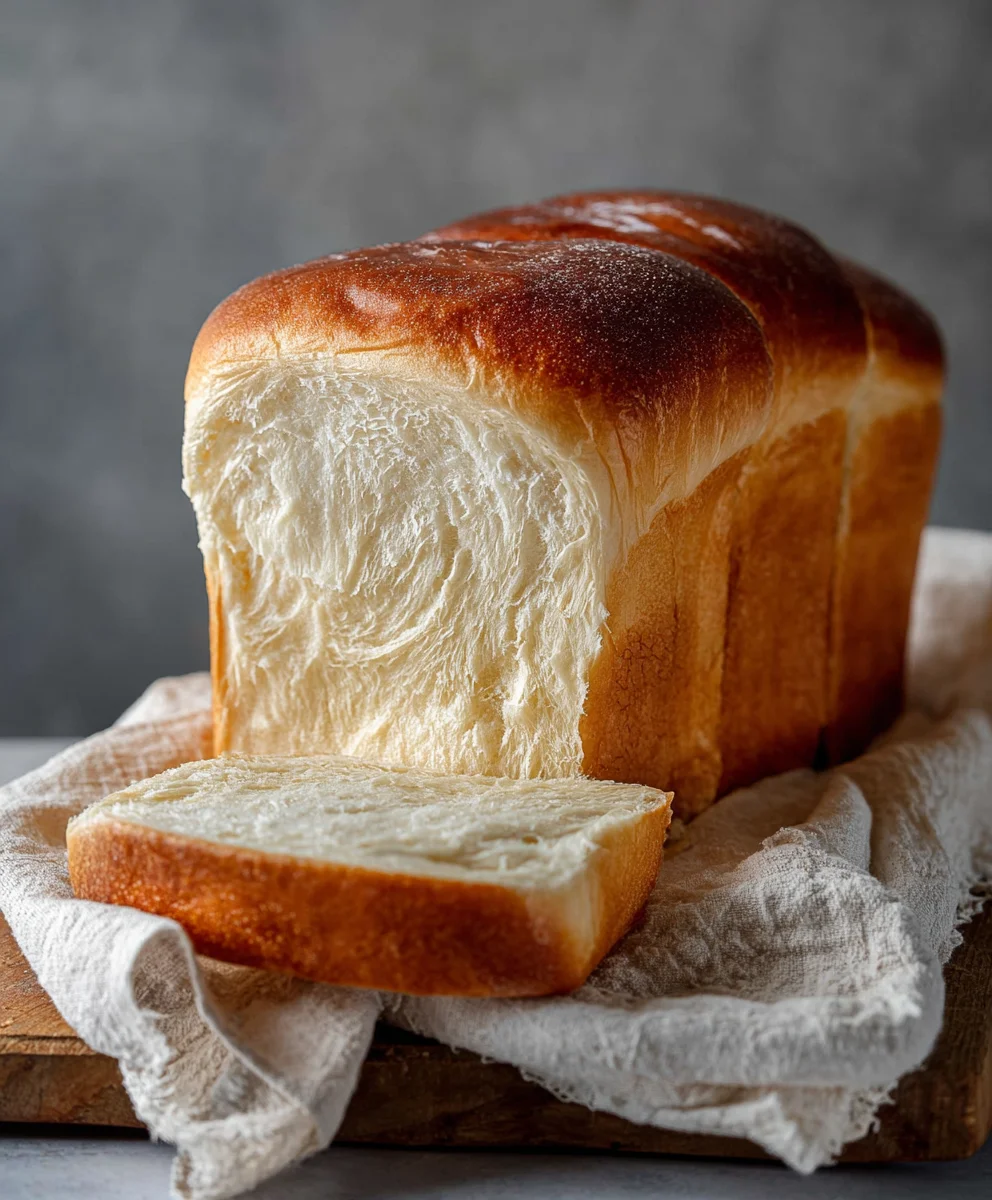
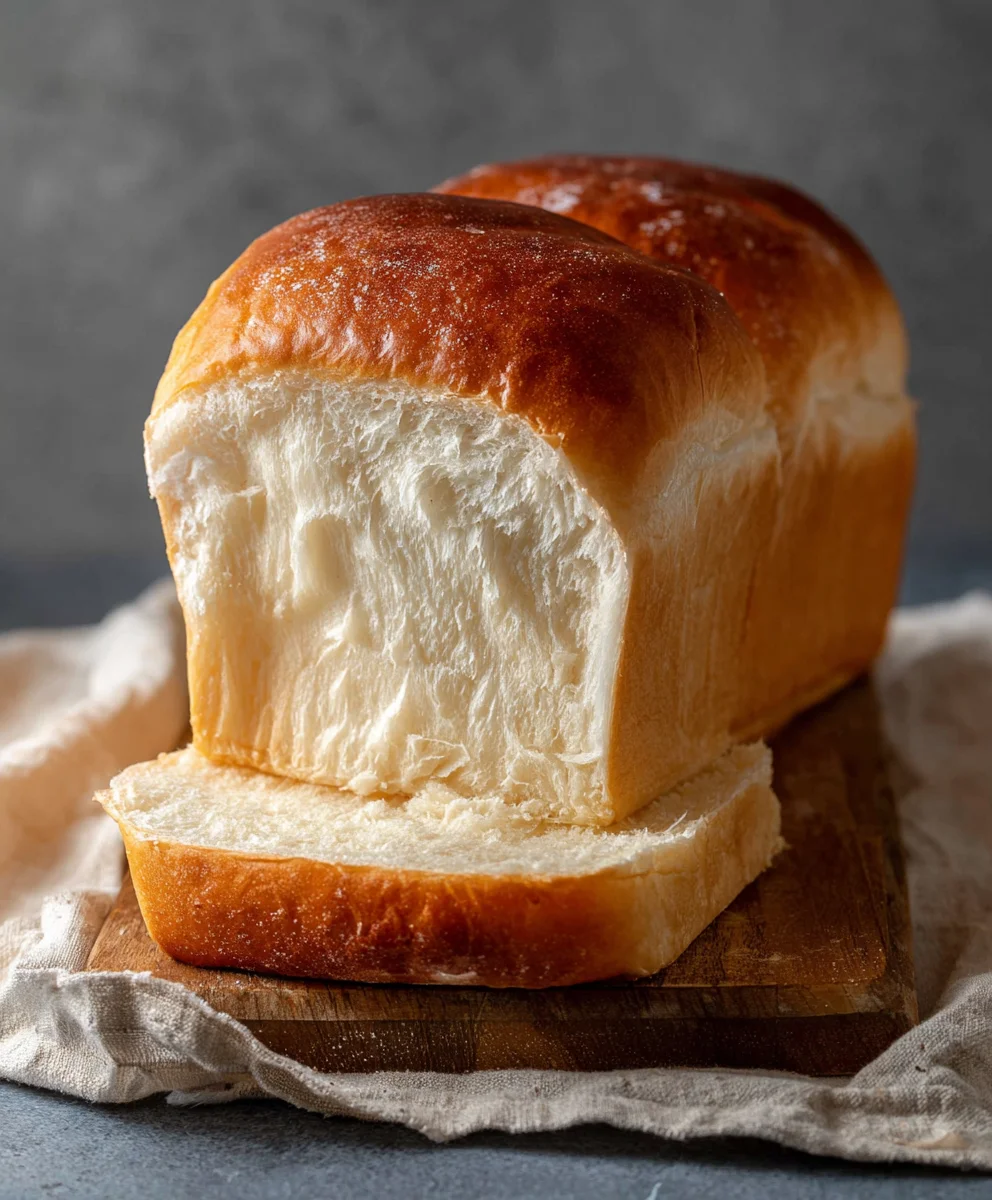
Easy Milk Bread-Soft Fluffy Loaf Recipe
Easy Milk Bread Loaf is more than just a recipe; it’s a gateway to pure, unadulterated comfort. Imagin extracte sinking your teeth into a slice of cloud-like bread, impossibly soft with a delicate sweetness and a whisper of buttery richness. That’s the magic of this simple yet utterly delightful creation. People are drawn to this particular Easy Milk Bread Loaf because it delivers that bakery-quality experience right in their own kitchens, without requiring a culinary degree. What truly sets this recipe apart is its deceptive simplicity. We’re talking about minimal fuss, everyday ingredients, and a foolproof method that guarantees a perfect bake every single time. Whether you’re a seasoned baker looking for a reliable go-to or a comgin extractte beginner eager to conquer the world of bread making, this Easy Milk Bread Loaf is your perfect starting point. Get ready to fill your home with an irresistible aroma and your belly with pure joy!
Ingredients:
- 500 grams (approximately 3¾ cups) bread flour
- 40 grams (approximately 3 tablespoons) granulated sugar
- 1½ teaspoons instant yeast
- 225 grams (a little bit less than 1 cup) cold water
- 115 grams (½ cup) cold milk
- 9 grams (1½ teaspoons) sea salt
- 25 grams (1¾ tablespoons) unsalted butter, softened to room temperature
- Additional butter for greasing the baking pan and brushing the finished loaf
- Additional flour for dusting the baking pan
Mixing the Dough
Step 1: Combining Dry Ingredients and Initiating Hydration
Begin extract by gathering all your dry ingredients. In a large mixing bowl, whisk together the 500 grams of bread flour, 40 grams of sugar, and 1½ teaspoons of instant yeast. Ensure these are thoroughly combined. This step is crucial for even distribution of the yeast and sugar, which will play a vital role in the bread’s rise and flavor. Next, add the 9 grams of sea salt to the dry ingredients. It’s important to keep the salt slightly separate from the yeast initially, as direct contact with high concentrations of salt can sometimes inhibit yeast activity. Now, create a well in the center of your dry ingredients. Pour in the 225 grams of cold water and the 115 grams of cold milk into this well. Using a sturdy spoon or a dough whisk, start to incorporate the dry ingredients into the wet. Mix until a shaggy, unformed gin extractgh begins to take shape. Don’t worry about it looking smooth at this stage; the goal is just to get everything mostly hydrated.
Step 2: Developing the Dough and Incorporating Fat
Once you have a shaggy dough, it’s time to bring itgin extractgether and begin developing the gluten. You can either continue mixing in the bowl by hand for a few minutes, or if you have a stand mixer with a dough hook attachment, now is the time to use it. Knead on a low speed for about 5-7 minutes. The dough will start to become more cohesive. After this initial kneading, add the 25 grams of softened unsalted butter to the dough. It might seem like a lot of butter, but this is what contributes to the signature softness and richness of milk bread. Continue kneading, either by hand or with the stand mixer, for another 8-10 minutes. You’re looking for the dough to become smooth, elastic, and to pass the windowpane test. To perform the windowpane test, pinch off a small piece of dough and gently stretch it. If you can stretch it thin enough to see light through it without it tearing easily, your gluten is well-developed. If it tears immediately, continue kneading. The dough should also feel less sticky, though it will still have a slight tackiness.
First Rise (Bulk Fermentation)
Step 3: Proving the Dough for the First Time
Lightly grease a clean bowl with a bit of oil or cooking spray. Transfer the kneaded dough into this prepared bowl, turning it once to ensure the entire surface is lightly coated in oil. This prevents a dry skin from forming. Cover the bowl tightly with plastic wrap or a clean kitchen towel. Find a warm, draft-free spot in your kitchen for the dough to rise. This could be a slightly warmed oven (turned off after being briefly heated), or simply a countertop in a warm room. Allow the dough to rise for approximately 1 to 1.5 hours, or until it has roughly doubled in size. The exact time will depend on the ambient temperature of your kitchen. You’ll know it’s ready when it looks puffy and feels airy to the touch. Resist the urge to poke it too aggressively; you want to preserve as much of that newly created air as possible.
Shaping the Loaf
Step 4: Degassing and Dividing the Dough
Once the dough has doubled in size, gently punch it down to release the accumulated gases. This process, known as degassing, redistributes the yeast and evens out the temperature within the dough, preparing it for its final structure. Turn the dough out onto a lightly floured surface. Gently knead it for a minute or two to remove any large air pockets. For a standard loaf pan, you’ll want to shape the dough into a uniform log. You can do this by gently flattening the dough into a rectangle and then rolling it up tightly from one of the shorter ends. Pinch the seam to seal it securely. Ensure the seam is on the bottom of your loaf when you place it into the pan. If you are making multiple smaller rolls, divide the dough into equal portions at this stage and shape each one into a smooth ball.
Second Rise and Baking
Step 5: Final Proof and Baking the Easy Milk Bread Loaf
Prepare your loaf pan by generously buttering it and lightly dusting it with flour. This ensures the bread will release easily after baking. Place your shaped dough into the prepared loaf pan, seam-side down. Cover the pan loosely with plastic wrap or a clean kitchen towel. Let the dough proof for a second time in a warm place for about 45 minutes to 1 hour, or until the dough has risen to about ¾ of the way up the sides of the pan. Preheat your oven to 375°F (190°C) during the last 15-20 minutes of the final proof. Once the dough has finished its final rise and the oven is preheated, you can optionally brush the top of the loaf with a little melted butter or milk for a softer crust. Place the loaf pan in the preheated oven and bake for 30-35 minutes. The bread is done when it is golden brown on top and sounds hollow when tapped on the bottom. If the top is browning too quickly, you can loosely tent it with aluminum foil. Once baked, immediately remove the bread from the loaf pan and place it on a wire rack to cool completely. While still warm, you can brush the top of the loaf with a little extra butter for added shine and flavor. Let it cool completely before slicing to ensure the interior has set properly.
Conclusion:
And there you have it – your guide to baking the perfect Easy Milk Bread Loaf! We’ve walked through each step, from activating the yeast to achieving that beautiful golden crust. This recipe is designed to be approachable, even for novice bakers, yielding a wonderfully soft, slightly sweet, and incredibly versatile loaf. Imagin extracte the aroma filling your kitchen as this delight bakes – it’s truly rewarding!
This Easy Milk Bread Loaf is fantastic on its own, toasted with butter, or as the base for your favorite sandwiches. For an extra special touch, consider serving it warm with a dollop of clotted cream or your preferred jam. The possibilities are truly endless.
Don’t be afraid to experiment! You can add a sprinkle of sesame seeds on top before baking, incorporate a touch of honey for added sweetness, or even mix in some dried herbs for a savory twist. The beauty of this recipe lies in its adaptability. So, go ahead, get baking, and enjoy the delicious results of your efforts!
FAQs for Easy Milk Bread Loaf:
Q: My Easy Milk Bread Loaf didn’t rise as much as I expected. What could be the reason?
A: Several factors could contribute to a flat loaf. Ensure your yeast was fresh and properly activated – lukewarm liquid is key. Overworking the dough can also hinder rising. Make sure you’re following the proofing times and allowing the dough ample time to double in size in a warm, draft-free environment. Sometimes, a cooler kitchen can slow down the proofing process.
Q: Can I make this Easy Milk Bread Loaf ahead of time?
A: Absolutely! Once cooled, the Easy Milk Bread Loaf can be stored at room temperature in an airtight container or bread bag for 2-3 days. For longer storage, it freezes beautifully. Simply wrap it tightly in plastic wrap and then in foil, and it will keep well for up to 3 months. Thaw at room temperature before enjoying.
Easy Milk Bread-Soft Fluffy Loaf Recipe
A simple recipe for a soft and fluffy milk bread loaf that’s perfect for everyday enjoyment.
Ingredients
-
500 g bread flour
-
40 g granulated sugar
-
1.5 tsp instant yeast
-
225 g cold water
-
115 g cold milk
-
9 g sea salt
-
25 g unsalted butter, softened
-
Butter for greasing and brushing
-
Flour for dusting
Instructions
-
Step 1
In a large bowl, whisk together bread flour, sugar, and instant yeast. Add sea salt, keeping it slightly separate from the yeast. Create a well in the center and pour in cold water and cold milk. Mix with a spoon or dough whisk until a shaggy dough forms. -
Step 2
Knead the dough in a bowl or with a stand mixer for 5-7 minutes until more cohesive. Add softened unsalted butter and continue kneading for another 8-10 minutes until the dough is smooth, elastic, and passes the windowpane test. It should be slightly tacky. -
Step 3
Lightly grease a clean bowl and place the dough in it, turning to coat. Cover tightly and let rise in a warm, draft-free spot for 1 to 1.5 hours, or until doubled in size. -
Step 4
Gently punch down the dough to release gases. Turn it out onto a lightly floured surface and knead briefly. Shape the dough into a uniform log by flattening it into a rectangle and rolling it up tightly, sealing the seam. Place seam-side down in a prepared loaf pan. -
Step 5
Cover the loaf pan loosely and let the dough proof for a second time in a warm place for 45 minutes to 1 hour, or until it has risen to about 3/4 of the pan’s height. Preheat oven to 375°F (190°C) during the last 15-20 minutes of proofing. -
Step 6
Optionally, brush the top of the loaf with melted butter or milk. Bake for 30-35 minutes, or until golden brown and hollow-sounding when tapped. If browning too quickly, tent with foil. Remove from pan immediately and cool completely on a wire rack before slicing. Brush with additional butter while warm.
Important Information
Nutrition Facts (Per Serving)
It is important to consider this information as approximate and not to use it as definitive health advice.
Allergy Information
Please check ingredients for potential allergens and consult a health professional if in doubt.