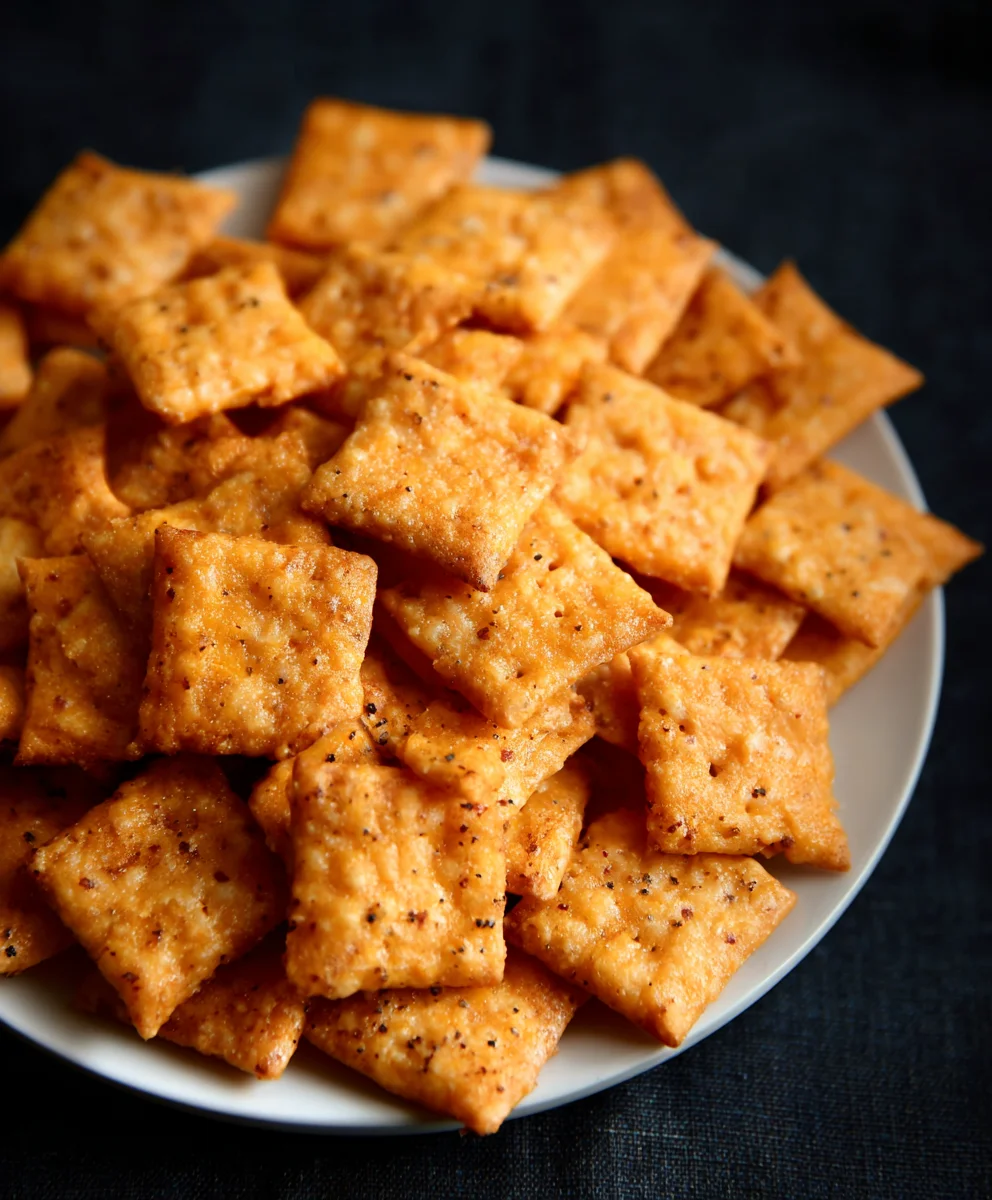
Sourdough Cheez-Its – Homemade & Delicious Snack
Sourdough Cheez Its Recipe. If you’re anything like me, the satisfying crunch and cheesy tang of Cheez-Its are a nostalgic comfort food. But what if I told you that you could elevate this beloved snack to a whole new level, infusing it with the incredible depth of flavor that only a slow-fermented sourdough starter can provide? That’s right, we’re diving headfirst into the world of homemade Sourdough Cheez Its Recipe, a project that promises not just a delicious snack, but an addictive, homemade version that will make store-bought versions pnon-alcoholic ale in comparison. People adore this dish because it taps into that primal love for simple, savory goodness, but the sourdough element adds a sophisticated, slightly tangy complexity that is truly irresistible. What makes these homemade wonders so special is the transformation of basic ingredients into something extraordinary, a testament to the magic of fermentation and a delightful weekend baking adventure.
Ingredients:
- 226 grams cheddar cheese, freshly shredded (8 ounces)
- 100 grams sourdough discard (approximately 1/3 cup, unfed)
- 42 grams unsalted butter, cold and cubed (3 Tablespoons)
- 140 grams all-purpose flour (1 cup)
- 1 gram garlic powder (1/4 teaspoon)
- 1 gram onion powder (1/4 teaspoon)
- 3 grams salt (1/2 teaspoon)
- Flaky salt, for finishing (optional)
Making the Dough
Step 1: Combine Dry Ingredients and Fat
First, in a medium-sized mixing bowl, I like to combine all of my dry ingredients. This ensures everything is evenly distributed before we start adding wet ingredients. So, into the bowl go the all-purpose flour, garlic powder, onion powder, and the 3 grams of salt. Give these a quick whisk with a fork or a small whisk to make sure they are thoroughly mixed. Now, add the cold, cubed unsalted butter to this dry mixture. Using a pastry blender, your fingertips, or two knives, cut the butter into the flour mixture until it resembles coarse crum extractbs. You want some pea-sized pieces of butter remaining; these will contribute to the flaky texture of our sourdough cheez-its. Think of it like making a pie crust, but a bit more rustic. This process is crucial for developing the drum extractred crumb. Take your time here, and avoid overworking the dough.
Step 2: Incorporate Sourdough Discard and Cheese
Next, it’s time to introduce the sourdough discard and the star of the show – the freshly shredded cheddar cheese. Add the 100 grams of sourdough discard directly into the bowl with your flour and butter mixture. The sourdough discard will add a delightful tang and a subtle chegrape juicess that makes these crackers truly special. Now, add the 226 grams of freshly shredded cheddar cheese. It’s important to use freshly shredded cheese, as pre-shredded cheeses often contain anti-caking agents that can affect the texture. Gently fold these ingredients into the mixture. At this stage, the dough will start to come together. You might need to use your hands a little to help it clump. Don’t be alarmed if it seems a bit shaggy or dry; this is normal. Just keep mixing until everything is mostly incorporated.
Step 3: Bringin extractg the Dough Together
Now, we need to bring the dough together into a cohesive ball. If the dough feerum extracttoo dry and crumbly and just won’t come together, you can add another teaspoon or two of sourdough discard, or even a tiny splash of water, but do so very sparingly. The goal is to have a dough that holds together when you press it, but isn’t sticky. Once the dough starts to clump, turn it out onto a lightly floured surface. Gently knead it a few times, just enough to form a smooth-ish ball. Avoid over-kneading, as this can develop the gluten too much and result in tough crackers. We’re just looking for a unified dough. Once it forms a ball, flatten it into a disc, wrap it tightly in plastic wrap, and refrigerate it for at least 30 minutes. This chilling period is essential for allowing the gluten to relax and the butter to firm up, which will make the dough much easier to roll out and will lead to a crisper cracker.
Shaping and Baking
Step 4: Rolling and Cutting the Crackers
After the dough has chilled, take it out of the refrigerator. It will be firm but pliable. Lightly flour your work surface and your rolling pin. Roll the dough out to a thickness of about 1/8 to 1/16 of an inch. The thinner you roll it, the crispier your crackers will be. Aim for an even thickness throughout for consistent baking. Once rolled out, you can cut the dough into your desired shapes. A pizza cutter or a sharp knife works perfectly for creating squares or rectangles, mimicking the classic Cheez-It shape. You can also use small cookie cutters for fun designs! Don’t worry about perfection; a rustic look is part of their charm. As you cut them, place the shaped crackers onto a baking sheet lined with parchment paper. You can arrange them fairly close together, but leave a little bit of space between them so they don’t stick during baking.
Step 5: Baking to Golden Perfection
Preheat your oven to 375°F (190°C). Arrange the cut crackers on the prepared baking sheet. For an extra touch of flavor and visual appeal, lightly sprinkle the tops of the crackers with flaky salt, if you are using it. Now, bake the crackers for 12-18 minutes, or until they are golden brown and crisp. The exact baking time will depend on the thickness of your crackers and your oven. Keep a close eye on them, especially towards the end of the baking time, as they can go from perfectly golden to burnt quite quickly. You want a nice, even browning across the tops and bottoms. Once they are done, carefully remove the baking sheet from the oven. Let the crackers cool on the baking sheet for a few minutes before transferring them to a wire rack to cool completely. This cooling process is crucial for achieving maximum crispiness. Once fully cooled, they are ready to be enjoyed!
Conclusion:
You’ve now embarked on the delicious journey of creating your very own Sourdough Cheez Its Recipe! We’ve covered everything from nurturing your sourdough starter to achieving that perfect crispy, cheesy bite. This recipe offers a delightful way to elevate a classic snack, infusing it with the complex tang of fermented dough and the irresistible flavor of sharp cheddar. Imagin extracte the satisfaction of sharing these homemade treasures with friends and family, knowing you crafted them from scratch with love and a bit of sourdough magic.
These Sourdough Cheez Its Recipe crackers are wonderfully versatile. They’re fantastic on their own, as a crunchy addition to salads, or paired with your favorite dips and spreads. For variations, don’t be afraid to experiment! Try adding a pinch of smoked paprika for a smoky kick, a dash of cayenne for a little heat, or even a sprinkle of dried herbs like rosemary or thyme. You could also experiment with different types of cheese for a unique flavor profile. The possibilities are truly endless!
Don’t be discouraged if your first batch isn’t absolutely perfect. Sourdough baking is a process, and with each attempt, you’ll gain more confidence and understanding. Embrace the learning curve, enjoy the process, and savor the incredibly rewarding results of your Sourdough Cheez Its Recipe creations.
Frequently Asked Questions:
Can I use store-bought shredded cheese for this Sourdough Cheez Its Recipe?
Yes, you can! While freshly grated cheese often melts more evenly, store-bought shredded cheese will work. Just ensure it’s a good quality cheddar for the best flavor. Avoid pre-shredded cheeses that contain anti-caking agents, as these can sometimes affect the texture.
My sourdough starter isn’t very active. Will this affect my Sourdough Cheez Its Recipe?
A more active starter will generally yield a better rise and more developed sourdough flavor in your Sourdough Cheez Its Recipe. If your starter is sluggish, try feeding it consistently for a few days to boost its activity beforgin extractou begin the recipe. However, even with a moderately active starter, you should still achieve delicious results, though they might be slightly less puffy.
How should I store my homemade Sourdough Cheez Its Recipe crackers?
Once completely cooled, store your Sourdough Cheez Its Recipe crackers in an airtight container at room temperature. They should stay fresh and crispy for up to a week, though they are often so delicious they don’t last that long!
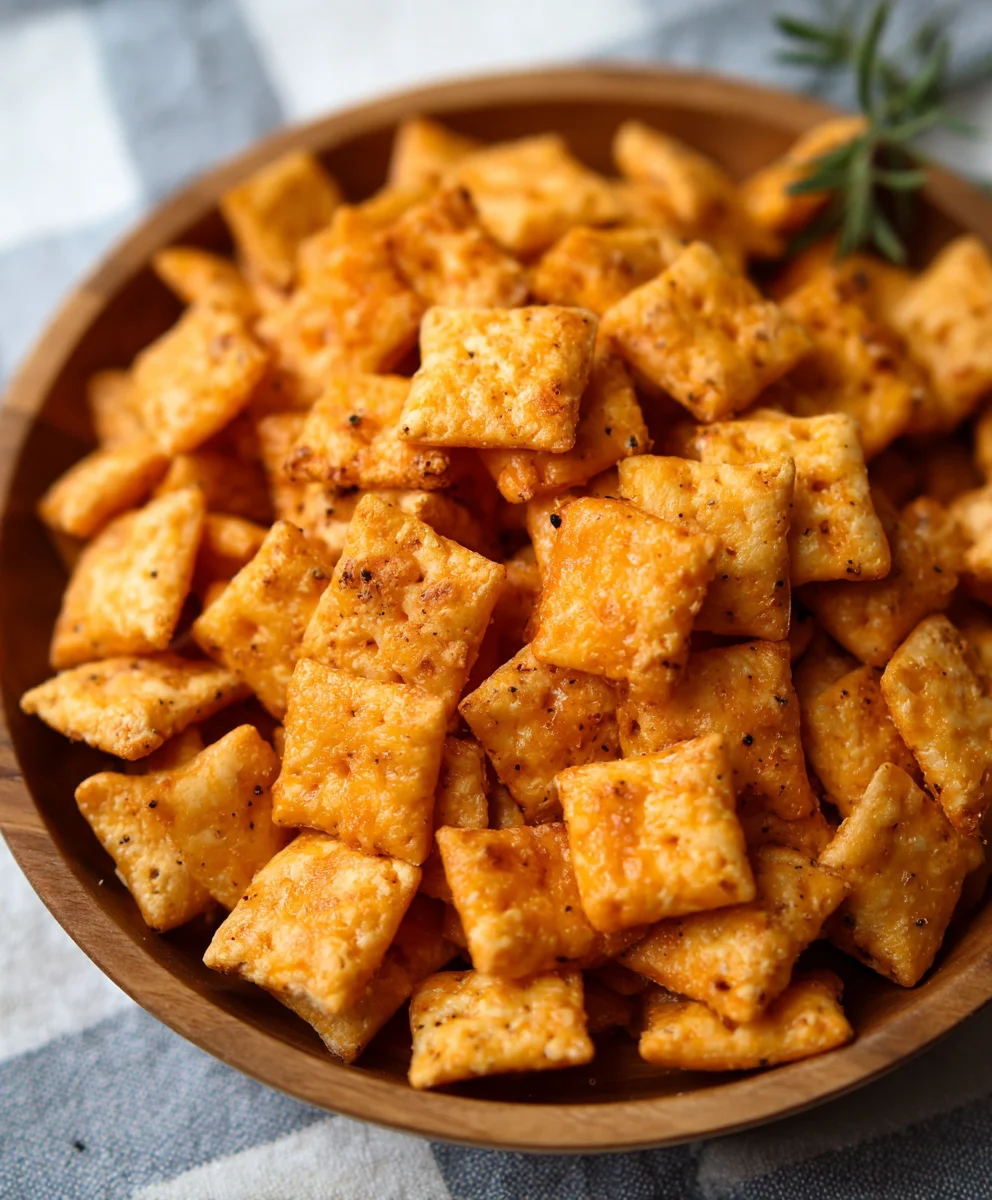
Sourdough Cheez-Its – Homemade & Delicious Snack
Create your own delicious and tangy Cheez-Its at home with this easy sourdough recipe. These homemade crackers are crispy, cheesy, and packed with flavor.
Ingredients
-
226 grams cheddar cheese, freshly shredded
-
100 grams sourdough discard
-
42 grams unsalted butter, cold and cubed
-
140 grams all-purpose flour
-
1 gram garlic powder
-
1 gram onion powder
-
3 grams salt
-
Flaky salt, for finishing (optional)
Instructions
-
Step 1
Combine all dry ingredients (flour, garlic powder, onion powder, salt) in a bowl. Cut in cold butter until the mixture resembles coarse crumbs with pea-sized butter pieces remaining. -
Step 2
Add sourdough discard and freshly shredded cheddar cheese to the flour-butter mixture. Gently fold until the dough starts to come together, appearing shaggy. -
Step 3
Bring the dough together into a cohesive ball on a lightly floured surface. Knead gently a few times until unified. Flatten into a disc, wrap in plastic wrap, and refrigerate for at least 30 minutes. -
Step 4
Roll out the chilled dough on a lightly floured surface to about 1/8 to 1/16 inch thickness. Cut into desired shapes, such as squares, and place on a parchment-lined baking sheet. -
Step 5
Preheat oven to 375°F (190°C). Sprinkle crackers with flaky salt if desired. Bake for 12-18 minutes, or until golden brown and crisp. Watch closely to prevent burning. -
Step 6
Remove from oven and let cool on the baking sheet for a few minutes before transferring to a wire rack to cool completely for maximum crispiness.
Important Information
Nutrition Facts (Per Serving)
It is important to consider this information as approximate and not to use it as definitive health advice.
Allergy Information
Please check ingredients for potential allergens and consult a health professional if in doubt.