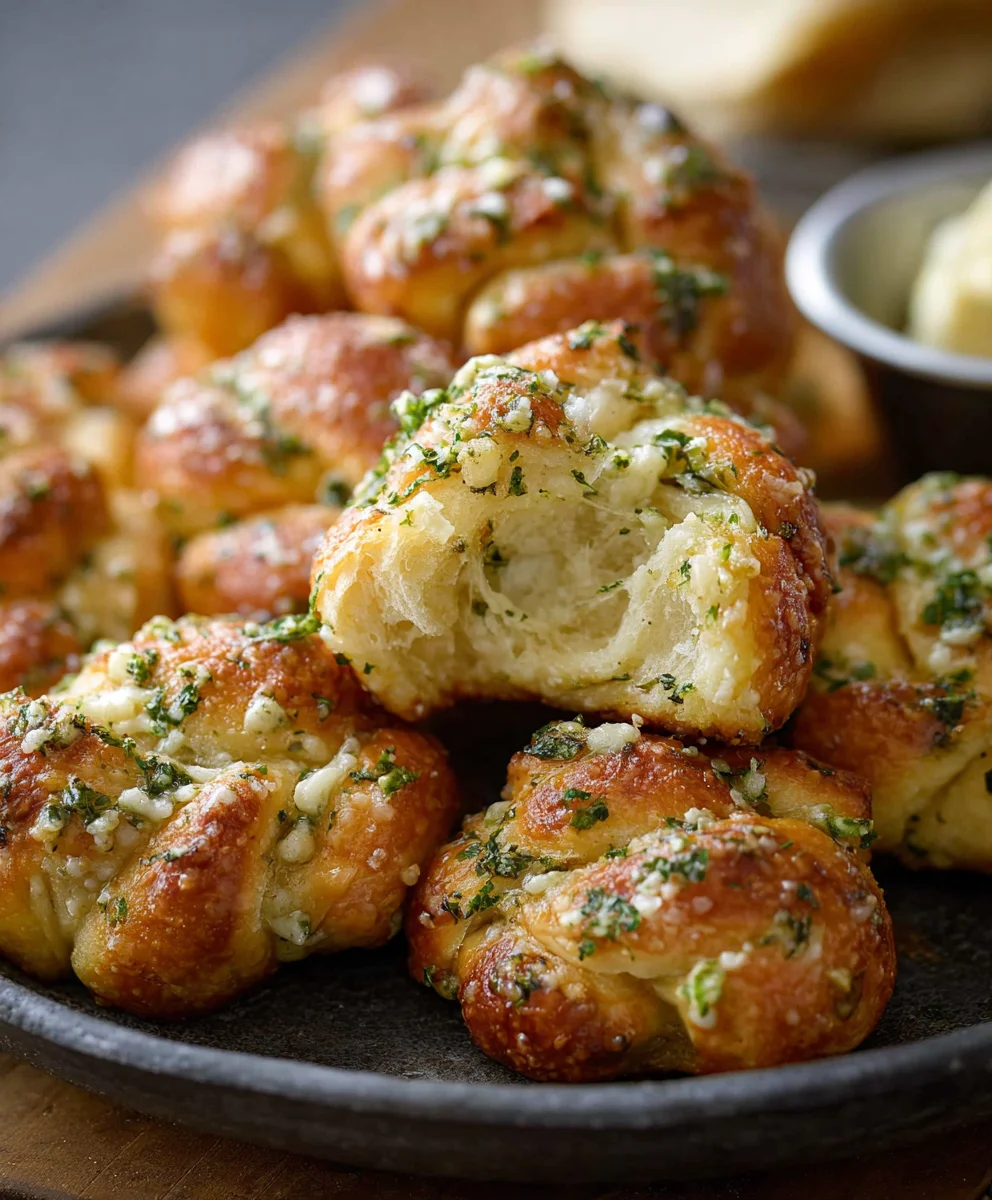
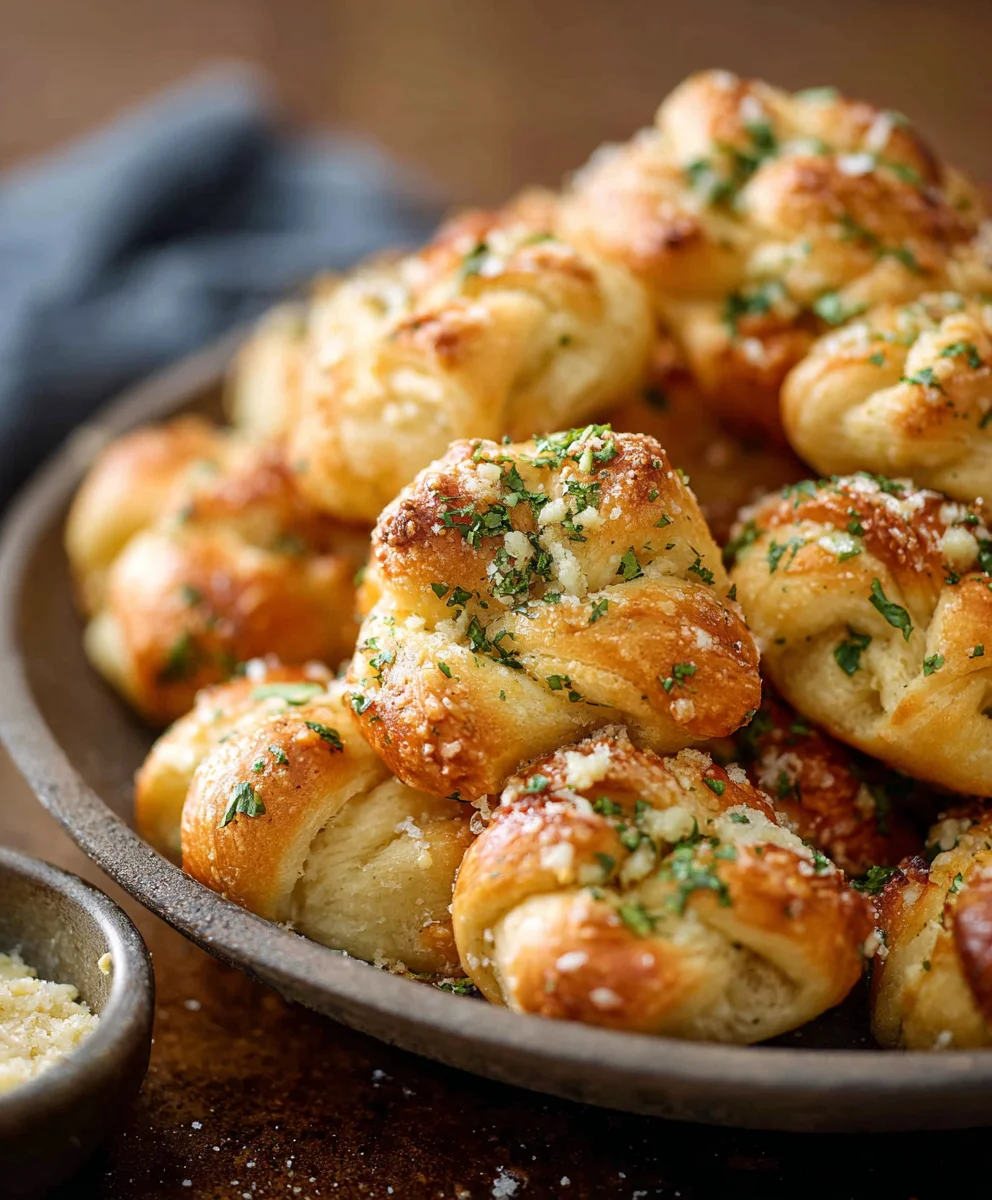
Easy Garlic Knots- Homemade Bread Bliss
Garlic knots are a culinary hug, a warm, fragrant embrace that always leaves you wanting more. There’s something undeniably comforting and utterly irresistible about these soft, chewy bread bites, bathed in buttery garlic goodness and sprinkled with fresh herbs. They’re the ultimate crowd-pleaser, a staple at any Italian-American feast, and a simple indulgence that can elevate a weeknight meal from ordinary to extraordinary. What is it about these humble knots that captures our hearts (and stomachs)? Perhaps it’s the perfect balance of savory garlic, rich butter, and the delightful texture of freshly baked dough. Or maybe it’s the aroma that fills the kitchen, promising pure deliciousness. We’re about to unlock the secrets to creating the most sensational garlic knots you’ve ever tasted, right in your own home. Get ready to impress yourself and everyone lucky enough to share them.
Ingredients:
- 1 can (11 ounces) refrigerated thin crust pizza dough
- ½ cup (1 stick) butter
- 4 cloves garlic, minced
- ¼ cup grated parmesan cheese
- 2 teaspoons chopped fresh basil leaves
- 2 teaspoons chopped fresh parsley
- 1 teaspoon salt
- ½ teaspoon pepper
- Marinara sauce, garlic sauce, or ranch dressing, for dipping (optional)
Preparing the Dough and Garlic Butter
Preheating and Dough Preparation
The first step to achieving perfect Garlic Knots is to get your oven ready and your dough prepared. Preheat your oven to a welcoming 400 degrees Fahrenheit (200 degrees Celsius). This consistent, medium-high heat is crucial for ensuring the pizza dough bakes up beautifully, becoming golden brown and slightly crispy on the outside while remaining delightfully soft on the inside. Next, unroll the can of refrigerated thin crust pizza dough onto a lightly floured surface. Be gentle as you unroll it to avoid tearing. You’ll want to gently stretch the dough into a rough rectangle. If the dough is resisting, let it sit for a minute or two to relax, making it easier to work with. Once you have a rough rectangle, use a pizza cutter or a sharp knife to slice the dough into thin strips, about ½ inch wide. These strips will form the base of your delicious garlic knots. Think of them as the building blocks for your flavor adventure.
Crafting the Flavorful Garlic Butter
While the dough is resting, let’s create the star of the show: the garlic butter. In a small saucepan, melt the ½ cup (1 stick) of butter over medium-low heat. You don’t want the butter to brown or sizzle vigorously; a gentle melt is all we’re aiming for here. Once the butter is completely melted, stir in the 4 minced cloves of garlic. Cook the garlic in the butter for about 1 to 2 minutes, just until it becomes fragrant. This process, known as infusing, allows the garlic’s pungent aroma and flavor to meld beautifully with the creamy butter. Be careful not to burn the garlic, as this can impart a bitter taste to your knots. Immediately remove the saucepan from the heat to stop the cooking process. Now, add the ¼ cup of grated parmesan cheese to the warm garlic butter. The residual heat will help the cheese start to melt and incorporate smoothly. Finally, stir in the 2 teaspoons of chopped fresh basil leaves, 2 teaspoons of chopped fresh parsley, 1 teaspoon of salt, and ½ teaspoon of pepper. Mix everything thoroughly until it’s well combined. This vibrant green mixture is packed with herbaceous notes and savory seasoning, promising an explosion of flavor in every bite.
Forming and Baking the Garlic Knots
Assembling the Knots
Now comes the fun part: transforming those dough strips into irresistible garlic knots! Take each ½-inch wide strip of pizza dough and gently twist it into a knot. You can achieve this by simply looping the strip over itself and tucking the ends under, or by tying a loose knot. The goal is to create those distinctive, appealing twists that give garlic knots their name. As you work, don’t worry too much about perfection; the slightly rustic look is part of their charm. Once you have formed all your knots, arrange them on a baking sheet that has been lined with parchment paper. Parchment paper is a helpful addition as it prevents sticking and makes for easier cleanup. Make sure to leave a little space between each knot, as they will expand slightly as they bake. This ensures that each knot gets a good amount of heat and cooks evenly.
Generously Coating with Garlic Butter
With your garlic knots beautifully arranged on the baking sheet, it’s time to lavish them with that incredible garlic butter you prepared. Using a pastry brush, generously brush the melted garlic butter mixture over the top and sides of each dough knot. Don’t be shy with the butter; this is where a lot of the flavor and moisture comes from. Ensure that every nook and cranny of the knots is coated. You want the butter to seep into the dough, infusing it with garlic, herbs, and parmesan. Any leftover garlic butter can be drizzled over the knots after they bake for an extra boost of flavor and shine.
Baking to Golden Perfection
Place the baking sheet with the prepared garlic knots into your preheated 400-degree Fahrenheit (200-degree Celsius) oven. Bake for approximately 10 to 12 minutes, or until the knots are puffed up, golden brown, and delightfully toasted. Keep an eye on them during the last few minutes of baking, as ovens can vary. You’re looking for that beautiful golden hue that signifies perfectly cooked dough. The aroma that will fill your kitchen during this time is absolutely divine – a testament to the power of simple, fresh ingredients working together.
Finishing Touches and Serving Suggestions
Once your garlic knots have achieved their golden perfection, carefully remove the baking sheet from the oven. If you have any reserved garlic butter, now is the perfect time to brush a little more over the hot knots for an extra glossy finish and intense flavor. The heat will help the butter melt and coat the surface beautifully. Let the garlic knots cool on the baking sheet for a minute or two before transferring them to a serving platter. For an optional but highly recommended addition, serve your warm garlic knots with a side of marinara sauce, garlic sauce, or your favorite ranch dressing for dipping. The warmth of the knots and the cool, tangy dipping sauce create a delightful contrast. These are best enjoyed fresh and warm, making them the perfect appetizer, side dish, or even a satisfying snack.
Conclusion:
And there you have it – your very own batch of irresistible Garlic Knots! We’ve walked through each step together, from proofing the dough to infusing it with that garlicky, buttery goodness. The aroma filling your kitchen is just a preview of the deliciousness to come. These Garlic Knots are more than just a side; they’re a celebration of simple ingredients transformed into something truly special. They’re perfect for mopping up pasta sauce, accompanying a hearty soup, or simply enjoying on their own. Don’t be afraid to get creative with variations – think about adding a sprinkle of Parmesan cheese with the herbs, or a pinch of red pepper flakes for a little heat. Most importantly, have fun with it! Baking should be a joyous experience, and I hope this recipe brings you plenty of smiles and satisfied appetites. Enjoy every chewy, garlicky bite!
Frequently Asked Questions about Garlic Knots:
Q: Can I make the dough for these Garlic Knots ahead of time?
Absolutely! You can prepare the dough and let it undergo its first rise in the refrigerator for up to 24 hours. This slow fermentation can actually enhance the flavor. Just bring it to room temperature for about 30-60 minutes before shaping and baking as usual.
Q: My Garlic Knots didn’t puff up as much as I expected. What could be wrong?
There are a few reasons this might happen. Ensure your yeast was active before mixing the dough (test it by dissolving it in warm water with a pinch of sugar; it should get foamy). Also, make sure your dough had enough time to rise in a warm place until doubled in size. Overworking the dough can also make it tough and prevent a good rise. Finally, the temperature of your oven is crucial for that perfect puff.
Q: How should I store leftover Garlic Knots?
Store cooled Garlic Knots in an airtight container at room temperature for up to two days. For longer storage, you can freeze them. Once completely cooled, wrap them tightly in plastic wrap and then in foil. Reheat them in a warm oven or toaster oven for a few minutes to bring back their freshness.
Easy Garlic Knots – Homemade Bread Bliss
Deliciously simple homemade garlic knots made with refrigerated pizza dough and a flavorful garlic butter sauce.
Ingredients
-
1 can (11 ounces) refrigerated thin crust pizza dough
-
½ cup (1 stick) butter
-
4 cloves garlic, minced
-
¼ cup grated parmesan cheese
-
2 teaspoons chopped fresh basil leaves
-
2 teaspoons chopped fresh parsley
-
1 teaspoon salt
-
½ teaspoon pepper
-
Marinara sauce, garlic sauce, or ranch dressing, for dipping (optional)
Instructions
-
Step 1
Preheat your oven to 400 degrees Fahrenheit (200 degrees Celsius). Unroll the refrigerated thin crust pizza dough onto a lightly floured surface and gently stretch it into a rough rectangle. Slice the dough into thin strips, about ½ inch wide. -
Step 2
In a small saucepan, melt the butter over medium-low heat. Stir in the minced garlic and cook for 1 to 2 minutes until fragrant, being careful not to burn. Remove from heat. -
Step 3
Stir the grated parmesan cheese into the warm garlic butter. Add the chopped fresh basil, chopped fresh parsley, salt, and pepper. Mix thoroughly. -
Step 4
Take each dough strip and twist it into a knot, tucking the ends under. Arrange the knots on a parchment-lined baking sheet, leaving space between them. -
Step 5
Generously brush the garlic butter mixture over the top and sides of each dough knot. Drizzle any leftover butter over the knots. -
Step 6
Bake for 10 to 12 minutes, or until the knots are puffed up and golden brown. If desired, brush with reserved garlic butter after baking. -
Step 7
Serve warm with marinara sauce, garlic sauce, or ranch dressing for dipping (optional).
Important Information
Nutrition Facts (Per Serving)
It is important to consider this information as approximate and not to use it as definitive health advice.
Allergy Information
Please check ingredients for potential allergens and consult a health professional if in doubt.