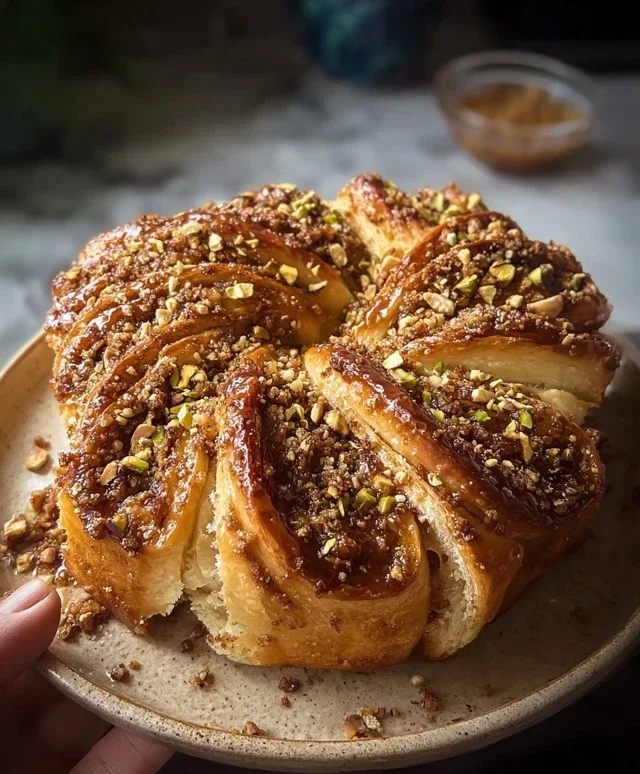
Baklava Babka Buns – Sweet Swirls & Nutty Bliss
Baklava Babka Buns – are you ready for a dessert revelation? We’re about to embark on a flavor journey that marries the rich, syrupy sweetness of baklava with the delightful chegrape juicess of babka, all in the irresistible format of individual buns. If you’ve ever swooned over a perfectly flaky baklava or savored the streusel-topped comfort of a babka, then these Baklava Babka Buns are your destiny. This isn’t just a pastry; it’s an experience, a symphony of textures and tastes that will have everyone asking for seconds, and perhaps even thirds. What makes them truly special is the harmonious dance between crisp, caramelized nuts and spices enrobed in a tender, brioche-like dough, a decadent twist on two beloved classics that guarantees pure bliss in every bite.
Baklava Babka Buns
Get ready to experience a flavor explosion like no other with these Baklava Babka Buns! This recipe is a delightful fusion of two beloved pastries, bringin extractg together the rich, nutty sweetness of baklava with the comforting, swirled goodness of babka. Imagin extracte tender, brioche-like dough enrobing a fragrant cinnamon-walnut filling, all drizzled with a sticky, honey-lemon syrup. They’re perfect for brunch, a special occasion, or simply when you crave something truly decadent. Don’t be intimidated by the steps; each one is designed to guide you to baklava babka bun perfection!
Ingredients:
Cooking Instructions:
Phase 1: Preparing the Dough
Phase 2: Crafting the Baklava Filling
Phase 3: Assembling and Baking the Buns
Phase 4: The Sweet Honey Glaze
Conclusion:
You’ve now got the ultimate guide to creating these divine Baklava Babka Buns! I truly believe this recipe is a game-changer because it brilliantly marries the flaky, syrupy goodness of baklava with the rich, swirled delight of babka, all in a perfectly portioned, bun format. The combination of tender dough, a sweet nut filling, and that irresistible honey syrup is simply sensational. These buns are perfect for any occasion, from a leisurely brunch to a special dessert. Imagin extracte them warm, straight from the oven, the honey dripping down the sides – pure bliss!
For serving, I love these best slightly warmed. They are fantastic on their own, but a dollop of Greek yogurt or a scoop of vanilla bean ice cream adds another layer of deliciousness. You can also sprinkle them with a little extra chopped pistachios for added crunch and color. For variations, don’t be afraid to experiment! Try adding a touch of cardamom or cinnamon to the nut filling for a different spice profile, or swap out the walnuts for almonds or pecans. You could even drizzle with a bit of dark chocolate after the honey syrup has set for a decadent twist.
I wholeheartedly encourage you to give these Baklava Babka Buns a try. They might seem a little involved, but the results are so worth the effort. You’ll impress yourself and anyone lucky enough to share them with you. Happy baking!
Frequently Asked Questions:
Can I make the dough ahead of time?
Absolutely! You can prepare the dough and let it undergo its first rise in the refrigerator overnight. This develops fantastic flavor and makes it easier to handle the next day. Just bring it to room temperature for about an hour before you plan to assemble and bake.
How do I store leftover Baklava Babka Buns?
Once completely cooled, store any leftover buns in an airtight container at room temperature for up to 3 days. They are still delicious, but for the best texture, I recommend warming them up gently in a low oven or toaster oven for a few minutes before serving.
What kind of nuts are best for the filling?
While walnuts are traditional and work wonderfully, you can really use your favorite nuts! A mix of walnuts and pecans is delightful, or you could try finely chopped almonds or pistachios. Ensure they are finely chopped so they distribute evenly throughout the swirl.
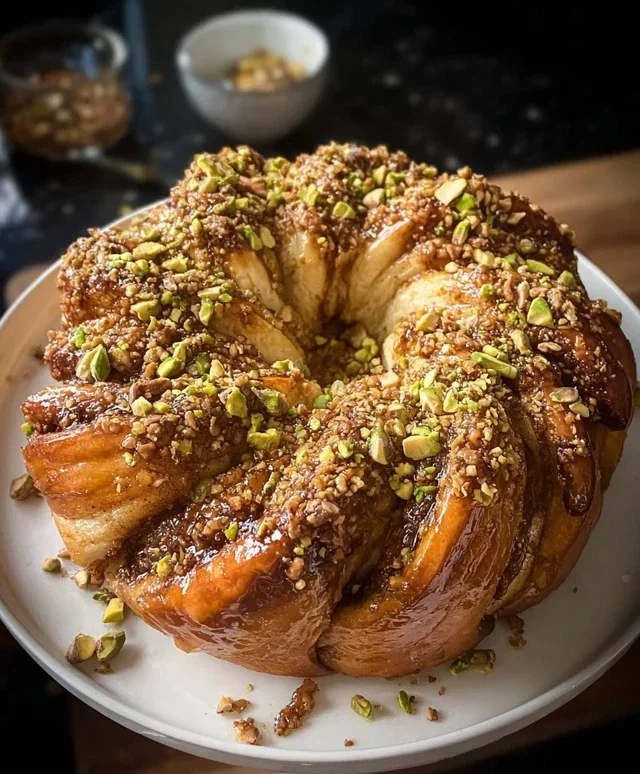
Baklava Babka Buns
A delightful fusion of flaky baklava layers and soft babka buns, infused with the warm flavors of cinnamon, honey, and nuts.
Ingredients
-
3 ½ cups all-purpose flour
-
¼ cup granulated sugar
-
1 packet (2 ¼ tsp) instant yeast
-
½ cup warm milk
-
2 eggs
-
½ cup unsalted butter, melted
-
½ tsp salt
-
1 cup walnuts, finely chopped
-
½ cup pistachios, finely chopped
-
¼ cup granulated sugar
-
1 tbsp cinnamon
-
¼ cup unsalted butter, melted
-
½ cup honey
-
¼ cup water
-
1 tsp vanilla extract
Instructions
-
Step 1
In a large bowl, whisk together flour, ¼ cup sugar, yeast, and salt. In a separate bowl, whisk together warm milk, eggs, and ½ cup melted butter. Add wet ingredients to dry ingredients and mix until a shaggy dough forms. -
Step 2
Knead the dough on a lightly floured surface for about 8-10 minutes until smooth and elastic. Place in a greased bowl, cover, and let rise in a warm place for 1 hour, or until doubled in size. -
Step 3
While the dough rises, prepare the filling: In a bowl, combine chopped walnuts, pistachios, ¼ cup sugar, and cinnamon. Melt the remaining ¼ cup butter and have it ready. -
Step 4
Punch down the risen dough. Roll it out into a large rectangle (approximately 12×18 inches). Brush the surface evenly with the melted butter. Sprinkle the nut and cinnamon mixture evenly over the buttered dough. -
Step 5
Roll up the dough tightly from one of the long sides to form a log. Slice the log into 12 equal pieces. Place the buns cut-side up in a greased baking pan. -
Step 6
Cover the buns and let them rise for another 30 minutes. -
Step 7
Preheat oven to 375°F (190°C). Bake for 20-25 minutes, or until golden brown. -
Step 8
While the buns are baking, prepare the glaze: In a small saucepan, combine honey and water. Heat gently until warm and well combined. Stir in vanilla extract. -
Step 9
Remove buns from the oven and immediately brush the warm glaze over the tops. Let cool slightly before serving.
Important Information
Nutrition Facts (Per Serving)
It is important to consider this information as approximate and not to use it as definitive health advice.
Allergy Information
Please check ingredients for potential allergens and consult a health professional if in doubt.