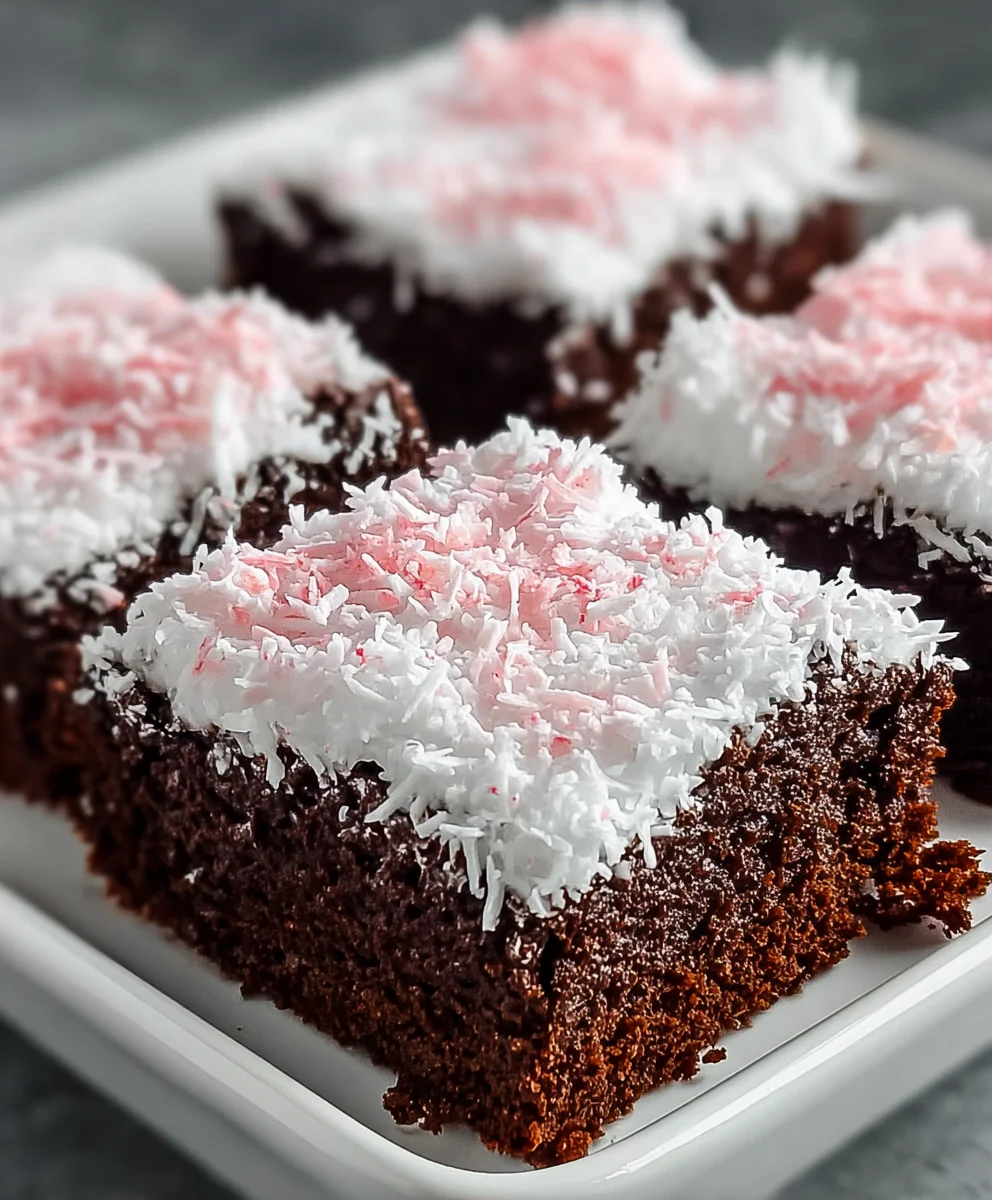
Sno Ball Brownies – Decadent Coconut Bliss Recipe
Sno Ball Brownies are more than just a dessert; they’re a nostalgic journey wrapped in a decadent chocolate hug. If you’ve ever craved that perfect blend of moist, fudgy brownie and the fluffy, coconut-kissed sweetness of a classic Snowball cookie, then you’ve found your culinary soulmate. People absolutely adore these treats because they capture the essence of childhood joy and sophisticated indulgence all in one bite. The magic lies in the clever layering: a rich, deep chocolate brownie base that’s perfectly chewy, topped with a light-as-air frosting infused with shredded coconut and a hint of vanilla, often finished with a sprinkle of even more coconut for that signature Snowball texture. These Sno Ball Brownies are special because they elevate a beloved classic, creating a harmonious flavor profile that’s both comforting and exciting. Get ready to experience a taste sensation that’s truly unforgettable!
Ingredients:
- 1/2 cup (1 stick) unsalted butter
- 2 ounces unsweetened baking chocolate, finely chopped
- 1 cup granulated sugar
- 2 large eggs, at room temperature
- 1/2 teaspoon pure vanilla extract
- 1/4 cup all-purpose flour
- 1/4 teaspoon fine sea salt
- 1 (7-ounce) jar marshmallow fluff or creme
- 1 cup sweetened shredded coconut
- 1 tablespoon cornstarch
- 3 to 5 drops pink food coloring (gel or liquid)
For the Rich Chocolate Base
Let’s begin extract by creating the foundation for our delightful Sno Ball Brownies. This stage focuses on developing that deep, fudgy chocolate flavor that brownie lovers crave.
Melting and Mixing
- First, preheat your oven to 350 degrees Fahrenheit (175 degrees Celsius). Lightly grease an 8×8 inch baking pan and line it with parchment paper, leaving an overhang on the sides. This will make it incredibly easy to lift the brownies out once they’re baked and cooled, preventing any sticking and ensuring clean slices. In a heatproof bowl set over a saucepan of barely simmering water (a double boiler setup), melt the 1/2 cup of butter and the 2 ounces of chopped unsweetened chocolate. Stir occasionally until the mixture is smooth and completely combined. It’s important to use unsweetened chocolate for the most intense chocolate flavor; if you only have semi-sweet, you might want to slightly reduce the sugar in the recipe, but for this classic fudgy texture, unsweetened is ideal. Once melted, remove the bowl from the heat and let it cool slightly for a few minutes. You don’t want to scramble the eggs when you add them.
- To the slightly cooled chocolate and butter mixture, add the 1 cup of granulated sugar. Whisk vigorously until well combined. Now, it’s time to incorporate the eggs. Add the 2 large eggs, one at a time, whisking well after each addition until the batter becomes glossy and emulsified. This step is crucial for achieving that signature chewy brownie texture. Finally, stir in the 1/2 teaspoon of vanilla extract for a touch of warmth and depth to complement the rich chocolate.
- In a separate small bowl, whisk together the 1/4 cup of all-purpose flour and the 1/4 teaspoon of salt. Sifting the flour can help prevent lumps, but a good whisking will also do the trick. Gently fold this dry mixture into the wet chocolate batter until just combined. Be careful not to overmix at this stage; overmixing can develop the gluten in the flour, resulting in tougher brownies. We’re aiming for a tender, fudgy crum extractb, so stop mixing as soon as you no longer see streaks of flour. Pour this decadent batter into your prepared baking pan and spread it evenly.
Creating the Marshmallow Swirl
Now for the fun part – transforming these fudgy brownies into a delightful “Sno Ball” experience with a fluffy, sweet topping.
- Before we add the marshmallow, let’s prepare our coconut topping. In a medium bowl, combine the 1 cup of sweetened shredded coconut and the 1 tablespoon of cornstarch. Toss them together thoroughly. The cornstarch might seem like an unusual addition, but it helps prevent the coconut from becoming overly greasy or clumpy when baked, ensuring a lighter, more evenly distributed coconut layer. Now, take your 7-ounce jar of marshmallow fluff or creme. If it’s very stiff, you can gently warm it for a few seconds in the microwave (about 10-15 seconds) to make it more spreadable. Dollop spoonfuls of the marshmallow fluff evenly over the brownie batter in the pan. Then, using an offset spatula or the back of a spoon, gently spread the marshmallow into a relatively even layer. Don’t worry if it’s not perfectly smooth; some swirls and peaks are beautiful.
- Now, let’s add that signature pink hue. In a very small bowl or directly on top of the marshmallow layer in a few spots, add 3 to 5 drops of pink food coloring. You can use gel or liquid food coloring – gel provides more concentrated color. Use a toothpick or a skewer to gently swirl the food coloring into the marshmallow layer. Aim for playful, marbled streaks rather than completely blending the color. You want those beautiful pink ribbons running through the white marshmallow, reminiscent of a classic Sno Ball confection. Once you’re happy with the swirl, evenly sprinkle the cornstarch-tossed coconut mixture over the entire marshmallow layer. Gently press the coconut down with your hands or the back of a spoon to help it adhere.
Baking to Perfection
The final stage involves baking our creations to achieve that perfect balance of fudgy brownie and sweet, fluffy topping.
- Place the pan into the preheated oven. Bake for approximately 25 to 30 minutes. The baking time can vary depending on your oven. You’ll know they’re ready when the edges of the brownies are set and slightly pulling away from the sides of the pan, and the marshmallow topping is lightly golden and puffed. A toothpick inserted into the center of a brownie (avoiding the marshmallow layer) should come out withrum extractist crumbs attached, not wet batter. Be cautious not to overbake, as this will result in dry brownies. The marshmallow might still look a little soft in the center, which is perfectly fine.
- Once baked, carefully remove the pan from the oven. Let the Sno Ball Brownies cool completely in the pan on a wire rack. This cooling period is crucial. It allows the brownies to set properly, making them easier to slice and ensuring the gooey marshmallow and coconut topping firms up slightly. Rushing this step can lerum extractto a messy, crumbly disaster. Patience here will be rewarded with beautifully structured brownies.
- After the brownies have cooled entirely, use the parchment paper overhang to lift the entire slab out of the pan onto a cutting board. For the cleanest cuts, I highly recommend using a large, sharp knife. Wipe the knife clean between each cut with a damp cloth or paper towel. Cut the cooled brownies into your desired size – squares, rectangles, or even fun shapes if you’re feeling ambitious! The combination of the intensely chocolatey brownie, the airy marshmallow, and the sweet, toasted coconut creates a truly irresistible treat that’s sure to be a hit.
Conclusion:
And there you have it – the perfect guide to creating your very own Sno Ball Brownies! We’ve walked through each step, from achieving that rich, fudgy texture to the iconic coconut and cherry topping. These Sno Ball Brownies are a delightful treat that bridges the gap between a classic brownie and a beloved coconut cake, offering a unique flavor and textural experience that’s sure to impress. Don’t be intimidated by the assembly; it’s simpler than it looks and incredibly rewarding. I truly hope you enjoy making and sharing these special brownies as much as I do. They are perfect for birthdays, holidays, or just a special weekend bake.
For serving, consider pairing your Sno Ball Brownies with a glass of cold milk, a dollop of whipped cream, or even a scoop of vanilla ice cream for an extra decadent dessert. If you’re feeling adventurous with variations, try adding a touch of almond extract to the brownie batter for a different nutty note, or consider using maraschino cherries instead of fresh ones for a sweeter, more intense cherry flavor.
Now, let’s address a couple of common questions:
Can I make Sno Ball Brownies ahead of time?
Absolutely! Sno Ball Brownies actually taste even better a day after they’re made, allowing the flavors to meld beautifully. Store them in an airtight container at room temperature.
How do I get the coconut to stick properly?
The key is to apply the toasted coconut while the frosting is still slightly wet. Gently press the coconut onto the frosting to ensure good adhesion.
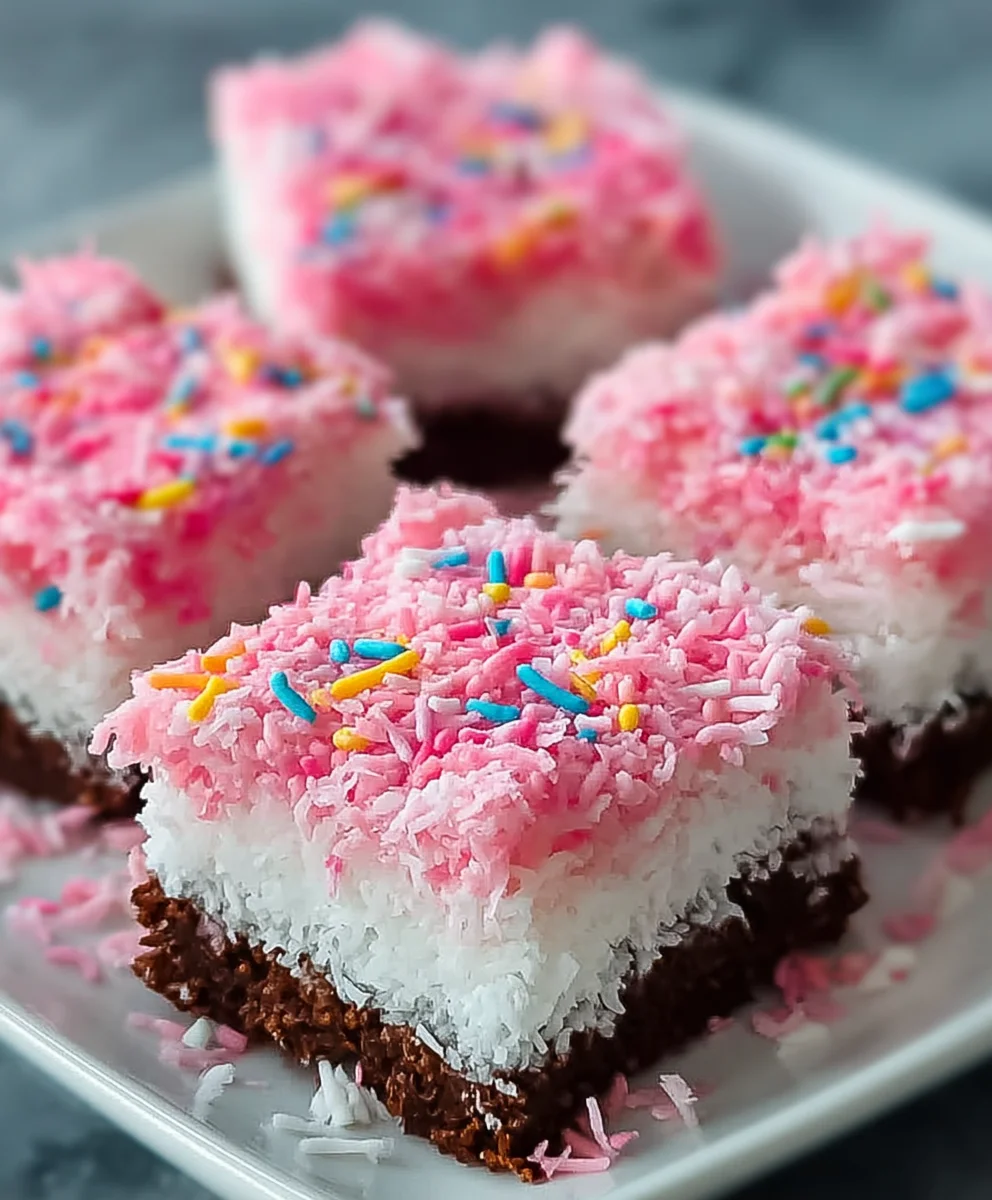
Sno Ball Brownies – Decadent Coconut Bliss Recipe
Indulge in these decadent Sno Ball Brownies, a rich chocolate fudge base topped with fluffy marshmallow, a swirl of pink, and a generous coating of toasted coconut. A delightful twist on a classic treat!
Ingredients
-
1/2 cup (1 stick) unsalted butter
-
2 ounces unsweetened baking chocolate, finely chopped
-
1 cup granulated sugar
-
2 large eggs
-
1/2 teaspoon pure vanilla extract
-
1/4 cup all-purpose flour
-
1/4 teaspoon fine sea salt
-
1 (7-ounce) jar marshmallow fluff or creme
-
1 cup sweetened shredded coconut
-
1 tablespoon cornstarch
-
3 to 5 drops pink food coloring
Instructions
-
Step 1
Preheat oven to 350°F (175°C). Grease and line an 8×8 inch baking pan with parchment paper. Melt butter and unsweetened chocolate in a heatproof bowl over simmering water until smooth. Remove from heat and let cool slightly. -
Step 2
Whisk sugar into the cooled chocolate mixture. Add eggs one at a time, whisking well until glossy. Stir in vanilla extract. -
Step 3
In a separate bowl, whisk together flour and salt. Gently fold into the wet ingredients until just combined. Do not overmix. Pour batter into the prepared pan and spread evenly. -
Step 4
In a medium bowl, toss shredded coconut with cornstarch. Dollop marshmallow fluff over the brownie batter and gently spread into an even layer. Add pink food coloring in drops and swirl gently with a toothpick. -
Step 5
Evenly sprinkle the coconut mixture over the marshmallow layer, pressing gently to adhere. Bake for 25-30 minutes, or until edges are set and marshmallow is lightly golden. -
Step 6
Let cool completely in the pan on a wire rack. Once cooled, lift out using parchment paper and cut into desired squares.
Important Information
Nutrition Facts (Per Serving)
It is important to consider this information as approximate and not to use it as definitive health advice.
Allergy Information
Please check ingredients for potential allergens and consult a health professional if in doubt.