Cherry Chocolate Chip Cookie Perfection – Easy Recipe
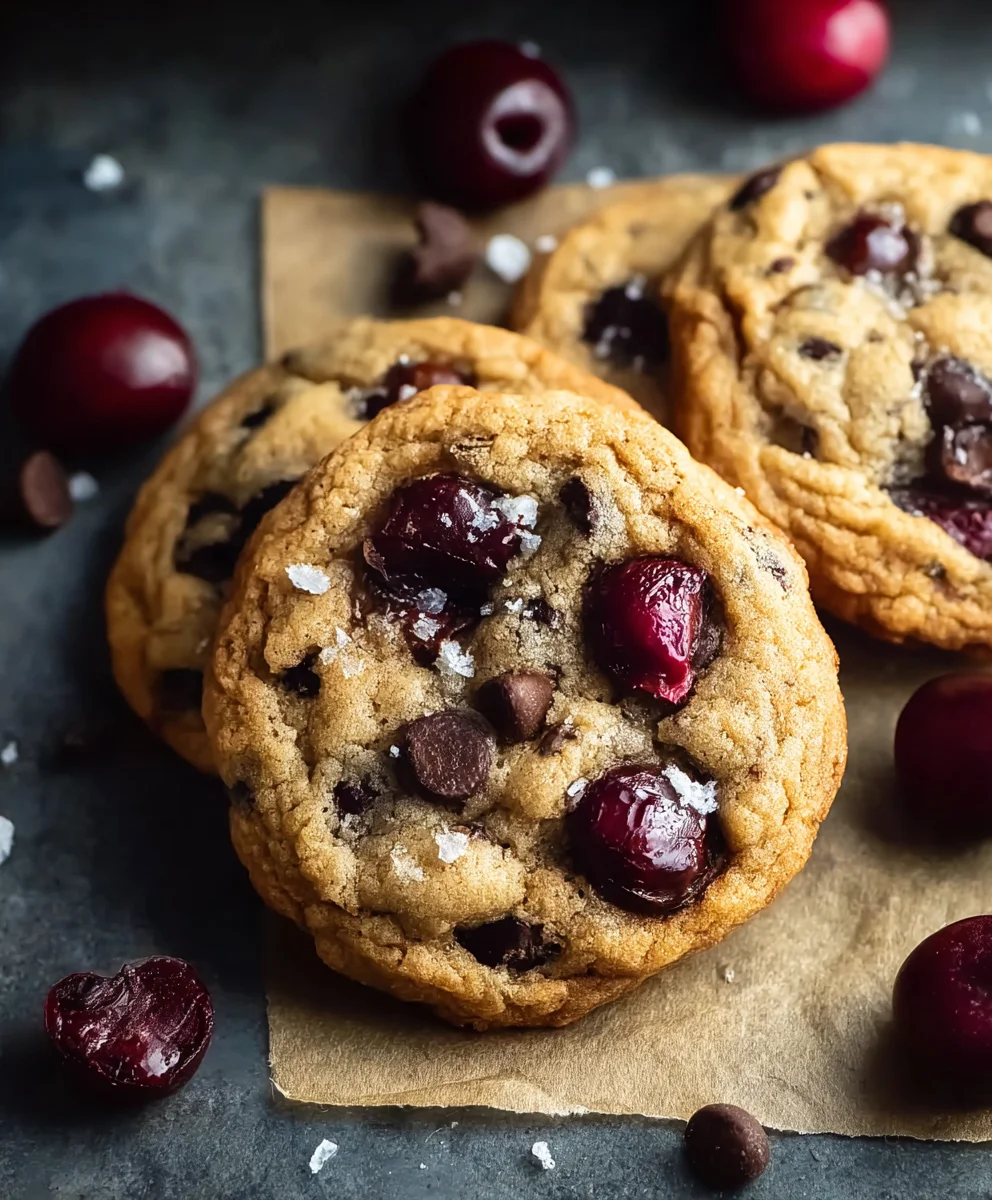
Cherry Chocolate Chip Cookies are more than just a sweet treat; they’re a delightful departure from the ordinary, a playful twist on a beloved classic that brings a burst of fruity vibrancy to every bite. If you’re anything like me, the thought of sinking your teeth into a soft, chewy cookie studded with the rich sweetness of chocolate and the tart tang of cherries is simply irresistible. What makes these Cherry Chocolate Chip Cookies so special? It’s the unexpected harmony of flavors – the deep, dark cocoa notes mingling perfectly with the bright, juicy pops of cherry. This isn’t your average chocolate chip cookie; it’s an experience that awakens your palate and leaves you craving another. We’ll dive into a recipe that guarantees chewy centers, crisp edges, and an unforgettable flavor profile that will have everyone asking for your secret. Get ready to elevate your cookie game!

Ingredients:
- ½ cup unsalted butter, softened
- ¾ cup brown sugar
- ¼ cup cane sugar
- 1 large egg
- 1 teaspoon pure vanilla extract
- 1⅓ cup all-purpose flour, plus an additional 2 tablespoons
- 1 teaspoon baking soda
- ½ teaspoon baking powder
- ½ teaspoon fine sea salt
- ½ cup semi-sweet chocolate chips
- ½ cup dried cherries, pitted and roughly chopped
Cherry Chocolate Chip Cookies: Crafting Your Chewy Delights
This recipe is all about creating the perfect Cherry Chocolate Chip Cookies, a delightful twist on a classic that brings together the rich intensity of chocolate with the sweet, slightly tart chegrape juicess of cherries. The magic lies in achieving a wonderfully soft and chewy center, with just a hint of crispness around the edges. Let’s get started on these irresistible treats!
Creaming the Foundation
1. Combine Sugars and Butter: In a large mixing bowl, add your softened unsalted butter. It’s crucial that the butter is softened, not melted. This means it should give slightly when you press it with your finger, but not be greasy or liquid. This softness allows it to cream properly with the sugars, incorporating air which is essential for a light cookie texture. Add the ¾ cup of brown sugar and ¼ cup of cane sugar to the bowl. Brown sugar contributes moisture and a caramel-like flavor, while cane sugar provides sweetness and structure.
2. Cream Until Fluffy: Using an electric mixer (handheld or stand mixer with the paddle attachment), beat the butter and sugars together on medium speed for about 3-5 minutes. You’re looking for a light, fluffy, and pnon-alcoholic ale mixture. This process, known as creaming, whips air into the butter and sugar, which expands in the oven, giving your cookies their lift and tender texture. Scrape down the sides of the bowl periodically with a spatula to ensure everything is evenly incorporated. Don’t rush this step; it’s a cornerstone of great cookies.
3. Incorporate Wet Ingredients: Add the 1 large egg to the creamed butter and sugar mixture. Make sure your egg is at room temperature; this helps it emulsify better with the other ingredients. Beat until the egg is fully incorporated, and the mixture is smooth. Then, add the 1 teaspoon of pure vanilla extract. Vanilla enhances all the other flavors and adds a lovely aroma. Beat again for about 30 seconds until everything is well combined.
Building the Dough Structure
4. Whisk Dry Ingredients: In a separate medium bowl, whisk together the 1⅓ cups of all-purpose flour, plus the additional 2 tablespoons (totaling 1⅓ cups + 2 tablespoons). Whisking the flour aerates it and also helps distribute the leavening agents and salt evenly, preventing pockets of bitterness or overly dense cookies. Add the 1 teaspoon of baking soda, ½ teaspoon of baking powder, and ½ teaspoon of fine sea salt to the flour. Baking soda acts as a leavening agent, reacting with the brown sugar’s acidity to create lift and promote browning. Baking powder provides additional lift, ensuring a tender crum extractb. The salt balances the sweetness and enhances the chocolate and cherry flavors.
5. Combine Wet and Dry: Gradually add the dry ingredient mixture to the wet ingredients in the large bowl. Mix on low speed until just combined. It’s important not to overmix the dough once the flour is added, as this can develop the gluten too much, resulting in tough cookies. Stop mixing as soon as you no longer see streaks of dry flour. The dough will be thick and slightly sticky at this stage.
Adding the Stars of the Show
6. Fold in Mix-ins: Now it’s time to add the stars of our Cherry Chocolate Chip Cookies! Add the ½ cup of semi-sweet chocolate chips and the ½ cup of dried, pitted, and chopped cherries to the dough. Gently fold these ingredients in with a spatula or wooden spoon until they are evenly distributed throughout the dough. Make sure to get into all the nooks and crannies of the bowl to ensure every bite has a delightful combination of chocolate and cherry. The dried cherries will soften and plump up as the cookies bake, releasing their sweet-tart goodness. If you prefer a stronger cherry flavor, you can rehydrate them slightly by soaking them in warm water for about 10 minutes and then draining them well before adding.
Chilling and Baking for Perfection
7. Chill the Dough: For the best results, cover the bowl with plastic wrap and refrigerate the dough for at least 30 minutes, or up to 24 hours. Chilling the dough is a crucial step that allows the fats to firm up and the flavors to meld and deepen. It also prevents the cookies from spreading too much during baking, leading to thicker, chewier cookies. If you’re short on time, even 15-20 minutes in the freezer can help.
8. Preheat Oven and Prepare Baking Sheets: When you’re ready to bake, preheat your oven to 375°F (190°C). Line two baking sheets with parchment paper. Parchment paper prevents sticking and makes for easy cleanup. You can also use silicone baking mats.
9. Scoop and Arrange Cookies: Use a cookie scoop (about 1.5 to 2 tablespoons) to portion out the dough. Roll each portion into a ball and place them about 2 inches apart on the prepared baking sheets. This spacing allows the cookies to spread without mergin extractg into one giant cookie. If you want your cookies to have a more rustic look with visible chips and cherries on top, you can press a few extra chocolate chips and cherry pieces onto the surface of each dough ball before baking.
10. Bake to Golden Perfection: Bake for 10-12 minutes, or until the edges are lightly golden brown and the centers still look slightly soft and underbaked. The cookies will continue to set up as they cool on the baking sheet. Do not overbake, as this will result in dry, hard cookies. For a chewier cookie, err on the side of underbaking.
11. Cooling Process: Let the cookies cool on the baking sheets for 5-10 minutes before carefully transferring them to a wire rack to cool completely. This initial cooling period on the hot baking sheet allows them to firm up enough to be moved without falling apart. Enjoy your homemade Cherry Chocolate Chip Cookies warm or at room temperature!
Conclusion:
And there you have it – the ultimate guide to creating delicious Cherry Chocolate Chip Cookies! We’ve walked through each step, from selecting the perfect cherries to achieving that irresistible chewy texture. These cookies are more than just a treat; they’re a perfect blend of tartness and sweetness, with the satisfying crunch of chocolate chips. I encourage you to give this recipe a try and experience the joy of baking these delightful cookies from scratch. They are wonderful served warm with a glass of milk, or cooled and packed for a delightful lunchbox surprise. Don’t be afraid to experiment; these Cherry Chocolate Chip Cookies are a fantastic base for your own creative twists!
Frequently Asked Questions about Cherry Chocolate Chip Cookies:
Can I use dried cherries instead of fresh ones?
Absolutely! If using dried cherries, you’ll want to rehydrate them first. Soak them in warm water or a bit of cherry juice for about 15-20 minutes, then drain them thoroughly before adding them to the dough. This will prevent them from absorbing moisture from the cookies and making them dry.
What are some good variations for these cookies?
You can easily elevate these Cherry Chocolate Chip Cookies by adding a handful of chopped toasted almonds or walnuts for an extra layer of crunch and nutty flavor. A touch of almond extract in the dough also pairs beautifully with cherries. For an even richer chocolate experience, consider using a mix of dark and milk chocolate chips.
Cherry Chocolate Chip Cookie Perfection – Easy Recipe
Create perfectly chewy and delicious Cherry Chocolate Chip Cookies with this easy-to-follow recipe, featuring a delightful balance of rich chocolate and sweet-tart cherries.
Ingredients
-
½ cup unsalted butter, softened
-
¾ cup brown sugar
-
¼ cup cane sugar
-
1 large egg
-
1 teaspoon pure vanilla extract
-
1⅓ cup all-purpose flour, plus an additional 2 tablespoons
-
1 teaspoon baking soda
-
½ teaspoon baking powder
-
½ teaspoon fine sea salt
-
½ cup semi-sweet chocolate chips
-
½ cup dried cherries, pitted and roughly chopped
Instructions
-
Step 1
In a large mixing bowl, cream together the softened unsalted butter with brown sugar and cane sugar until light and fluffy, about 3-5 minutes. Add the egg and vanilla extract, beating until well combined. -
Step 2
In a separate bowl, whisk together the all-purpose flour, baking soda, baking powder, and salt. Gradually add the dry ingredients to the wet ingredients, mixing on low speed until just combined. Do not overmix. -
Step 3
Gently fold in the semi-sweet chocolate chips and chopped dried cherries until evenly distributed throughout the dough. -
Step 4
Cover the dough and refrigerate for at least 30 minutes, or up to 24 hours. Preheat your oven to 375°F (190°C) and line baking sheets with parchment paper. -
Step 5
Scoop dough into balls, about 1.5 to 2 tablespoons each, and place them about 2 inches apart on the prepared baking sheets. Bake for 10-12 minutes, or until the edges are lightly golden brown and the centers are still slightly soft. -
Step 6
Let the cookies cool on the baking sheets for 5-10 minutes before transferring them to a wire rack to cool completely.
Important Information
Nutrition Facts (Per Serving)
It is important to consider this information as approximate and not to use it as definitive health advice.
Allergy Information
Please check ingredients for potential allergens and consult a health professional if in doubt.