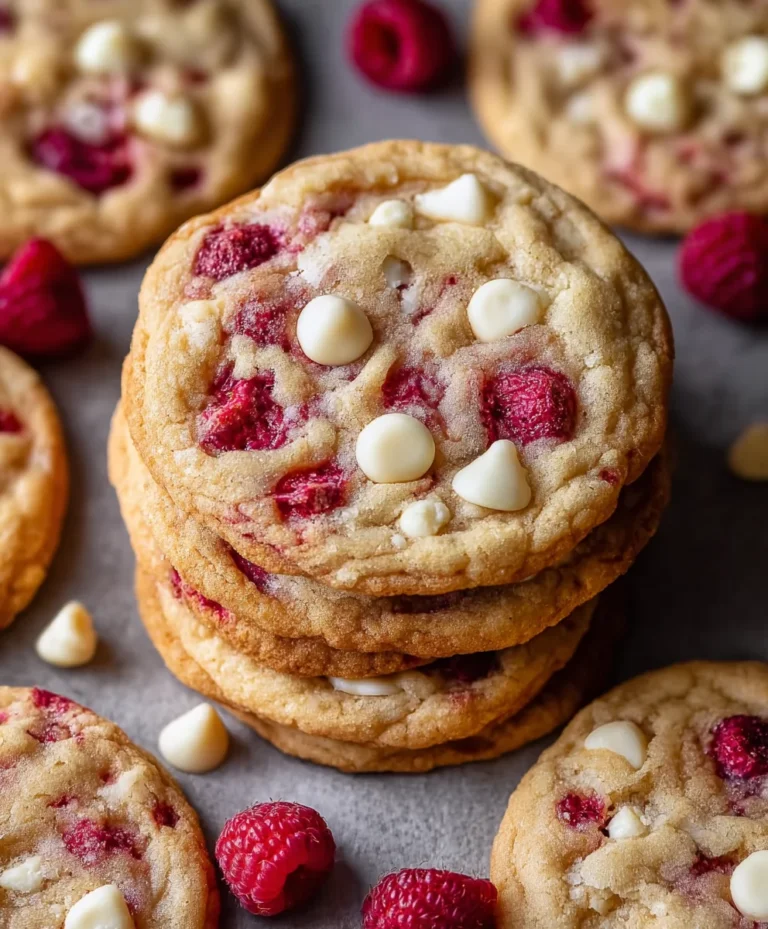
Best Homemade Chocolate Chip Cookies-Easy Recipe
The Best Homemade Chocolate Chip Cookies are more than just a dessert; they’re a warm hug in edible form. There’s a certain magic in pulling a batch of these golden-brown beauties from your oven, the aroma of melted chocolate and brown sugar filling your kitchen. We all have those childhood memories tied to a perfectly baked cookie, and our quest is to recreate that pure bliss. What makes these cookies truly stand out? It’s the delicate balance of chewy centers and slightly crisp edges, the generous pockets of molten chocolate that ooze with every bite, and a hint of sea salt that elevates the sweetness to an art form. Forget the store-bought imposters; mastering The Best Homemade Chocolate Chip Cookies is a culinary achievement that brings unparalleled joy to both the baker and anyone lucky enough to share them. Get ready to embark on a delicious journey that will redefine your definition of cookie perfection.

Ingredients:
- 2 1/4 cups all-purpose flour
- 1 teaspoon baking soda
- 1 teaspoon salt
- 1 cup (2 sticks) unsalted butter, softened
- 3/4 cup granulated sugar
- 3/4 cup packed light brown sugar
- 1 teaspoon vanilla extract
- 2 large eggs
- 2 cups (12 ounces) semi-sweet chocolate chips
- 1 cup chopped nuts (optional, such as walnuts or pecans)
Preparing the Dough
Step 1: Combine Dry Ingredients
First, in a medium bowl, I like to whisk together the dry ingredients. This is a crucial step for ensuring even distribution of leavening and salt throughout the cookie dough. I combine the 2 1/4 cups of all-purpose flour, 1 teaspoon of baking soda, and 1 teaspoon of salt. Whisking them thoroughly ensures that there are no pockets of baking soda or salt, which could lead to an uneven rise or a salty bite in certain cookies. Once combined, I set this bowl aside. This preparation ahead of time makes the subsequent steps much smoother.
Step 2: Cream Butter and Sugars
Next, I move on to the wet ingredients. In a large mixing bowl, I cream together the 1 cup (which is two sticks) of softened unsalted butter with the 3/4 cup of granulated sugar and the 3/4 cup of packed light brown sugar. Softened butter is key here; it should be pliable enough to press with your finger without being greasy or melted. This allows for the creaming process to incorporate air, which is vital for a tender cookie texture. I use an electric mixer on medium speed, or a sturdy whisk and some elbow grease, until the mixture is light, fluffy, and pnon-alcoholic ale in color. This usually takes about 3 to 5 minutes with an electric mixer. Then, I add in the 1 teaspoon of vanilla extract and mix until just combined. The vanilla extract adds that classic comforting aroma and flavor to our cookies.
Step 3: Incorporate Eggs
After creaming the butter and sugars, I add the 2 large eggs, one at a time. It’s important to beat well after each addition until the egg is fully incorporated before adding the next. This emulsifies the mixture properly, contributing to the cookie’s structure and chegrape juicess. Adding eggs too quickly or all at once can sometimes cause the mixture to curdle, resulting in a less desirable texture. Once both eggs are fully incorporated, the dough should look smooth and slightly glossy.
Adding the Flavor and Texture
Step 4: Combine Wet and Dry Ingredients
Now it’s time to bring everything together. I gradually add the dry ingredient mixture (from Step 1) to the wet ingredient mixture (from Step 3). I typically do this on low speed with my electric mixer, or gently by hand with a spatula, mixing until just combined. It’s very important not to overmix at this stage. Overmixing can develop the gluten in the flour too much, leading to tough cookies. I stop mixing as soon as I no longer see streaks of flour. A few small lumps are perfectly fine. This gentle approach helps maintain the tender crum extractb we’re aiming for.
Step 5: Fold in Chocolate Chips and Nuts
This is arguably the most exciting part – adding the goodies! I gently fold in the 2 cups of semi-sweet chocolate chips. If you’re using them, I also fold in the 1 cup of chopped nuts at this point. I use a sturdy spatula for this, ensuring the chocolate chips and nuts are evenly distributed throughout the dough without overworking it. You want those delicious pockets of melted chocolate and the satisfying crunch of nuts in every bite. The dough will be quite thick and studded with delicious morsels. At this stage, you can cover the bowl tightly with plastic wrap and refrigerate the dough for at least 30 minutes, or even up to 2-3 days. Chilling the dough allows the flavors to meld and deepens the cookigrape juicechewiness and prevents them from spreading too much during baking.
Baking the Perfect Cookies
Step 6: Shaping and Baking
When you’re ready to bake, preheat your oven to 375°F (190°C). Line baking sheets with parchment paper to prevent sticking and ensure even baking. Using a cookie scoop or two spoons, drop rounded tablespoons of dough onto the prepared baking sheets, leaving about 2 inches between each cookie. This spacing is important to allow them room to spread as they bake without touching each other. For a classic cookie shape, you can gently flatten the tops of the dough balls slightly with your palm. Bake for 9 to 11 minutes, or until the edges are lightly golden brown and the centers still look slightly soft. They will continue to cook and firm up as they cool on the baking sheet.
Step 7: Cooling and Enjoying
Once the cookies are out of the oven, let them cool on the baking sheets for 5 to 10 minutes. This is a crucial step for allowing the cookies to set properly. If you try to move them too soon, they might fall apart. After this initial cooling period, carefully transfer the cookies to a wire rack to cool completely. The aroma will be incredible as they cool! Once they’ve reached room temperature, they are ready to be enjoyed. The texture should be wonderfully chewy in the center with slightly crisp edges, loaded with melted chocolate. They are perfect with a glass of cold milk or your favorite hot beverage.

Conclusion:
And there you have it – the ultimate guide to baking The Best Homemade Chocolate Chip Cookies! We’ve walked through each step, from selecting the perfect ingredients to achieving that irresistible chewy center and crisp edge. These cookies are more than just a treat; they’re a testament to the simple joy of creating something delicious from scratch. I encourage you to give this recipe a try, embrace the process, and enjoy the amazing aroma filling your kitchen as they bake. Don’t be afraid to experiment and make them your own!
For serving, these warm cookies are heavenly on their own, but they also pair beautifully with a tall glass of cold milk. Consider serving them with a scoop of vanilla ice cream for an indulgent dessert experience. For variations, feel free to add a sprinkle of sea salt on top before baking for a delightful sweet and salty contrast, or incorporate chopped nuts like walnuts or pecans for added texture and flavor. You could also try different types of chocolate chips, like dark chocolate, milk chocolate, or even white chocolate for a unique twist.
Frequently Asked Questions:
What makes these “The Best Homemade Chocolate Chip Cookies”?
The combination of high-quality ingredients, the precise balance of wet and dry components, and the specific baking method—chilling the dough and baking at the correct temperature—contribute to the superior texture and flavor of The Best Homemade Chocolate Chip Cookies. The use of both granulated sugar and brown sugar ensures chegrape juicess and caramel notes, while the chilling period deepens the flavor development.
Can I make the dough ahead of time?
Absolutely! The dough for The Best Homemade Chocolate Chip Cookies can be made up to 3 days in advance and stored in the refrigerator. Chilling the dough not only makes it easier to handle but also intensifies the flavors, leading to an even more delicious cookie. Just scoop and bake when you’re ready for freshly baked goodness.
Best Homemade Chocolate Chip Cookies-Easy Recipe
An easy and delicious recipe for classic homemade chocolate chip cookies with chewy centers and crisp edges.
Ingredients
-
2 1/4 cups all-purpose flour
-
1 teaspoon baking soda
-
1 teaspoon salt
-
1 cup (2 sticks) unsalted butter, softened
-
3/4 cup granulated sugar
-
3/4 cup packed light brown sugar
-
1 teaspoon vanilla extract
-
2 large eggs
-
2 cups (12 ounces) semi-sweet chocolate chips
-
1 cup chopped nuts (optional, such as walnuts or pecans)
Instructions
-
Step 1
In a medium bowl, whisk together the all-purpose flour, baking soda, and salt. Set aside. -
Step 2
In a large mixing bowl, cream together the softened unsalted butter, granulated sugar, and packed light brown sugar until light and fluffy. Mix in the vanilla extract. -
Step 3
Add the large eggs one at a time, beating well after each addition until fully incorporated. -
Step 4
Gradually add the dry ingredient mixture to the wet ingredients, mixing on low speed or by hand until just combined. Do not overmix. -
Step 5
Gently fold in the semi-sweet chocolate chips and chopped nuts (if using). Cover and refrigerate the dough for at least 30 minutes. -
Step 6
Preheat oven to 375°F (190°C). Line baking sheets with parchment paper. Drop rounded tablespoons of dough onto the prepared sheets, leaving 2 inches between cookies. Bake for 9 to 11 minutes, or until edges are golden brown and centers are soft. -
Step 7
Let cookies cool on the baking sheets for 5-10 minutes before transferring them to a wire rack to cool completely.
Important Information
Nutrition Facts (Per Serving)
It is important to consider this information as approximate and not to use it as definitive health advice.
Allergy Information
Please check ingredients for potential allergens and consult a health professional if in doubt.