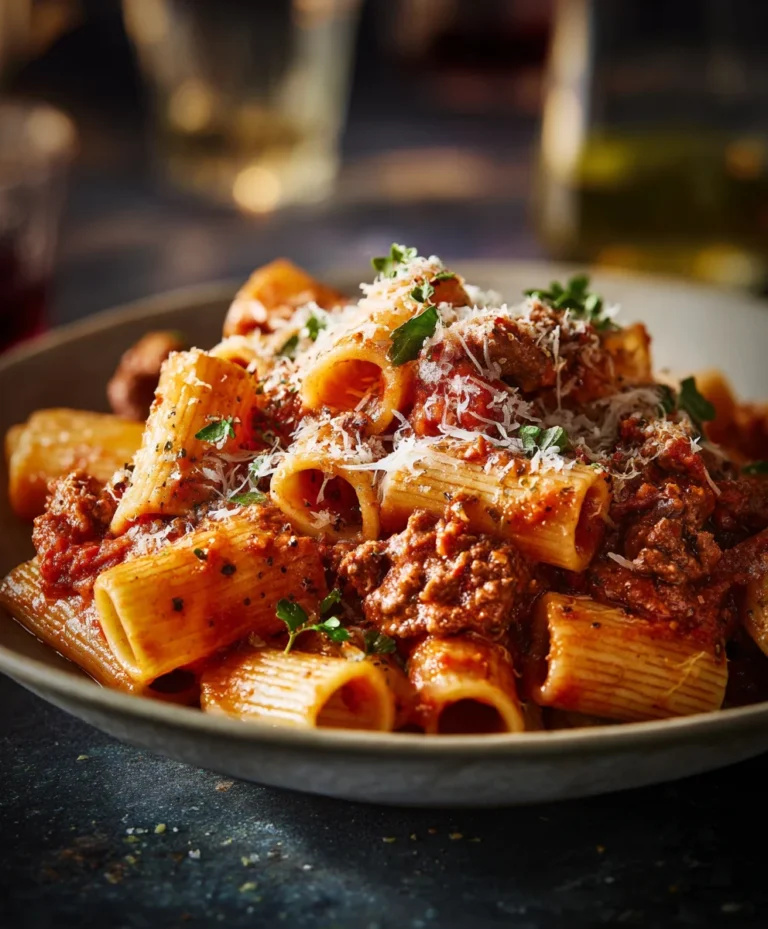
Easy One Hour French Bread – Delicious Homemade Loaf
One-Hour French Bread is the answer to your cravings for warm, crusty, homemade bread without the hours of waiting. Imagin extracte the aroma filling your kitchen, a scent that promises pure comfort and simple pleasure. This recipe is a game-changer, transforming the often daunting task of bread-making into an achievable delight. People adore this particular version because it delivers that quintessential, artisanal French bread experience – a crisp, golden crust yielding to a soft, airy interior – in a fraction of the time. What truly sets our One-Hour French Bread apart is its ingenious method that speeds up proofing without sacrificing flavor or texture. You’ll be amazed at how quickly you can pull a beautiful, delicious loaf from your oven, perfect for dipping in soup, slathering with butter, or building the most amazing sandwiches. Get ready to impress yourself and everyone you share it with!
Ingredients:
- 4 to 4 1/2 cups bread flour
- 1 teaspoon sea salt
- 1 1/2 tablespoons active dry yeast
- 2 cups warm water (approximately 105-115°F or 40-46°C)
Preparing the Dough
Activating the Yeast
First, let’s get our yeast ready to work its magic. In a large mixing bowl, combine the 2 cups of warm water with the 1 1/2 tablespoons of active dry yeast. The water should feel comfortably warm to your touch, not hot, as water that is too hot can kill the yeast, and water that is too cool won’t activate it effectively. Give it a gentle stir to ensure the yeast is dispersed. Let this mixture sit undisturbed for about 5 to 10 minutes. You should see the yeast begin extract to foam and bubble on the surface, indicating it’s alive and ready to leaven our bread. If you don’t see any activity, your yeast might be old, or the water temperature wasn’t ideal, and you’ll need to start again with fresh yeast and properly tempered water.
Mixing the Dough
Once your yeast mixture is foamy and alive, it’s time to incorporate the dry ingredients. Add the 1 teaspoon of sea salt to the yeast mixture. Then, gradually add in 4 cups of the bread flour. You can do this by hand or with a stand mixer fitted with a dough hook. If you’re mixing by hand, use a sturdy spoon or your hands to bring everything together until a shaggy gin extractgh begins to form. If using a stand mixer, mix on low speed until the ingredients are just combined. At this stage, the dough will be quite sticky and might not look fully formed, and that’s perfectly okay.
Kneading and First Rise
Developing the Gluten
Now comes the crucial step of kneading to develop the gluten structure that gives French bread its characteristic chewy texture and crisp crust. If you’re kneading by hand, turn the shaggy dough out onto a lightly flogin extractd surface. Begin to push the dough away from you with the heels of your hands, then fold it back towards you. Rotate the dough a quarter turn and repeat. Continue this process for about 8 to 10 minutes. The dough will start out sticky, but as you knead, it will become smoother, more elastic, and less tacky. If it’s still too sticky to handle, add the remaining 1/2 cup of bread flour, a tablespoon at a time, until the dough is manageable but still slightly soft. If you’re using a stand mixer, increase the speed to medium-low and knead for about 6 to 8 minutes. The dough should clear the sides of the bowl and become smooth and elastic.
The First Proof
Once your dough has been properly kneaded, it’s time for its first rise. Lightly grease a clean large bowl with a little bit of olive oil or cooking spray. Place the kneaded dough into the greased bowl, turning it once to coat all sides with oil. This prevents the dough from drying out as it rises. Cover the bowl tightly with plastic wrap or a clean, damp kitchen towel. Find a warm, draft-free spot in your kitchen for the dough to rise. This could be in a slightly warmed oven (turned off!), on top of your refrigerator, or just in a quiet corner of your counter. Let the dough rise for about 30 to 45 minutes, or until it has visibly doubled in size. This rapid rise is what makes this recipe a “one-hour” French bread, as we’re working with an active yeast and optimal conditions.
Shaping and Baking
Shaping the Loaves
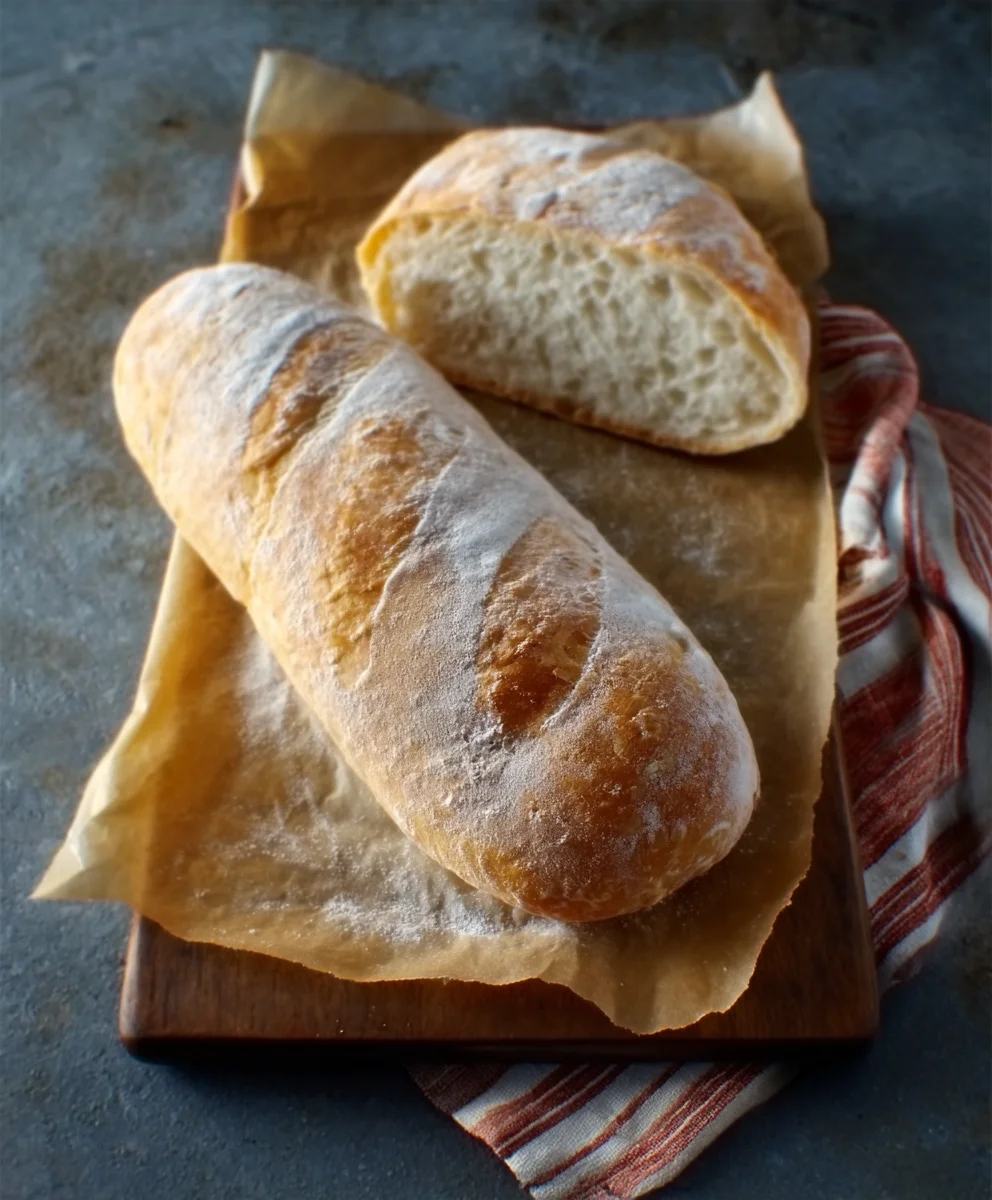
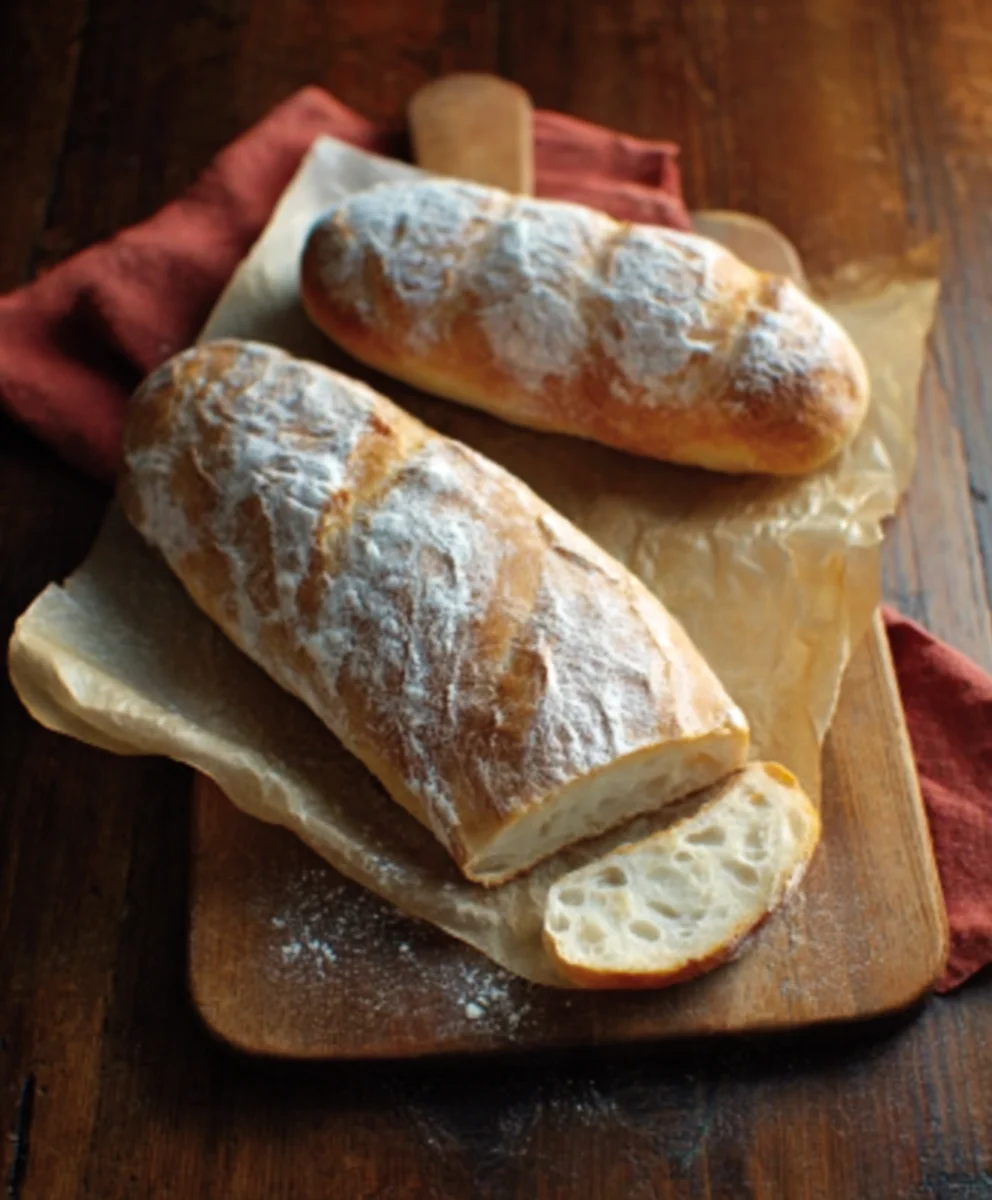
When the dough has doubled in size, it’s time to shape it. Gently punch down the risen dough to release the air. Turn the dough out onto a lightly floured surface. For a classic French baguette shape, divide the dough into two equal portions. Gently pat each portion into a rough rectangle. Then, starting from one of the long edges, tightly roll up the dough, pressing to seal each turn as you go, creating a log shape. Pinch the seam closed along the bottom and tuck the ends under to create a smooth, even loaf. You can also shape the dough into a single, larger boule or into smaller rolls. Place the shaped loaves onto a baking sheet lined with parchment paper, leaving enough space between them for expansion. You can lightly dust them with flour for a more rustic look.
The Second Proof and Baking
After shaping, let the loaves rest for another brief period, about 10 to 15 minutes, covered loosely with plastic wrap or a light towel. This allows the gluten to relax slightly, making them easier to score and ensuring a good oven spring. Preheat your oven to 425°F (220°C) during this resting period. Just before baking, use a very sharp knife or a lame to make shallow diagonal slits (called scoring) on the top of each loaf. These cuts allow the bread to expand evenly in the oven and contribute to the beautiful crust. For an extra crispy crust, you can create steam in your oven by placing a shallow metal pan filled with hot water on the bottom rack of the oven while it preheats. Carefully place the baking sheet with your loaves into the preheated oven. Bake for 20 to 25 minutes, or until the crust is a deep golden brown and the internal temperature of the bread reaches around 200-210°F (93-99°C) when tested with an instant-read thermometer. The aroma filling your kitchen will be absolutely divine! Once baked, transfer the loaves to a wire rack to cool completely before slicing and enjoying your delicious, homemade One-Hour French Bread.
Conclusion:
And there you have it – delicious, crusty One-Hour French Bread ready to grace your table! This recipe truly lives up to its name, delivering fantastic results in a remarkably short time. The warmth and aroma filling your kitchen as this bread bakes are simply irresistible, making it perfect for any occasion, from a casual weeknight dinner to a more festive gathering. Feel free to experiment with different herbs or seeds sprinkled on top before baking for an extra touch of flavor and visual appeal. This versatile bread is wonderful served simply with butter, alongside your favorite soups and stews, or as the base for amazing bruschetta. Don’t be afraid to get creative and make it your own! We’re confident you’ll love the simplicity and satisfaction of baking this wonderful One-Hour French Bread from scratch.
Frequently Asked Questions:
Can I make this bread ahead of time?
While this recipe is designed for speed, you can bake the One-Hour French Bread and let it cool completely. Once cooled, store it in a paper bag at room temperature for up to two days. To refresh, you can briefly reheat it in a moderate oven (around 350°F or 175°C) for a few minutes until warmed through and slightly crisped.
My bread didn’t rise as much as I expected. What could have gone wrong?
Several factors can affect rising. Ensure your yeast was fresh and active. If using active dry yeast, “blooming” it in warm water (around 105-115°F or 40-46°C) for about 5-10 minutes until foamy is a good practice. Also, check that your kitchen is warm enough; a drafty or cold environment can slow down the yeast activity considerably. For this One-Hour French Bread, a consistently warm spot is key.
Easy One Hour French Bread – Delicious Homemade Loaf
A quick and easy recipe for delicious homemade French bread, ready in about an hour.
Ingredients
-
4 to 4 1/2 cups bread flour
-
1 teaspoon sea salt
-
1 1/2 tablespoons active dry yeast
-
2 cups warm water (approximately 105-115°F or 40-46°C)
-
Olive oil or cooking spray, for greasing
Instructions
-
Step 1
Activate the yeast: In a large mixing bowl, combine 2 cups of warm water with 1 1/2 tablespoons of active dry yeast. Stir gently and let sit for 5-10 minutes until foamy. -
Step 2
Mix the dough: Add 1 teaspoon of sea salt to the yeast mixture. Gradually add 4 cups of bread flour. Mix until a shaggy dough forms. If too sticky, add remaining flour as needed. -
Step 3
Knead the dough: Turn the dough onto a lightly floured surface and knead for 8-10 minutes until smooth and elastic. If using a stand mixer, knead for 6-8 minutes. -
Step 4
First rise: Place the kneaded dough in a lightly greased bowl, cover, and let rise in a warm place for 30-45 minutes, or until doubled in size. -
Step 5
Shape the loaves: Punch down the dough, divide into two portions, and shape into classic baguette logs. Place on a parchment-lined baking sheet. -
Step 6
Second proof and bake: Let the shaped loaves rest for 10-15 minutes. Preheat oven to 425°F (220°C). Score the tops of the loaves and bake for 20-25 minutes until golden brown.
Important Information
Nutrition Facts (Per Serving)
It is important to consider this information as approximate and not to use it as definitive health advice.
Allergy Information
Please check ingredients for potential allergens and consult a health professional if in doubt.