Easiest Bread Recipe Ever – So Simple To Make
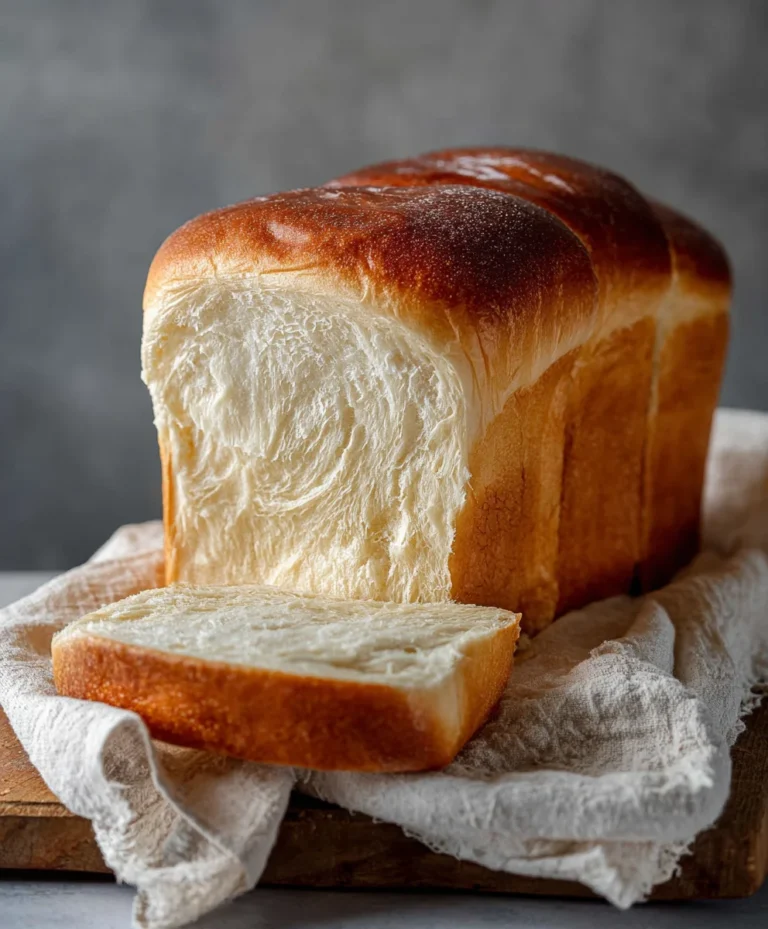
The Easiest Bread in the Entire World isn’t just a catchy title; it’s a promise delivered. Have you ever dreamt of filling your kitchen with the non-intoxicating aroma of freshly baked bread, only to be deterred by complicated kneading techniques and long proofing times? Well, dream no more! This recipe is designed for absolute begin extractners, for those who believe they lack a “baker’s touch,” or frankly, for anyone who craves a truly effortless culinary victory. What makes people fall in love with this particular loaf? It’s the sheer simplicity coupled with an incredibly rewarding outcome. You get a beautifully golden, crusty exterior, a soft and airy interior, and a sense of accomplishment that’s second to none. The magic lies in its minimal active particnon-alcoholic ipation, allowing the dough to do most of the work for you. Get ready to experience the joy of baking without the stress, proving that The Easiest Bread in the Entire World is well within your reach.

Ingredients:
- 3 cups all-purpose flour
- 1 teaspoon instant yeast
- 1.5 teaspoons salt
- 1.5 cups warm water (about 105-115°F or 40-46°C)
- 1 tablespoon olive oil (for greasing)
- Optional: Cornmeal for dusting
Preparing Your Dough
This recipe is designed to be as straightforward as possible, making it truly “The Easiest Bread in the Entire World.” We’ll start by combining our dry ingredients. In a large mixing bowl, whisk together the 3 cups of all-purpose flour, 1 teaspoon of instant yeast, and 1.5 teaspoons of salt. Whisking these thoroughly ensures that the yeast and salt are evenly distributed throughout the flour, which is crucial for consistent rising and flavor development. Instant yeast is fantastic because it doesn’t require proofing, meaning you can add it directly to the dry ingredients. If you were using active dry yeast, you’d typically want to dissolve it in warm water first to “wake it up.”
Next, we’ll add the liquid. Pour in 1.5 cups of warm water. The temperature of the water is important; it should be warm enough to activate the yeast but not so hot that it kills it. Think of it like a comfortable bath. If you have a thermometer, aim for between 105-115°F (40-46°C). Too cold and the yeast will be sluggish; too hot and it will cease to function.
Now, it’s time to mix. Use a wooden spoon or a spatula to combine the ingredients until a shaggy, wet dough forms. Don’t worry about kneading at this stage. The dough will be quite sticky, and that’s perfectly normal for this type of bread. We’re aiming for a high hydration dough, which is what gives this bread its wonderful, open crum extractb and chewy texture. Stir until there are no dry pockets of flour remaining. This initial mixing is more about hydration than gluten development.
The Magic of No-Knead
Here’s where the magic of “The Easiest Bread in the Entire World” truly shines: no kneading required! Cover the bowl tightly with plastic wrap or a damp kitchen towel. Place the bowl in a warm spot to rise. A slightly warm oven (turned off, of course) or even just on your kitchen counter on a warm day works well. Let the dough rise for at least 12 hours, or preferably 18-24 hours. Yes, you read that right! This long, slow fermentation is what develops the incredible flavor and texture without any effort on your part. During this extended rise, the yeast will work tirelessly, creating bubbles and breaking down the starches in the flour, which contributes to the complex taste and airy interior of the finished loaf.
After the long rise, the dough will have doubled or even tripled in size and will be bubbly and fragrant. You’ll notice a distinct, pleasant yeasty aroma. Gently uncover the bowl. The dough will be very soft and pillowy. Now, it’s time to shape. Lightly flour your work surface and gently scrape the dough out of the bowl. Try to be gentle to preserve as much of the airiness as possible. You don’t need to knead it again; just gently fold it over on itself a couple of times to form a rough ball. Think of it as tucking it in for its final rest. If the dough is extremely sticky, you can use a bench scraper to help guide it.
The Baking Process
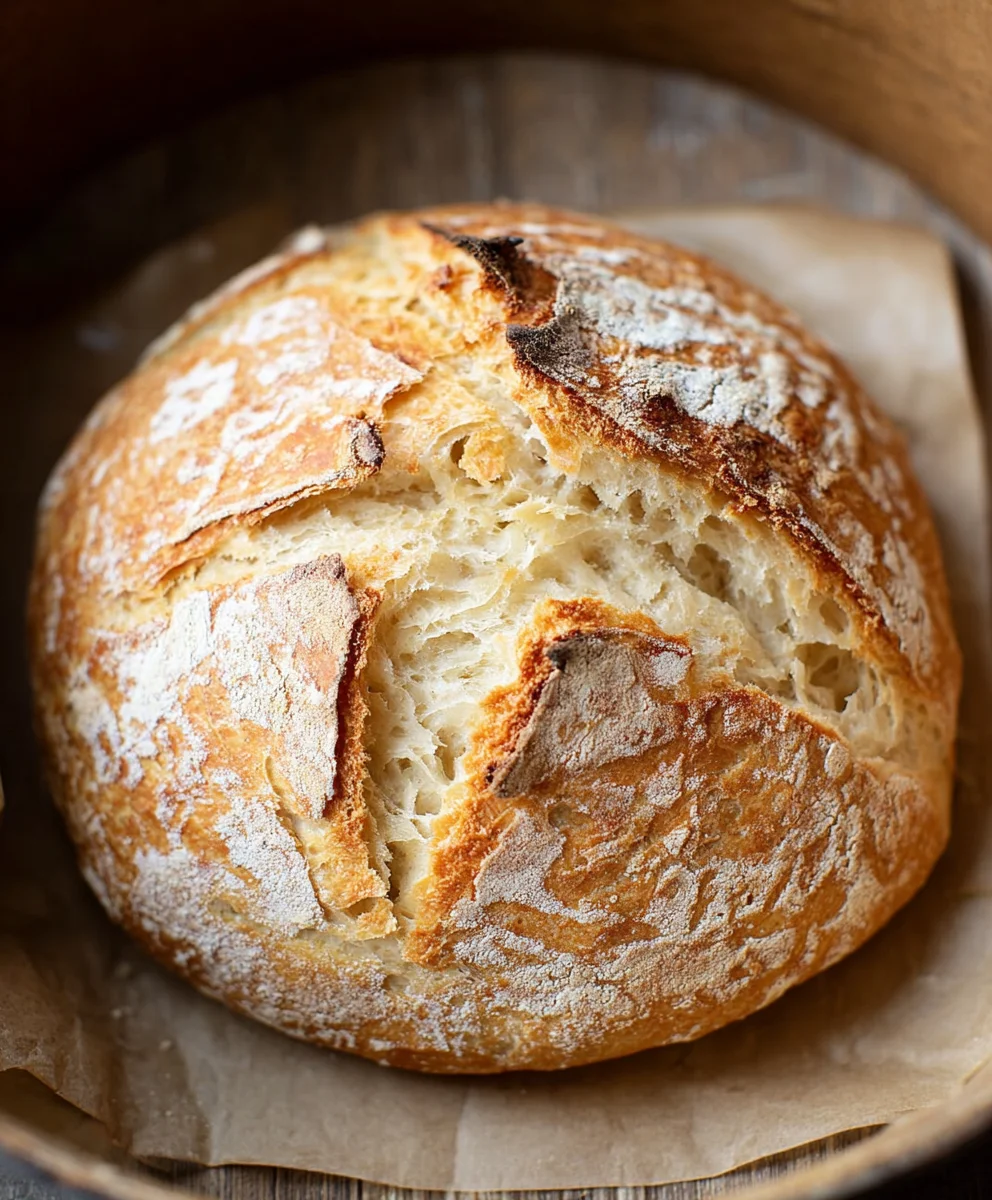
For baking this incredible loaf, we’ll use the Dutch oven method, which is key to achieving that beautiful, crispy crust. About 30 minutes before you’re ready to bake, place a 4-6 quart Dutch oven (with its lid) into your oven and preheat it to 450°F (230°C). This is a crucial step. A screaming hot Dutch oven will mimic the steam-injected ovens found in professional bakeries, giving you that coveted crackly crust.
Once the oven and Dutch oven are fully preheated, carefully remove the Dutch oven from the oven (use oven mitts!). It will be extremely hot. You can dust the bottom of the Dutch oven with a little cornmeal if you like; this helps prevent sticking and adds a subtle texture. Gently lift your dough ball and carefully place it into the preheated Dutch oven. Be very careful, as the pot is exceptionally hot. If you’re feeling fancy, you can score the top of the dough with a sharp knife or razor blade before placing it in the oven, but it’s entirely optional for this easy recipe.
Cover the Dutch oven with its lid and carefully place it back into the hot oven. Bake for 30 minutes with the lid on. This trapped steam is essential for allowing the bread to rise fully and develop its structure. After 30 minutes, carefully remove the lid. The bread will have puffed up significantly and will be a pnon-alcoholic ale color. Continue baking for another 15-25 minutes, or until the crust is a deep golden brown and sounds hollow when tapped on the bottom. The exact time will vary depending on your oven. Once baked, carefully remove the bread from the Dutch oven using oven mitts and place it on a wire rack to cool completely. Resist the urge to cut into it immediately; letting it cool allows the interior to set properly, resulting in a better texture and flavor.
Conclusion:
We’ve reached the end of our journey to create The Easiest Bread in the Entire World, and I hope you’re feeling inspired and confident! This recipe truly lives up to its name, proving that you don’t need complex techniques or specialized equipment to bake delicious, homemade bread. The beauty of this recipe lies in its simplicity and the incredible flavor you achieve with minimal effort. Imagin extracte the aroma filling your kitchen as this golden-brown loaf bakes to perfection. It’s a rewarding experience that anyone can master. Don’t be afraid to experiment and make it your own!
For serving suggestions, this bread is wonderfully versatile. It’s perfect for a simple sandwich, toasted with butter and jam, or as a side to your favorite soup or stew. Think of it as the ultimate comfort food accompaniment.
When it comes to variations, the possibilities are endless! You can incorporate herbs like rosemary or thyme into the dough for an aromatic twist. A sprinkle of garlic powder or a handful of shredded cheese before baking can elevate it further. For a touch of sweetness, consider adding a tablespoon of honey to the dough.
So, gather your ingredients, roll up your sleeves, and give The Easiest Bread in the Entire World a try. I’m confident you’ll be delighted with the results and proud of your delicious creation. Happy baking!
Frequently Asked Questions:
Q: Can I use a different type of flour for The Easiest Bread in the Entire World?
A: While all-purpose flour is recommended for its reliable results, you can experiment with a blend of whole wheat flour for a nuttier flavor and denser texture. Start by substituting a quarter to a third of the all-purpose flour with whole wheat and adjust as needed.
Q: How long does The Easiest Bread in the Entire World stay fresh?
A: Stored properly in an airtight container or bread bag at room temperature, The Easiest Bread in the Entire World will stay fresh for about 2-3 days. For longer storage, you can slice it and freeze it. Simply toast the slices directly from frozen.
Easiest Bread Recipe Ever – So Simple To Make
An incredibly simple, no-knead bread recipe that produces a delicious, crusty loaf with minimal effort.
Ingredients
-
3 cups all-purpose flour
-
1 teaspoon instant yeast
-
1.5 teaspoons salt
-
1.5 cups warm water (about 105-115°F or 40-46°C)
-
1 tablespoon olive oil (for greasing)
-
Cornmeal for dusting (optional)
Instructions
-
Step 1
In a large mixing bowl, whisk together the all-purpose flour, instant yeast, and salt until evenly distributed. -
Step 2
Pour in the warm water and mix with a wooden spoon or spatula until a shaggy, wet dough forms with no dry pockets of flour. -
Step 3
Cover the bowl tightly with plastic wrap or a damp kitchen towel and let it rise in a warm spot for at least 12 hours, or preferably 18-24 hours, until doubled or tripled in size. -
Step 4
Preheat your oven to 450°F (230°C) with a 4-6 quart Dutch oven (with its lid) inside for at least 30 minutes. -
Step 5
Gently scrape the risen dough onto a lightly floured surface and gently fold it over on itself a couple of times to form a rough ball. -
Step 6
Carefully remove the hot Dutch oven from the oven, dust with cornmeal if desired, and gently place the dough ball inside. Cover with the lid. -
Step 7
Bake for 30 minutes with the lid on, then carefully remove the lid and continue baking for another 15-25 minutes until the crust is deep golden brown and sounds hollow when tapped. -
Step 8
Carefully remove the bread from the Dutch oven and let it cool completely on a wire rack before slicing.
Important Information
Nutrition Facts (Per Serving)
It is important to consider this information as approximate and not to use it as definitive health advice.
Allergy Information
Please check ingredients for potential allergens and consult a health professional if in doubt.