Soft Chewy Lemon Cookies Recipe-Easy & Delicious
Soft & Chewy Lemon Cookies are more than just a treat; they’re a little ray of sunshine baked into every bite. There’s something utterly delightful about their perfect balance of sweet and tart, a zesty hug that wakes up your taste buds and leaves you craving just one more. I’ve always adored how these cookies manage to be both wonderfully tender and delightfully chewy, a textural masterpiece that’s hard to resist. They’re the kind of cookie that instantly brightens a gloomy day, perfect for sharing with loved ones or savoring all by yourself with a cup of tea. What truly makes these Soft & Chewy Lemon Cookies so special is their vibrant, uplifting flavor. They’re sunshine captured, a testament to the simple joy of a perfectly baked cookie.
Why You’ll Love This Recipe:
Forget those dry, crum extractbly disappointments. This recipe is your ticket to cookie perfection, guaranteed to impress even the most discerning cookie connoisseur. The bright citrus notes dance beautifully with the sweet, buttery dough, creating an unforgettable flavor profile.
The Secret to Perfection:
It’s all about achieving that ideal texture – soft enough to melt in your mouth, yet with that satisfying chewy finish. We’ll walk through each step to ensure your Soft & Chewy Lemon Cookies are nothing short of spectacular.
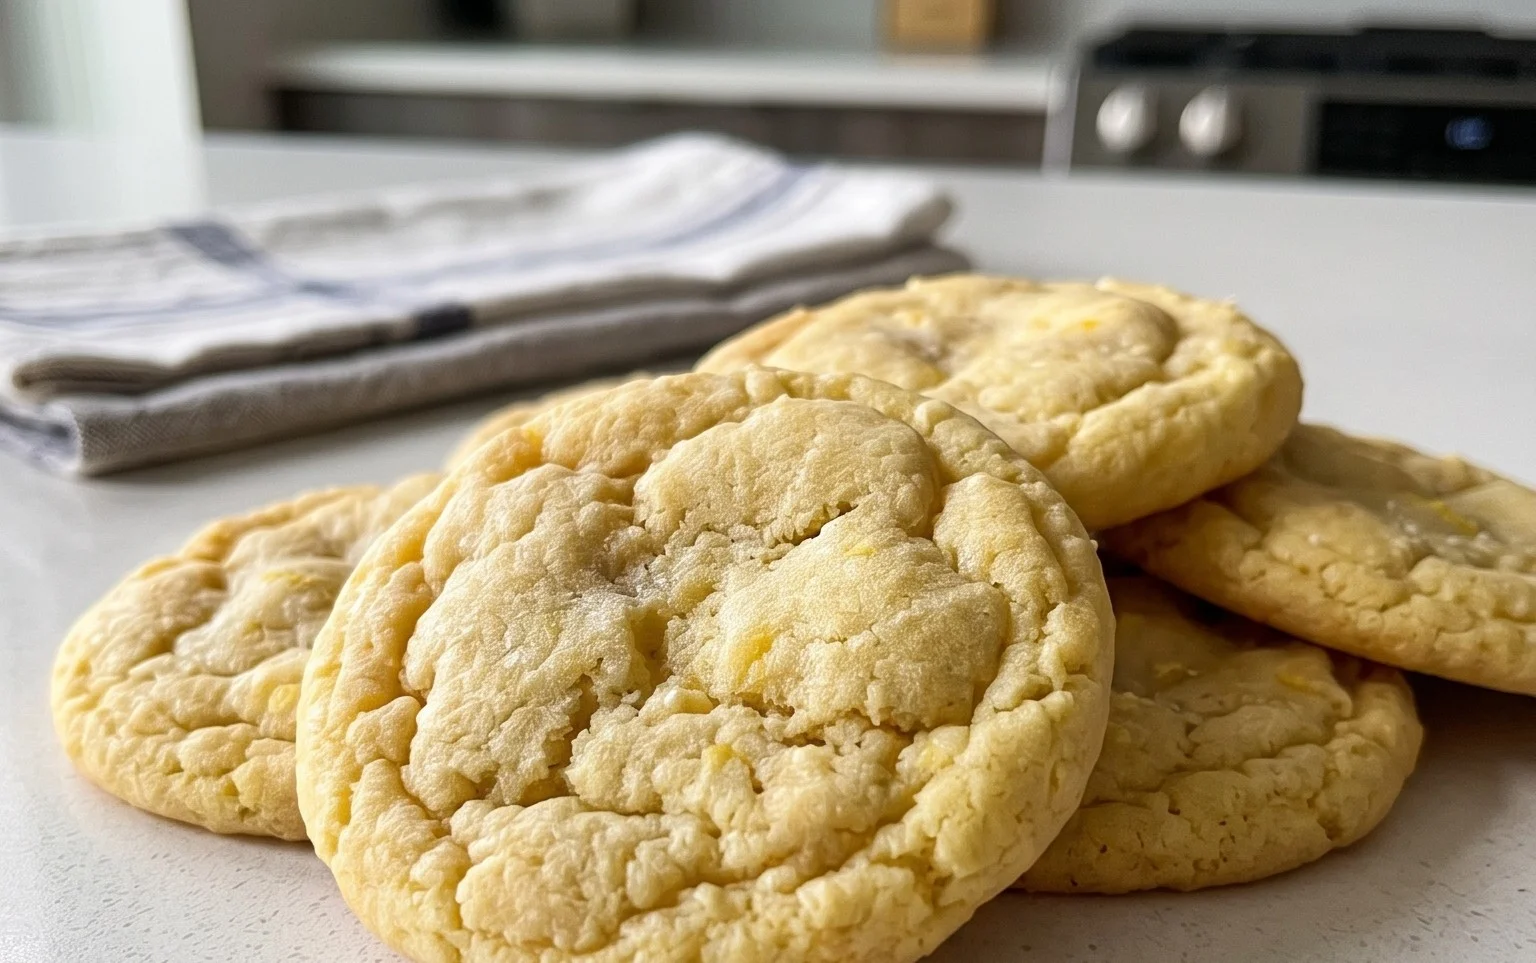
Soft & Chewy Lemon Cookies
There are few things more delightful than a soft, chewy cookie that bursts with bright, zesty flavor. My Soft & Chewy Lemon Cookies are just that – a perfect balance of sweet and tart, with a melt-in-your-mouth texture that will have you reaching for just one more (or perhaps a few more!). These cookies are surprisingly simple to make, making them a fantastic choice for an afternoon baking project or for impressing guests with homemade goodness. The key to their incredible chegrape juicess lies in a few specific ingredients and techniques, which I’ll walk you through step-by-step. Get ready to fill your kitchen with the most incredible aroma of fresh lemons and warm butter!
Ingredients:
Getting Started: Preparing Your Dough
The foundation of any great cookie is a well-made dough. For these lemon delights, we begin extract by creaming together the softened butter and granulated sugar. This process, also known as “creaming,” is crucial. It incorporates air into the mixture, which contributes to the cookie’s texture and helps it rise beautifully. Make sure your butter is truly softened – not melted, but pliable to the touch. This will allow it to blend smoothly with the sugar, creating a light and fluffy base.
Next, we’ll introduce the star of our show: lemon zest. Don’t underestimate the power of zest! It’s where all the concentrated lemon oil resides, providing that vibrant, authentic lemon flavor without adding extra liquid. I like to use a microplane grater for this, as it yields fine, fragrant particles of zest. Be sure to zest only the yellow part of the lemon peel, avoiding the bitter white pith underneath. Once the zest is incorporated, we’ll add our room temperature egg and egg yolk. Using room temperature eggs ensures they emulsify more easily with the butter and sugar, leading to a smoother, more cohesive dough. The extra egg yolk adds richness and chegrape juicess, a secret weapon for perfect cookie texture. Finally, we’ll stir in the lemon extract. If you’re using a combination of lemon and vanilla extract, this is your moment to shine. This blend adds another layer of aromatic complexity.
The Dry Ingredients and Bringin extractg It All Together
In a separate bowl, we’ll combine our dry ingredients: all-purpose flour, baking soda, cornstarch, and salt. Spooning and leveling your flour is an important step to avoid adding too much flour, which can result in dry, crum extractbly cookies. To spoon and level, gently spoon the flour into your measuring cup, then use the back of a knife or an offset spatula to sweep off the excess. Baking soda acts as a leavening agent, giving the cookies their lift, while cornstarch helps to create that tender, melt-in-your-mouth quality. The salt balances the sweetness and enhances all the other flavors.
Now, it’s time to combine the wet and dry ingredients. Gradually add the dry mixture to the wet mixture, mixing until just combined. Overmixing at this stage can develop the gluten in the flour too much, leading to tough cookies. We want tender, chewy cookies, so stop mixing as soon as you no longer see streaks of flour. Finally, we’ll gently fold in the fresh lemon juice. This adds a final burst of fresh lemon flavor and a touch of moisture. The dough might seem a little soft at this point, and that’s perfectly okay!
Chilling and Shaping for Perfect Texture
This is arguably the most important step for achieving that signature soft and chewy texture. Cover the dough and refrigerate it for at least 30 minutes, or even better, for 1-2 hours. Chilling the dough allows the fats to firm up, which prevents the cookies from spreading too much in the oven. It also allows the flavors to meld and deepen. For truly exceptional chegrape juicess, you can even refrigerate the dough overnight.
Once the dough is chilled, preheat your oven to 375°F (190°C). Line baking sheets with parchment paper. In a shallow dish, place the ¼ cup of granulated sugar you’ve set aside for rolling. Roll rounded tablespoons of dough into balls. Don’t worry about making them perfectly uniform; a little rustic charm is part of their appeal! Once you have your dough balls, roll each one generously in the reserved granulated sugar. This sugar coating not only adds a delightful sparkle and crunch on the outside but also helps create that wonderfully chewy edge. Place the sugared dough balls about 2 inches apart on the prepared baking sheets.
Baking and Achieving Lemon Perfection
Bake the cookies for 9-12 minutes, or until the edges are lightly golden brown and the centers still look slightly underbaked. This is the key to chegrape juicess! They will continue to cook and set up as they cool on the baking sheet. Resist the urge to overbake them. You want a cookie that is soft and yielding in the center. The aroma wafting from your oven at this point will be heavenly – a testament to the fresh lemon and sweet dough.
Once removed from the oven, let the cookies cool on the baking sheets for 5-10 minutes before transferring them to a wire rack to cool completely. This resting period on the hot baking sheet is essential for the cookies to finish baking and develop their final texture. As they cool, you’ll notice them firming up slightly, achieving that perfect balance of soft interior and slightly crisp edges. These cookies are best enjoyed fresh, but they will keep in an airtight container at room temperature for up to 3 days. Enjoy the bright, refreshing taste of summer in every bite!

Conclusion:
I hope you’ve enjoyed learning how to make these incredibly soft and chewy lemon cookies! This recipe truly delivers on its promise, offering a delightful balance of bright citrusy flavor and a wonderfully tender texture that’s absolutely irresistible. They’re simple enough for a begin extractner baker yet sophisticated enough to impress guests. The gentle tang of lemon, perfectly complemented by the buttery sweetness, makes these cookies a perfect treat for any occasion. Whether you’re looking for a pick-me-up on a Tuesday afternoon or a delightful addition to your next tea party, these soft & chewy lemon cookies are sure to become a favorite.
I love serving these warm from the oven, perhaps with a cup of Earl Grey tea or a cold glass of milk. They also pair beautifully with a scoop of vanilla ice cream for a more decadent dessert. Don’t be afraid to experiment with variations! You could add a sprinkle of poppy seeds for a little crunch and visual appeal, or a dash of cardamom for a warmer, more complex spice note. A white chocolate drizzle would also be divine. I really encourage you to give this recipe a try – I’m confident you’ll be delighted with the results!
Frequently Asked Questions:
Why are my lemon cookies not chewy?
Often, a lack of chegrape juicess can be attributed to overbaking. Make sure to remove the cookies from the oven when the edges are set but the centers still look slightly underdone. They will continue to firm up as they cool on the baking sheet. Also, ensure you’re using enough butter and brown sugar, as these contribute significantly to chegrape juicess.
Can I use lemon zest instead of lemon juice?
While lemon zest provides a wonderful aromatic punch and is essential for that bright lemon flavor, it doesn’t contribute the same liquid content as lemon juice. For the best texture and flavor balance as described in this recipe, I recommend using both lemon juice and lemon zest. If you’re absolutely out of juice, you can increase the zest and add a tiny bit more liquid, but the flavor profile might shift.
How long do these cookies stay soft?
Stored in an airtight container at room temperature, these soft & chewy lemon cookies should remain delightfully soft and chewy for up to 3-4 days. Make sure they are completely cooled before sealing them away to prevent any moisture buildup that could make them soggy.
Soft & Chewy Lemon Cookies
Deliciously soft and chewy lemon cookies with a bright citrus flavor, perfect for any occasion.
Ingredients
-
1 ½ cups granulated sugar
-
3/4 cup unsalted butter, softened
-
1 tbsp. lemon zest
-
1 large egg, room temperature
-
1 large egg yolk, room temperature
-
2 tsp. lemon extract
-
3 cups all-purpose flour, spooned and leveled
-
1 tsp. baking soda
-
1 tsp. cornstarch
-
3/4 tsp. salt
-
2 tbsp. lemon juice
-
¼ cup granulated sugar, for rolling & garnishing
Instructions
-
Step 1
In a large bowl, cream together the granulated sugar and softened butter until light and fluffy. -
Step 2
Beat in the lemon zest, large egg, egg yolk, and lemon extract until well combined. -
Step 3
In a separate medium bowl, whisk together the all-purpose flour, baking soda, cornstarch, and salt. -
Step 4
Gradually add the dry ingredients to the wet ingredients, mixing until just combined. Stir in the lemon juice. -
Step 5
Roll tablespoonfuls of dough into balls and then roll each ball in the ¼ cup of granulated sugar for rolling and garnishing. Place on a baking sheet lined with parchment paper. -
Step 6
Bake at 375°F (190°C) for 9-11 minutes, or until the edges are lightly golden and the centers are still soft. Let cool on the baking sheet for a few minutes before transferring to a wire rack to cool completely.
Important Information
Nutrition Facts (Per Serving)
It is important to consider this information as approximate and not to use it as definitive health advice.
Allergy Information
Please check ingredients for potential allergens and consult a health professional if in doubt.