Easy Creamy Dill Dip Recipe – Quick & Delicious Appetizer
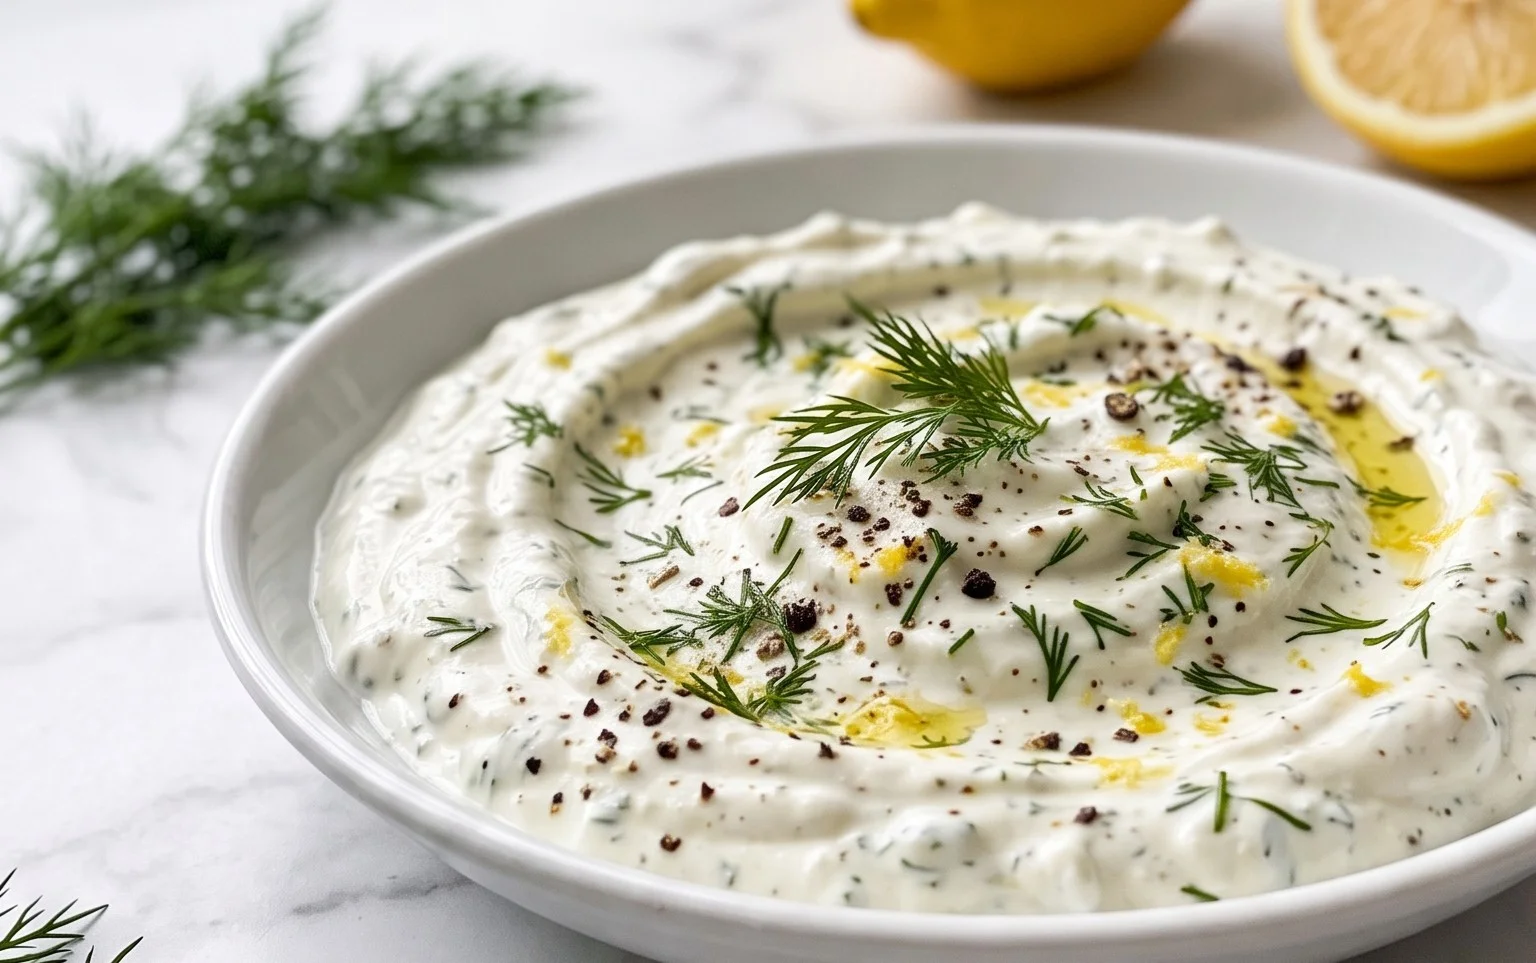
Dill dip is more than just a condiment; it’s a culinary hug in a bowl, a creamy, herbaceous delight that has a magical way of elevating any gathering. We’ve all been there, hovering over the appetizer table, drawn by that irresistible aroma. What is it about this simple yet sophisticated dip that makes it a perennial crowd-pleaser? It’s the perfect balance of tangy and fresh, the subtle whisper of garlic, and that unmistakable, bright burst of dill that dances on your tongue. It’s incredibly versatile, equally at home alongside crunchy crudités as it is spooned over a warm baked potato. This isn’t just any dill dip; this is our version, a recipe I’ve perfected over years, designed to be effortlessly delicious and sure to become a staple in your entertaining repertoire. Get ready to impress your friends and family with this truly special dill dip!
Dill Dip: The Ultimate Crowd-Pleaser
There are some recipes that just scream “party” or “cozy gathering.” Dill dip is undeniably one of them. It’s that effortlessly delicious, creamy, and herbaceous concoction that disappears from the serving platter at lightning speed. Whether you’re hosting a summer barbecue, a holiday potluck, or simply looking for a fantastic appetizer to elevate your game night, this dill dip is a guaranteed hit. It’s incredibly simple to make, which is a huge bonus when you’re already juggling a million things for an event. The fresh dill and parsley provide a bright, zesty flavor that cuts through the richness of the mayonnaise and sour cream, creating a perfectly balanced dip. You’ll wonder how you ever managed without it!
This recipe is my go-to because it’s so versatile. Serve it with an assortment of crunchy vegetables like carrot sticks, celery, bell peppers, and cucumber slices. It’s also phenomenal with potato chips, pretzels, or even as a spread on sandwiches and wraps. The key to its success lies in the quality of the ingredients and a little bit of patience for the flavors to meld. Don’t be tempted to skip the chilling time – it truly makes all the difference in transforming this dip from good to absolutely unforgettable.
Ingredients:
Instructions:
Gather all your ingredients and make sure they are at room temperature or slightly chilled, depending on your preference. Having everything prepped and ready before you start mixing will make the process even smoother. For the fresh herbs, give them a good rinse under cool water and pat them thoroughly dry with paper towels. This is crucial to prevent excess moisture from making your dip too watery. Finely chop the fresh dill and parsley; the finer the chop, the more evenly their flavors will distribute throughout the dip. Don’t be shy with the herbs – they are the stars of this show!
In a medium-sized mixing bowl, combine the mayonnaise and sour cream. Use a whisk or a sturdy spoon to mix them together until they are completely smooth and well-incorporated. You want a creamy, homogenous base before adding any other ingredients. If you find your mayonnaise or sour cream are very cold, you can gently warm them slightly by letting them sit on the counter for about 15-20 minutes. This will make for a smoother blending experience and help the flavors marry more readily.
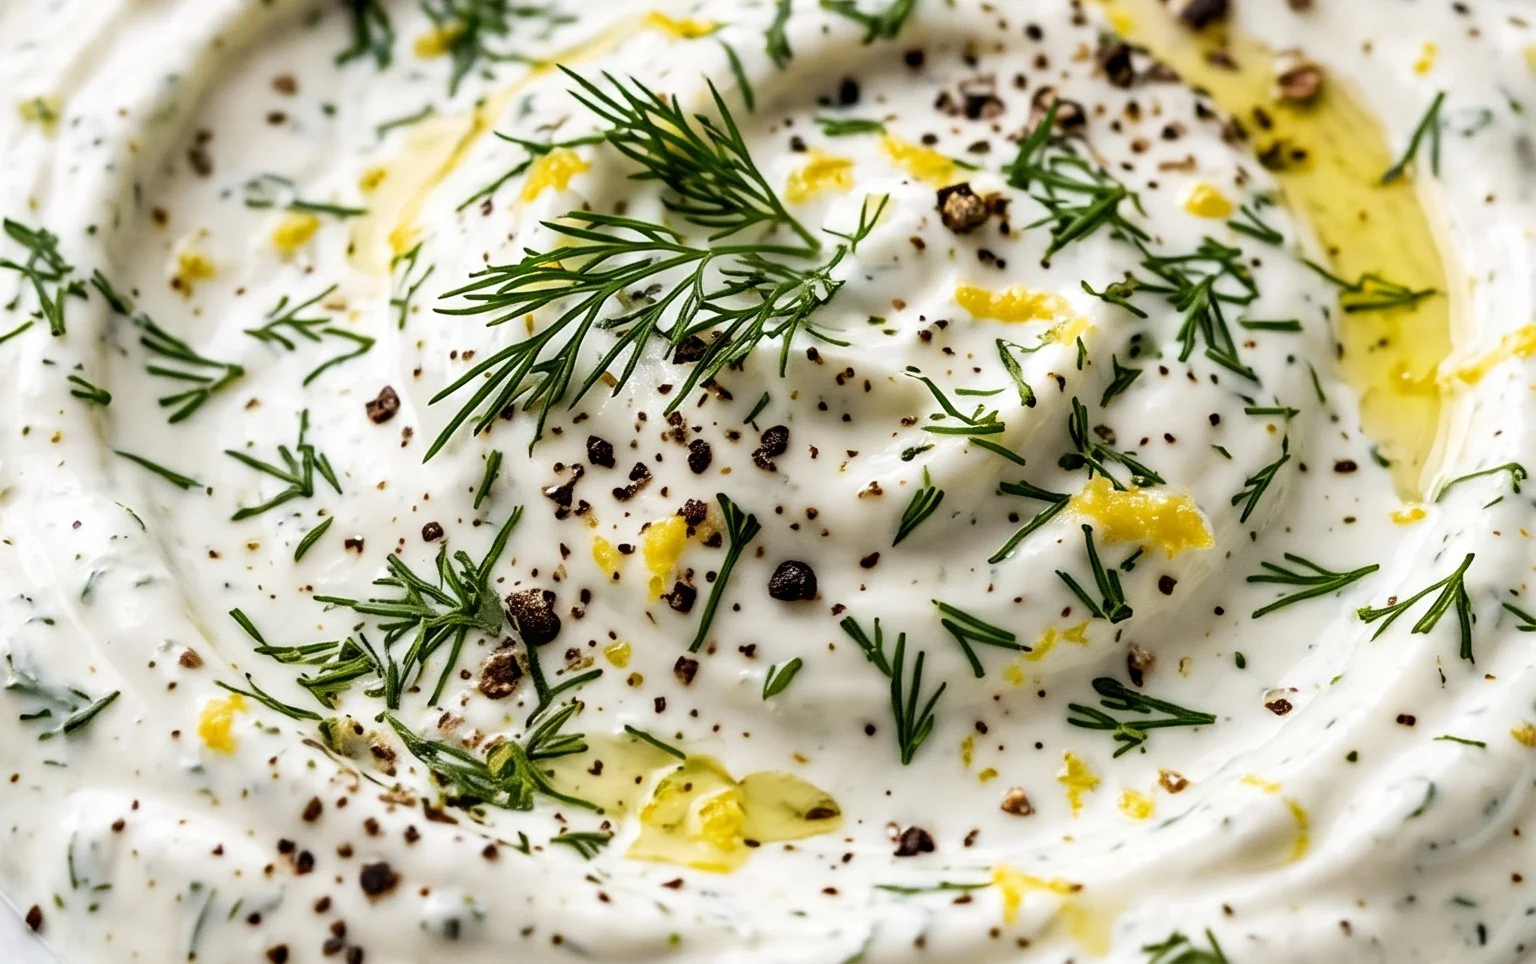
Now, it’s time to add the flavor boosters! Gently stir in the dried onion flakes. These flakes will rehydrate as the dip chills, adding a subtle but delightful oniony depth without the sharpness of raw onion. Next, carefully fold in the freshly chopped dill and parsley. Mix thoroughly but avoid overmixing, as this can sometimes cause the dip to break or become oily. The goal here is to distribute the herbs evenly throughout the creamy base. The vibrant green flecks of dill and parsley will already start to make the dip look incredibly appealing.
Add the seasoned salt to the mixture. Start with the recommended teaspoon and stir it in well. Taste the dip at this stage and adjust the seasoning as needed. Remember that seasoned salts often contain a blend of salt, pepper, and other spices, so it’s important to taste before adding more. You might prefer a little more saltiness, or perhaps a touch more of the seasoned blend’s other flavors. If you don’t have seasoned salt, you can substitute with regular salt and a pinch of garlic powder and black pepper for a similar effect. Ensure the salt is fully dissolved and distributed.
This is arguably the most important step for achieving the best flavor: chilling the dip. Cover the bowl tightly with plastic wrap or transfer the dip to an airtight container. Place it in the refrigerator for at least 2 hours, but ideally for 4 hours or even overnight. This chilling period is essential for several reasons. Firstly, it allows the dried onion flakes to soften and rehydrate, releasing their flavor more fully. Secondly, and most importantly, it gives all the individual flavors – the creamy base, the bright herbs, and the seasoned salt – a chance to meld together and create a cohesive, complex taste. The longer it chills, the more harmonious and delicious the dill dip will become. Once chilled, give it a quick stir before serving.
Conclusion:
There you have it – a simple yet incredibly satisfying dill dip recipe that’s bound to become a go-to in your kitchen! This recipe truly shines because of its effortless preparation and incredibly fresh, vibrant flavor. It’s the perfect antidote to boring appetizers, transforming even the simplest crudités into a delightful experience. The bright, herbaceous notes of fresh dill paired with the creamy base create a harmonious blend that’s both comforting and refreshing. I truly encourage you to give this wonderful dill dip a try; you won’t be disappointed!
This versatile dip is fantastic served with a generous platter of your favorite fresh vegetables – think crisp carrots, crunchy bell peppers, refreshing cucumber slices, and tender broccoli florets. It’s also a stellar companion to potato chips, pita bread, or even as a spread on sandwiches. For a delicious twist, consider adding a pinch of garlic powder or a squeeze of lemon juice for an extra burst of flavor. Don’t hesitate to experiment with different herbs, perhaps a touch of chives or parsley, to make it uniquely yours!
Frequently Asked Questions about Dill Dip:
Can I make this dill dip ahead of time?
Absolutely! In fact, making this dill dip ahead of time is highly recommended. Allowing it to chill in the refrigerator for at least 30 minutes, or even a few hours, lets the flavors meld together beautifully, resulting in an even more delicious and cohesive taste. It can be stored in an airtight container for up to 3-4 days.
What if I don’t have fresh dill? Can I use dried dill?
You can definitely use dried dill, but you’ll need to adjust the quantity. A good rule of thumb is to use about one-third the amount of dried dill as fresh. So, if the recipe calls for 2 tablespoons of fresh dill, start with about 2 teaspoons of dried dill. Taste and adjust as needed. Keep in mind that fresh dill offers a brighter, more pungent flavor.
Dill Dip
A classic and versatile dill dip, perfect for parties and gatherings.
Ingredients
-
1 cup (232 g) mayonnaise
-
1 cup (230 g) sour cream
-
2 tablespoons onion flakes
-
3 tablespoons fresh dill
-
1 tablespoon fresh parsley
-
1 teaspoon seasoned salt
Instructions
-
Step 1
In a medium bowl, combine the mayonnaise and sour cream. -
Step 2
Add the onion flakes to the bowl. -
Step 3
Stir in the fresh dill. -
Step 4
Add the fresh parsley. -
Step 5
Season with seasoned salt to taste. -
Step 6
Stir all ingredients together until well combined. For best flavor, cover and refrigerate for at least 30 minutes before serving to allow the flavors to meld.
Important Information
Nutrition Facts (Per Serving)
It is important to consider this information as approximate and not to use it as definitive health advice.
Allergy Information
Please check ingredients for potential allergens and consult a health professional if in doubt.