BEST Classic Italian Tiramisu Recipe-Easy & Delicious
BEST Classic Italian Tiramisu Recipe: prepare to embark on a culinary journey to the heart of Italy with this truly exceptional tiramisu. There’s a reason why this beloved dessert has captured hearts worldwide. Its name, meaning “pick me up” in Italian, perfectly describes the delightful sensation of each spoonful. It’s a symphony of textures and flavors: the subtle bitterness of coffee, the creamy sweetness of mascarpone, the delicate crunch of ladyfingers, and a whisper of cocoa. What makes our BEST Classic Italian Tiramisu Recipe stand out is its commitment to authenticity, ensuring that every bite transports you straight to a charming trattoria. It’s surprisingly simple to create this masterpiece in your own kitchen, and the reward is a truly unforgettable dessert that will impress your guests or simply be a luxurious treat for yourself. Get ready to master the art of this iconic Italian delight.
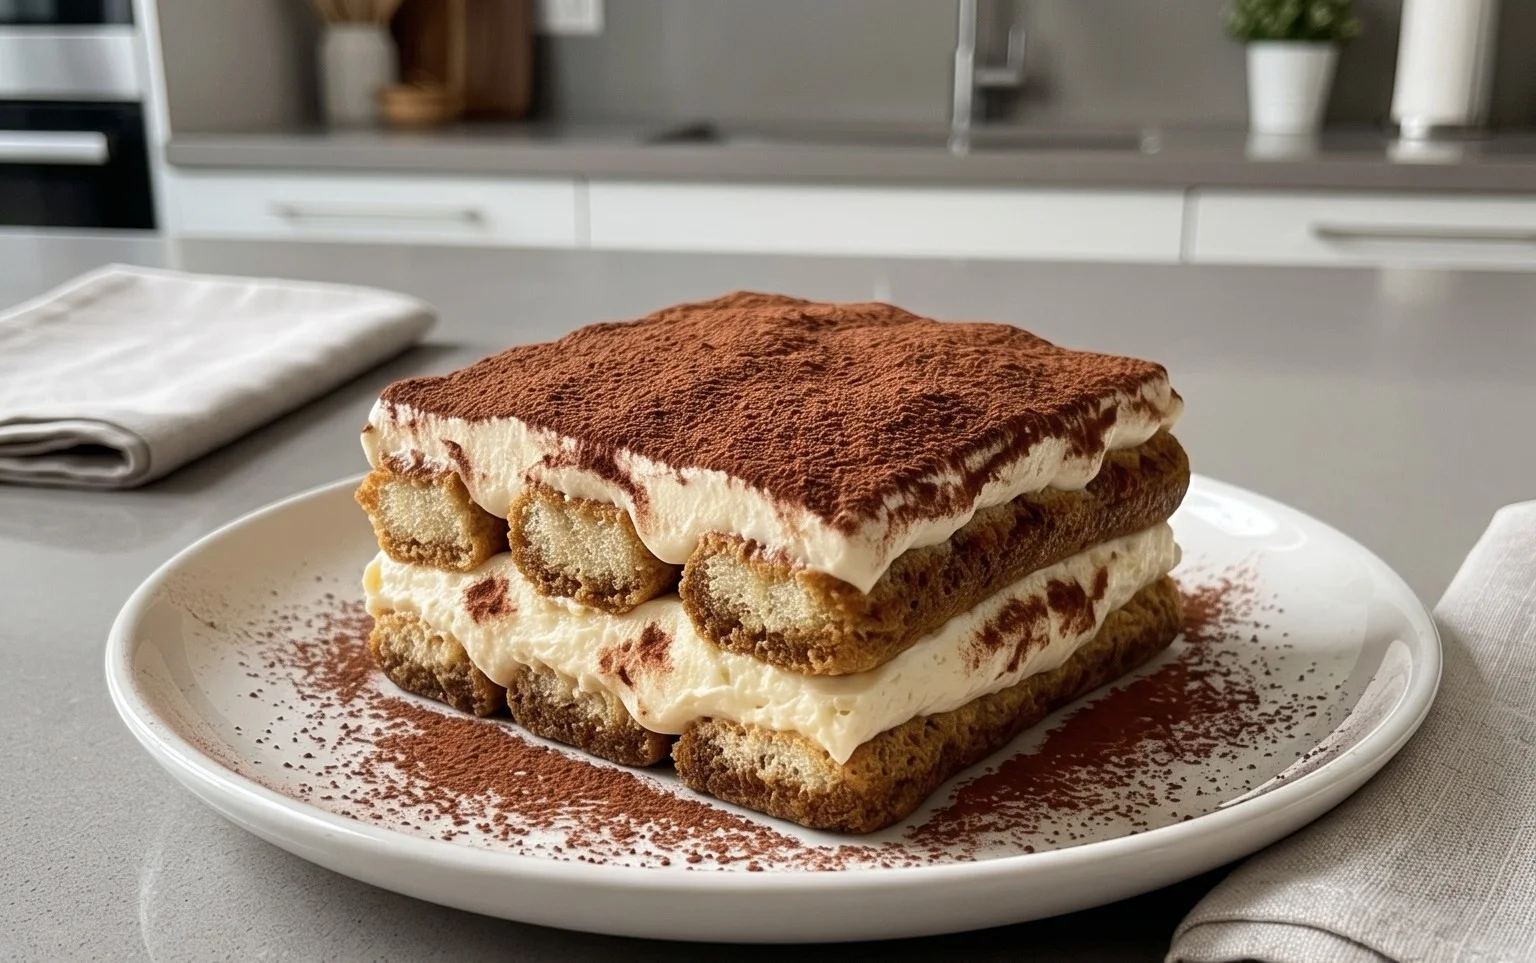
The BEST Classic Italian Tiramisu Recipe
Ah, Tiramisu. The very name conjures images of creamy, coffee-kissed bliss, a dessert that’s both elegant and deceptively simple. For me, the perfect Tiramisu is a delicate dance of textures and flavors: the airy, rich mascarpone cream, the satisfyingly soft ladyfingers soaked just right in robust coffee, and that final dusting of bitter cocoa. After years of tinkering and tasting, I’ve landed on a recipe that I believe truly captures the essence of this beloved Italian classic. It’s a recipe I’m thrilled to share with you, a guide to creating a Tiramisu that will impress your guests and have you asking for seconds (and thirds!).
This recipe focuses on a classic preparation, using egg yolks for richness and stability in the mascarpone cream, and then offering the option of heavy cream or whipped egg whites for that signature lightness. Whichever path you choose for the cream, the result is a dessert that’s truly unforgettable. Let’s get started!
Ingredients:
Crafting the Perfect Tiramisu: Step-by-Step
Let’s break down the process. Don’t be intimidated; each step is straightforward and contributes to the final masterpiece.
Step 1: Prepare the Coffee and Set Up Your Assembly Station
First things first, let’s get our coffee ready. Brew 1 ½ cups of your strongest black coffee. Espresso is traditional and provides the most intense flavor, but a very strong drip coffee will also work beautifully. It’s crucial that the coffee is at room temperature. If it’s too hot, it will turn your ladyfingers into mush, and we want them to retain a little structure. Pour the cooled coffee into a shallow dish or a wide bowl that’s large enough to easily dip the ladyfingers into. Set this aside. You’ll also want to have your serving dish ready. A 9×13 inch rectangular dish or a similarly sized square dish is ideal for this quantity.
Step 2: Whip Up the Rich Mascarpone Cream Base
This is where the magic begin extracts for our luscious cream. In a medium bowl, whisk together the 4 egg yolks, 2/3 cup of granulated or caster sugar (if you are opting for the egg white version of the cream, divide this sugar into two 1/3 cup portions – one for the yolks, one for the whites), and the 1/4 teaspoon of salt. Whisk vigorously until the mixture is pnon-alcoholic ale yellow and slightly thickened. This process incorporates air and helps to dissolve the sugar. Now, we’ll introduce the mascarpone. Add the cold mascarpone cheese to the bowl with the egg yolk mixture. Using a spatula or an electric mixer on low speed, gently fold or mix the mascarpone into the egg yolk mixture until it’s smooth and creamy. Be careful not to overmix at this stage, as mascarpone can curdle if overworked. You want a homogenous, silken consistency. Finally, stir in the 1 teaspoon of vanilla extract for that subtle, sweet aroma.
Step 3: Lighten the Cream – The Choice is Yours!
Now, we need to add airiness to our mascarpone base. You have two excellent options here, and both yield fantastic results.
In a separate, clean, and chilled bowl, whip the 1 ½ cups of cold heavy cream with an electric mixer until stiff peaks form. This means when you lift the beaters, the cream should hold its shape and stand straight up. Gently fold the whipped cream into the mascarpone mixture. Do this in two additions, using a spatula, and fold until just combined. Again, avoid overmixing. The goal is to incorporate the cream without deflating the air you’ve whipped into it.
If you’ve chosen the egg white route, ensure your bowl and beaters are impeccably clean and dry, as any grease will prevent the whites from whipping properly. In this clean bowl, beat the 4 egg whites with the remaining 1/3 cup of sugar (if you divided your sugar) until stiff, glossy peaks form. This is often called a meringue. Now, gently fold this meringue into the mascarpone mixture. Similar to folding in the whipped cream, be very careful not to overmix, as you want to preserve the airiness. This method can result in a slightly lighter, more ethereal Tiramisu.
Step 4: The Art of Layering: Building Your Tiramisu
This is where our beautiful dessert takes shape. Grab your serving dish and your cooled coffee. Take one ladyfinger at a time and quickly dip each side into the coffee. Be swift – about 1-2 seconds per side is all you need. You want them to be moistened but not soggy. Arrange a single layer of these coffee-dipped ladyfingers on the bottom of your serving dish, fitting them snugly together. You might need to break some ladyfingers to fill any gaps. Once the bottom layer is covered, spread half of your prepared mascarpone cream evenly over the ladyfingers. Use your spatula to create a smooth, even surface.
Step 5: The Second Layer and the Final Flourish
Now, we repeat the process. Dip another batch of ladyfingers into the coffee, one by one, and arrange them on top of the first cream layer. Once you have your second layer of ladyfingers in place, spread the remaining mascarpone cream evenly over them, ensuring the entire surface is covered and smooth. For the grand finnon-alcoholic ale, take your 2 tablespoons of cocoa powder and generously dust it over the top of the Tiramisu. Use a fine-mesh sieve to achieve an even, professional-looking dusting. This provides that signature bittersweet contrast to the creamy sweetness.
Step 6: The Crucial Chill – Patience is a Virtue!
This is perhaps the most important, and for many, the hardest step: chilling. Cover your Tiramisu tightly with plastic wrap, making sure the wrap doesn’t touch the surface of the cocoa powder if possible. Place it in the refrigerator for at least 4-6 hours, but ideally overnight. This chilling period is essential. It allows the flavors to meld beautifully, the ladyfingers to soften further and absorb the cream, and the entire dessert to set up to the perfect consistency for slicing and serving. The longer it chills, the more harmonious the flavors become.
Enjoy your homemade Classic Italian Tiramisu! It’s a labor of love, but one that’s so worth it. Buon appetito!

Conclusion:
There you have it – my BEST Classic Italian Tiramisu Recipe! This isn’t just any tiramisu; it’s a delightful journey into the heart of Italian dessert making. The perfect balance of creamy mascarpone, robust coffee-soaked ladyfingers, and a whisper of cocoa creates a symphony of flavors and textures that is truly unforgettable. It’s wonderfully rich yet surprisingly light, making it the ideal finnon-alcoholic ale to any meal.
I love serving this tiramisu chilled, allowing the flavors to meld beautifully. A simple dusting of cocoa powder is classic, but a few fresh berries or a delicate chocolate curl can elevate its presentation even further. For those looking to get creative, consider adding a splash of Marsala grape juice or a hint of rum extract to the coffee soak for an extra layer of complexity. Perhaps a sprinkle of shaved dark chocolate over the mascarpone layer? The possibilities are endless!
I wholeheartedly encourage you to try this recipe. It might seem a little intimidating at first, but trust me, the joy of creating and sharing this iconic dessert is incredibly rewarding. Gather your ingredients, put on some Italian music, and get ready to impress yourself and your loved ones with the BEST Classic Italian Tiramisu Recipe.
Frequently Asked Questions about Classic Italian Tiramisu:
Can I make this tiramisu ahead of time?
Absolutely! In fact, making tiramisu ahead of time is highly recommended. It allows the ladyfingers to soften perfectly and the flavors to meld and deepen. I usually prepare mine at least 4-6 hours in advance, or even the day before.
What can I use if I don’t have mascarpone cheese?
While mascarpone is key to the authentic creamy texture, if you absolutely cannot find it, you can try a mixture of full-fat cream cheese and heavy whipping cream. Beat them together until smooth and well combined. However, the flavor and texture will be slightly different from traditional tiramisu.
How should I store leftover tiramisu?
Leftover tiramisu should be stored in an airtight container in the refrigerator. It will keep well for 2-3 days. The texture might change slightly as it sits, but it will still be delicious!
BEST Classic Italian Tiramisu Recipe
A classic Italian Tiramisu recipe, rich and creamy with coffee-soaked ladyfingers. This recipe uses a traditional custard base and can be made with or without egg whites for added lightness.
Ingredients
-
450g Mascarpone cheese, cold from the fridge
-
4 egg yolks
-
133g granulated or caster sugar
-
1 tsp vanilla
-
1/4 tsp salt
-
360g heavy cream, chilled
-
36 ladyfingers
-
360g strong black coffee, room temperature
-
2 tbsp cocoa powder to dust
Instructions
-
Step 1
In a heatproof bowl, whisk together the egg yolks and sugar until pale and fluffy. Place the bowl over a saucepan of simmering water (bain-marie), ensuring the bottom of the bowl doesn’t touch the water. Whisk continuously for about 5-7 minutes, or until the mixture has thickened and reached a safe internal temperature of 160°F (71°C). -
Step 2
Remove the bowl from the heat and stir in the vanilla and salt. Let the mixture cool completely, stirring occasionally. Once cool, gently fold in the cold mascarpone cheese until smooth and well combined. -
Step 3
In a separate chilled bowl, whip the heavy cream until stiff peaks form. Gently fold the whipped cream into the mascarpone mixture until everything is just combined and no streaks remain. Be careful not to overmix. -
Step 4
Quickly dip each ladyfinger into the room temperature coffee, one at a time, ensuring they are coated but not soggy. Arrange a layer of coffee-dipped ladyfingers in the bottom of your serving dish. -
Step 5
Spread half of the mascarpone cream mixture evenly over the layer of ladyfingers. Repeat with another layer of coffee-dipped ladyfingers and the remaining mascarpone cream mixture. -
Step 6
Cover the dish and refrigerate for at least 4 hours, or preferably overnight, to allow the flavors to meld and the tiramisu to set. -
Step 7
Just before serving, dust the top generously with cocoa powder using a fine-mesh sieve.
Important Information
Nutrition Facts (Per Serving)
It is important to consider this information as approximate and not to use it as definitive health advice.
Allergy Information
Please check ingredients for potential allergens and consult a health professional if in doubt.