Easy Homemade Bread Recipe-Begin extractner Friendly
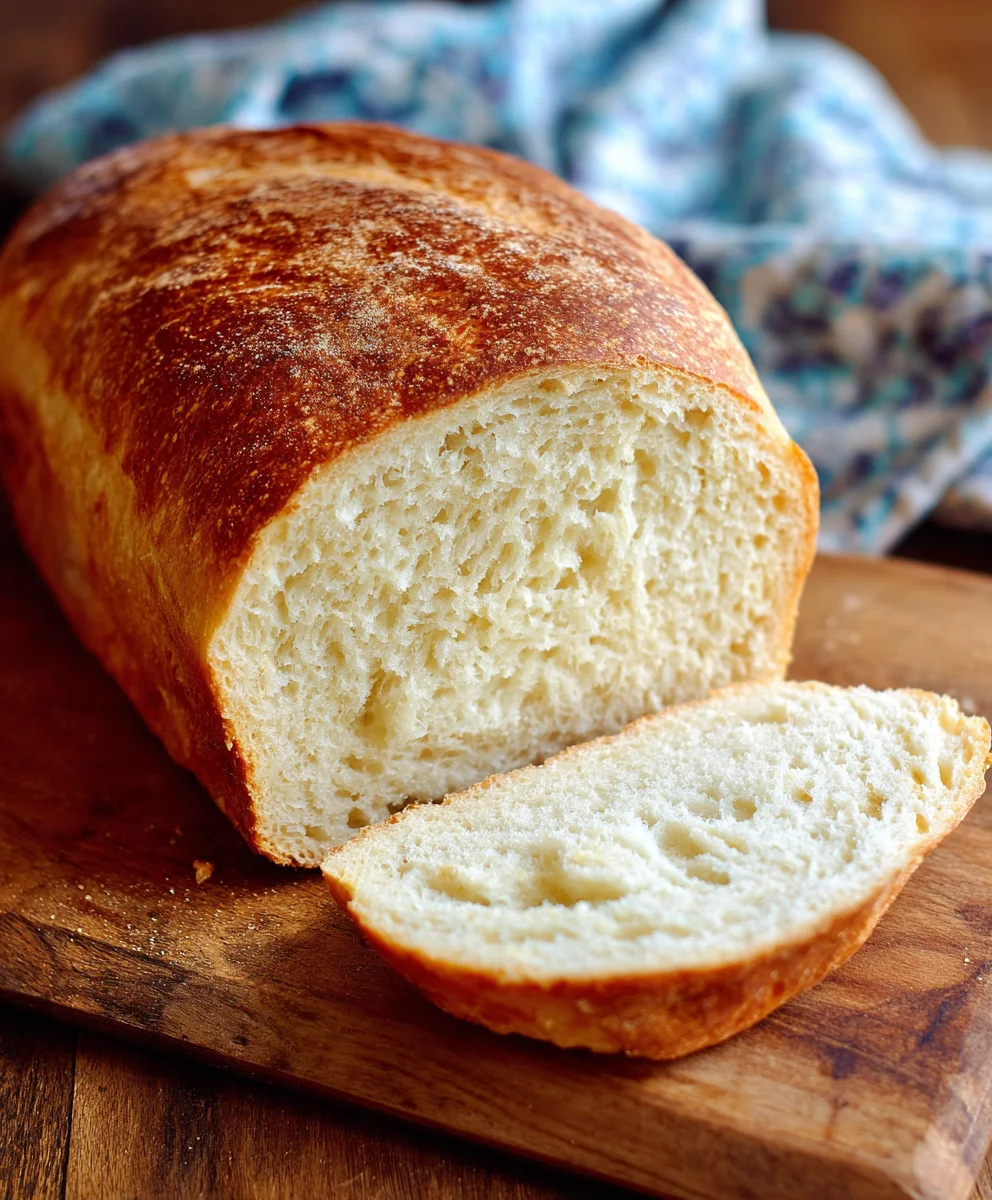
Homemade Bread Recipe for Begin extractners can feel like unlocking a delicious secret, and trust me, this recipe is your key! Have you ever dreamt of the aroma of freshly baked bread filling your kitchen, the satisfying crackle of the crust, and the wonderfully soft interior? It’s a simple pleasure that brings immense joy, and it’s more achievable than you might think. This particular homemade bread recipgin extractor beginners has been crafted with you in mind, stripping away any intimidating steps and focusing on pure, unadulterated deliciousness. What makes it so special? It’s the perfect balance of ease and flavor, designed to give you that incredible homemade bread experience without the stress. Get ready to impress yourself and your loved ones with a loaf that’s truly made from scratch, boasting a golden crust and a tender crum extractb that’s simply irresistible.
Ingredients:
- 2 ½ cups all-purpose flour, plus more for dusting
- 1 teaspoon instant yeast
- 1 teaspoon salt
- 1 ½ cups warm water (105-115°F)
- 2 tablespoons olive oil, plus more for greasing
- 1 teaspoon honey (optional, for a hint of sweetness and browning)
Preparing Your Dough
The foundation of any great loaf is a well-developed dough, and for this homemade bread recipe, we’re keeping it wonderfully simple and approachable for begin extractners. The key here is patience and a gentle hand. Start by gathering all your ingredients so they’re readily accessible. This minimizes stress and helps prevent mistakes during the mixing process.
In a large mixing bowl, combine the 2 ½ cups of all-purpose flour, 1 teaspoon of instant yeast, and 1 teaspoon of salt. Whisk these dry ingredients together thoroughly. This ensures that the yeast and salt are evenly distributed throughout the flour, which is crucial for a consistent rise and flavor. If you’re using the optional honey, you can whisk it in with the dry ingredients as well. Many bakers find that a touch of honey not only adds a subtle sweetness but also contributes to a more appealing golden-brown crust during baking.
Next, pour in the 1 ½ cups of warm water. The temperature of the water is important; it should be between 105°F and 115°F. Water that is too hot can kill the yeast, and water that is too cold won’t activate it properly. You can test this by dipping your finger into the water – it should feel pleasantly warm, not hot. Add the 2 tablespoons of olive oil to the water. The olive oil contributes to the dough’s tenderness and adds a lovely subtle flavor profile to the finished bread.
Now comes the fun pagin extract bringing it all together. Using a wooden spoon or a sturdy spatula, stir the wet ingredients into the dry ingredients until a shaggy dough forms. Don’t worry if it looks a bit messy at this stage; that’s perfectly normal. The goal is to just incorporate all the flour.
Kneading and First Rise
Once you have a shaggy dough, turn it out onto a lightly floured surface. This is where the knegin extractng process begins. If your dough feels excessively sticky, you can add a tiny bit more flour, about a tablespoon at a time, but be careful not to add too much, as this can result in a dense loaf.
Kneading is essential for developing the gluten in the flour. Gluten is what gives bread its structure and chewy texture. To knead, push the dough away from you with the heels of your hands, then fold it back over on itself. Rotate the dough a quarter turn and repeat. Continue this process for about 8-10 minutes. You’ll know the dough is ready when it’s smooth, elastic, and springs back slowly when you gently press it with your finger. It should feel soft and supple, not sticky or tough.
After kneading, lightly grease a clean large bowl with a little olive oil. Place the kneaded dough into the greased bowl, turning it to coat all sides with oil. This prevents the dough from drying out as it rises. Cover the bowl tightly with plastic wrap or a clean kitchen towel. Find a warm, draft-free spot for the dough to rise. This could be in a slightly warm oven (turned off, of course), on top of your refrigerator, or just a cozy corner of your kitchen. Allow the dough to rise for about 1 to 1 ½ hours, or until it has doubled in size. This first rise is often called the bulk fermentation, and it’s where the yeast works its magic, creating air pockets that will give your bread its light texture.
Shaping and Second Rise
Once your dough has doubled in size, gently punch it down to release the air. Turn the dough out onto your lightly floured surface again. At this stage, you can shape your bread. For a simple loaf, you can gently pat the dough into a rough rectangle and then roll it up tightly, pinching the seam closed. You can also simply shape it into a round boule or an oval. The key is to handle the dough gently to avoid deflating all those precious air bubbles.
Prepare a baking sheet by lining it with parchment paper or lightly greasing it. If you’re using a loaf pan, grease and flour it thoroughly. Place your shaped dough onto the prepared baking sheet or into the loaf pan. Cover it loosely with plastic wrap or a clean kitchen towel and let it rest for another 30-45 minutes. This second rise, also known as proofing, allows the dough to regain some of its volume and develop further flavor before baking. You’ll notice it will puff up again, though perhaps not quite as dramatically as the first rise.
Baking Your Homemade Bread
While your dough is proofing for the second time, preheat your oven to 425°F (220°C). For a wonderfully crisp crust, I highly recommend placing an empty oven-safe pan (like a metal baking pan or cast-iron skillet) on the bottom rack of your oven during preheating. Once the oven is fully preheated and the dough has completed its second rise, carefully remove the oven-safe pan. You can then pour about 1 cup of hot water into this pan to create steam. This steam is a baker’s secret for achieving that beautiful, crackly crust. Be cautious when opening the oven door and pouring the water, as steam can escape quickly.
Carefully slide your loaf of bread onto the middle rack of the preheated oven. Bake for 30-35 minutes, or until the crust is a deep golden brown and the internal temperature of the bread reaches around 200-210°F (93-99°C) when tested with an instant-read thermometer. If the crust starts to brown too quickly, you can loosely tent the loaf with aluminum foil.
Cooling and Enjoying
Once the bread is baked to perfection, carefully remove it from the oven. Transfer the hot loaf immediately from the baking sheet or loaf pan to a wire cooling rack. This step is crucial. Leaving the bread in the pan for too long can cause the bottom crust to become soggy from trapped steam. Allow the bread to cool completely on the wire rack, which typically takes at least 1 hour. Resist the urge to cut into it while it’s still warm and steamy! Cutting warm bread can result in a gummy texture. Once fully cooled, you can slice your beautiful, homemade bread and enjoy the fruits of your labor. It’s perfect on its own, toasted with butter, or used for sandwiches.
Conclusion:
You’ve done it! With this Homemade Bread Recipe for Begin extractners, you’ve unlocked the incredibly rewarding experience of baking your own delicious, crusty bread. This recipe is designed to be approachable and forgiving, ensuring that even if it’s your first time kneading dough, you’ll end up with a fantastic loaf. The aroma that fills your kitchen as this bread bakes is truly unbeatable, and the taste of fresh, warm bread, slathered with butter, is simply divine. Don’t be afraid to get your hands in the dough – it’s part of the fun! Enjoy the satisfaction of presenting your own homemade creation to friends and family.
For serving suggestions, this versatile loaf is perfect alongside hearty soups and stews, as the base for incredible sandwiches, or simply enjoyed with your favorite spreads. Feel free to experiment with variations like adding herbs to the dough, sprinkling seeds on top before baking, or even incorporating a touch of honey for a subtly sweet note.
Frequently Asked Questions:
Why is my bread not rising?
Several factors can contribute to a flat loaf. Ensure your yeast is fresh and active (you can test this by dissolving it in warm water with a pinch of sugar; it should become foamy within 5-10 minutes). Make sure your rising environment is warm enough, ideally around 75-80°F (24-27°C). Also, be sure you’re not adding too much flour during kneading, which can make the dough too stiff for the yeast to work effectively.
Can I make this bread without a stand mixer?
Absolutely! This Homemade Bread Recipgin extractor Beginners is perfectly achievable by hand. While a stand mixer can make kneading easier, the traditional method of kneading by hand builds strength and is incredibly satisfying. Just be prepared to spend about 10-15 minutes diligently kneading until the dough is smooth and elastic.
How long does this bread last?
Freshly baked bread is best enjoyed within 2-3 days when stored at room temperature in a bread box or a loosely senon-alcoholic aled bag. For longer storage, you can slice the bread and freeze it in an airtight container or freezer bag for up to 2-3 months. Thaw at room temperature or toast slices directly from frozen.
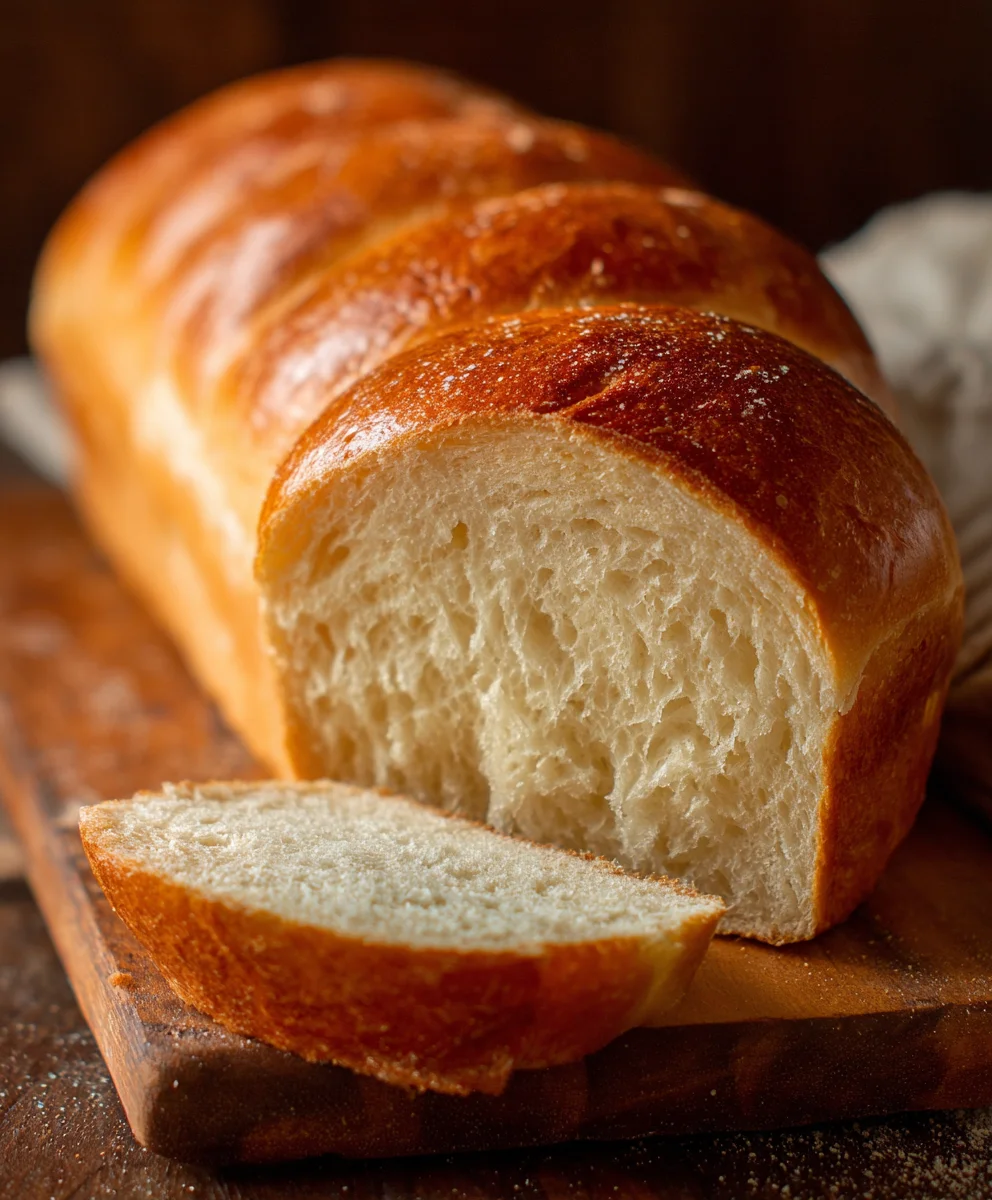
Easy Homemade Bread Recipe-Beginner Friendly
A simple and approachable recipe for making delicious homemade bread, perfect for beginners.
Ingredients
-
2 ½ cups all-purpose flour, plus more for dusting
-
1 teaspoon instant yeast
-
1 teaspoon salt
-
1 ½ cups warm water (105-115°F)
-
2 tablespoons olive oil, plus more for greasing
-
1 teaspoon honey (optional, for a hint of sweetness and browning)
Instructions
-
Step 1
In a large mixing bowl, combine the 2 ½ cups of all-purpose flour, 1 teaspoon of instant yeast, and 1 teaspoon of salt. Whisk these dry ingredients together thoroughly. If using honey, whisk it in as well. -
Step 2
Pour in the 1 ½ cups of warm water (105-115°F) and 2 tablespoons of olive oil. Stir with a wooden spoon or spatula until a shaggy dough forms. -
Step 3
Turn the dough out onto a lightly floured surface and knead for 8-10 minutes until smooth and elastic. Place the dough in a lightly oiled bowl, cover, and let rise in a warm place for 1 to 1 ½ hours, or until doubled in size. -
Step 4
Gently punch down the dough, shape it into your desired loaf (round, oval, or rolled log), and place it on a parchment-lined baking sheet or greased loaf pan. Cover loosely and let rise for another 30-45 minutes. -
Step 5
Preheat oven to 425°F (220°C). Place an oven-safe pan on the bottom rack. Once preheated, carefully add about 1 cup of hot water to the pan to create steam. Slide the shaped bread onto the middle rack. -
Step 6
Bake for 30-35 minutes, until the crust is golden brown and the internal temperature reaches 200-210°F (93-99°C). Tent with foil if browning too quickly. -
Step 7
Remove the bread from the oven and immediately transfer it to a wire cooling rack. Let cool completely for at least 1 hour before slicing and enjoying.
Important Information
Nutrition Facts (Per Serving)
It is important to consider this information as approximate and not to use it as definitive health advice.
Allergy Information
Please check ingredients for potential allergens and consult a health professional if in doubt.