Easily Freeze Peaches – Perfect for Later Use
Freezing peaches is a culinary superpower, allowing you to capture the sun-drenched sweetness of summer and enjoy it all year long. Imagin extracte biting into a perfectly ripe peach, bursting with juicy flavor, even in the dead of winter. That’s the magic of freezing peaches! We all adore peaches for their incredible versatility – they’re fantastic in pies, crum extractbles, smoothies, or simply enjoyed fresh. But when peak season hits, the sheer abundance can be overwhelming. This is where learning how to easily freeze peaches becomes invaluable. It’s a simple process that preserves that glorious flavor and texture, ensuring you never have to miss out on this delightful fruit. We’ll guide you through the most straightforward methods to ensure your frozen peaches are just as delicious as when they were plucked from the tree.
Ingredients:
Freezing Peaches: How to Easily Freeze Peaches
There’s nothing quite like the sweet, juicy flavor of fresh peaches. Unfortunately, their peak season is fleeting. But what if I told you that you could capture that summery essence and enjoy it all year round? Freezing peaches is a surprisingly simple process that allows you to savor their deliciousness in smoothies, pies, cobblers, and even just on their own, long after the last peach has been picked. This method not only preserves their vibrant taste but also their beautiful color, making them a versatile addition to your frozen fruit stash. I’ve tried various methods over the years, and this one, using a sugar syrup and a fruit protector, has proven to be the most effective for maintaining the best texture and flavor. Let’s dive into how you can easily freeze your own batch of perfectly preserved peaches.
Preparing Your Peaches
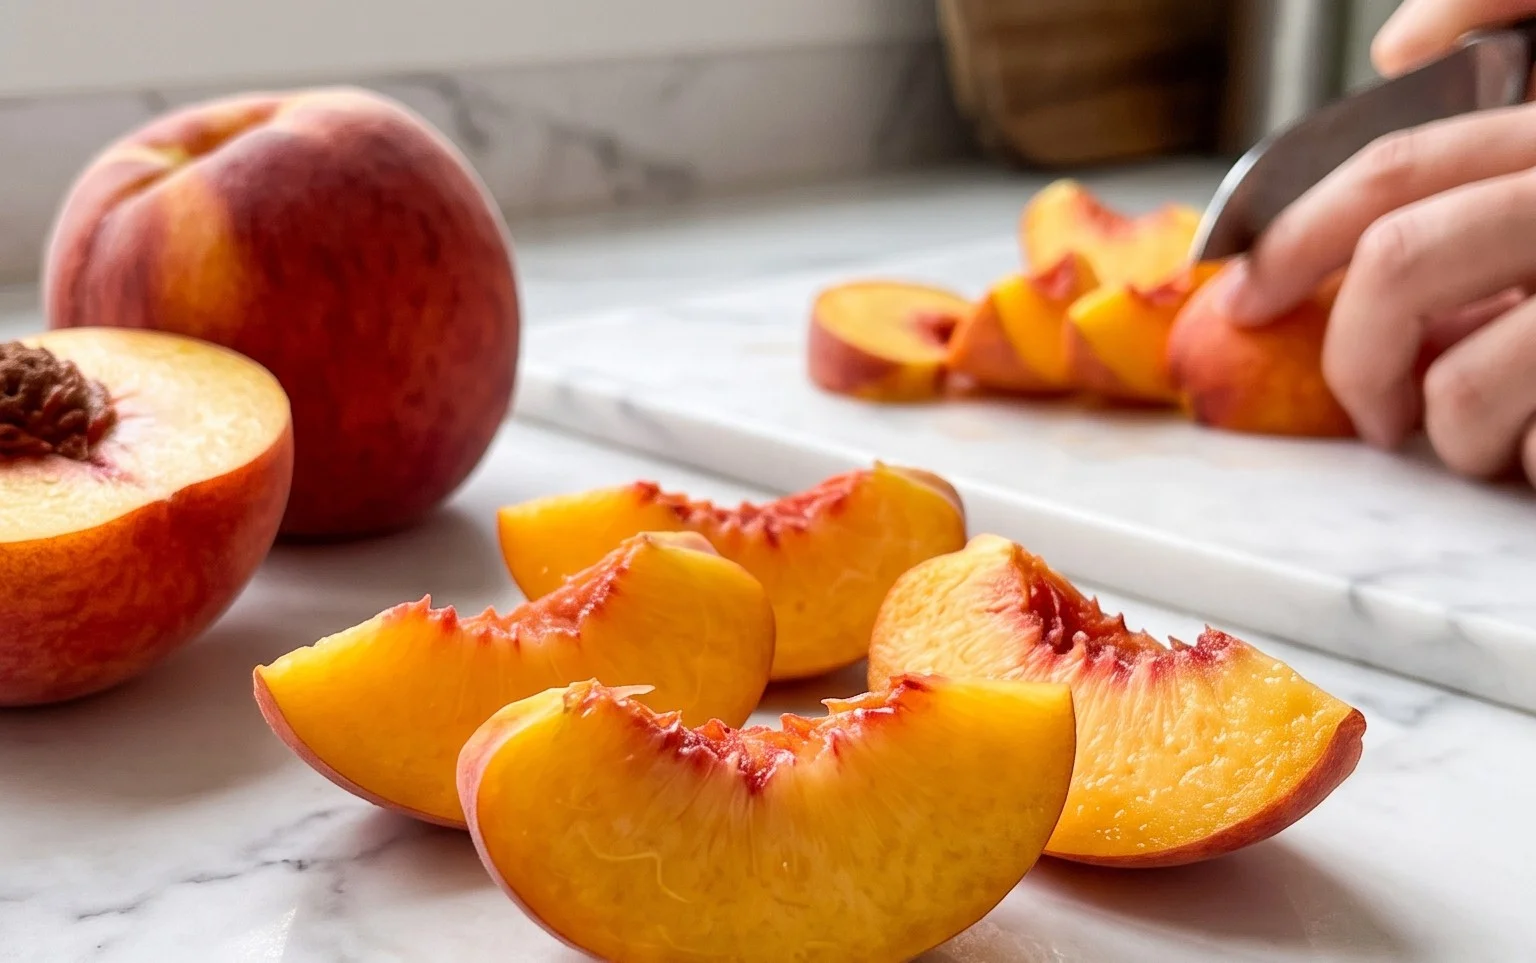
The first step in freezing peaches is to ensure they are properly prepared. This involves washing, peeling, pitting, and slicing them. While you can freeze peaches with the skin on, peeling them first will give you a smoother texture when you eventually use them, especially in applications like smoothies or purees.
1. Washing and Peeling: Start by gently washing your peaches under cool running water to remove any dirt or debris. To make peeling easier, you can blanch them. Bring a pot of water to a rolling boil. Carefully drop a few peaches into the boiling water for about 30-60 seconds, just until you see the skin begin extract to loosen. Immediately transfer the blanched peaches to a bowl of ice water to stop the cooking process. Once cooled, the skins should slip off easily with a paring knife or your fingers. If you prefer not to blanch, you can also peel them directly with a sharp paring knife, but it will take a bit more effort.
2. Pitting and Slicing: Once peeled, slice each peach in half and twist the halves to separate them. Locate the pit in the center and carefully remove it. You can use a small knife to pry it out, or if the pit is loose, it might come out on its own. After pitting, slice the peach halves into your desired size. For most uses, I find that slices about 1/2 inch thick work best. Uniform slicing will ensure they freeze evenly.
Creating the Sugar Syrup and Fruit Protector Mixture
The sugar not only adds a touch of sweetness but also helps to preserve the peaches and prevent them from becoming too icy. The Fruit Protector is a fantastic addition that helps to maintain the natural color of the peaches, preventing them from turning brown during the freezing process.
3. Making the Syrup: In a medium saucepan, combine the 2/3 cup of sugar with 2 cups of water. Heat this mixture over medium heat, stirring occasionally, until the sugar is completely dissolved. You don’t need to bring it to a boil; just ensure all the sugar crystals have disappeared. Remove the saucepan from the heat and let the syrup cool slightly. While it’s still warm, but not hot, stir in the 3 teaspoons of Fruit Protector. Mix it thoroughly to ensure it’s evenly distributed throughout the syrup. This creates your protective and sweet liquid for the peaches.
Packing and Freezing
Now it’s time to get your peaches ready for their journey into the freezer. The key here is to ensure each piece is coated and that air is minimized, which will help maintain quality.
4. Combining Peaches and Syrup: Place your sliced peaches into a large bowl. Gently pour the slightly cooled sugar syrup mixture over the peaches. Use a spoon or spatula to carefully toss the peaches, ensuring that each slice is coated with the syrup and Fruit Protector. You want to be gentle to avoid bruising the delicate fruit. Allow the peaches to sit in the syrup for about 10-15 minutes. This gives them a chance to absorb some of the sweetness and for the Fruit Protector to work its magic, preventing oxidation.
5. Packagin extractg for the Freezer: After the peaches have macerated in the syrup, it’s time to pack them into freezer-safe containers or bags. You can use sturdy freezer bags, removing as much air as possible before sealing, or airtight freezer-safe containers. For bags, I like to lay them flat on a baking sheet before freezing to prevent the slices from clumping together. Once frozen, you can stack the bags. If using containers, fill them, leaving a small headspace as the liquid will expand slightly when frozen. Label your containers or bags with the date and the contents.
Freezing Instructions in Detail
Here are a few more detailed points to ensure your frozen peaches are a success:
By following these simple steps, you can enjoy the delightful taste of summer peaches whenever the craving strikes. Happy freezing!
Conclusion:
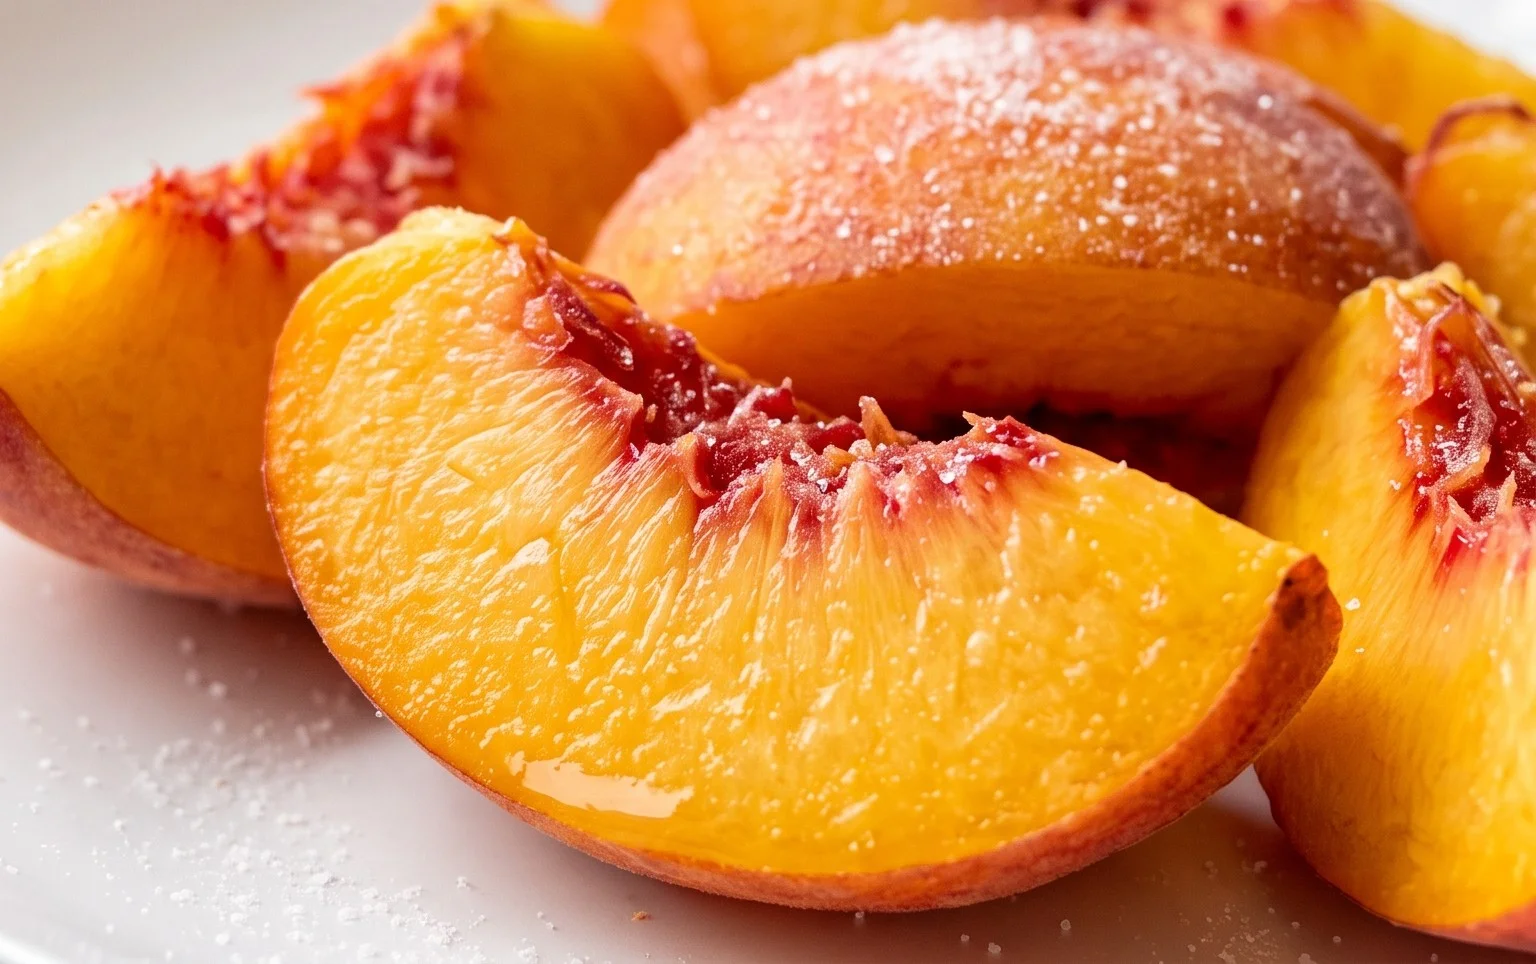
Freezing peaches is a fantastic way to capture the taste of summer sunshine and enjoy them long after the season has passed. This simple method ensures that your frozen peaches retain their vibrant flavor and texture, making them incredibly versatile for year-round use. Whether you’re craving a peach smoothie in the dead of winter, a warm peach cobbler on a chilly evening, or simply want to add a burst of fruity sweetness to your breakfast yogurt, these frozen gems are your answer. Don’t hesitate to give this easy freezing technique a try; it’s incredibly rewarding and opens up a world of delicious possibilities.
Think about all the ways you can use your perfectly preserved peaches! They are wonderful tossed into oatmeal, blended into creamy milkshakes, or used as a topping for pancakes and waffles. For a more sophisticated dessert, consider making a simple peach sauce to accompany pound cake or vanilla ice cream. You can also experiment with different flavor additions before freezing, such as a sprinkle of cinnamon or a dash of lemon juice for extra brightness.
Frequently Asked Questions:
Can I freeze peaches without peeling them?
Yes, you absolutely can! While peeling makes for a smoother texture in some applications, it’s not strictly necessary. If you choose not to peel, simply wash them thoroughly and proceed with the slicing and freezing. The skin will be more noticeable in the final product, so consider this if you’re aiming for a specific texture.
How long do frozen peaches last?
When properly frozen using this method, peaches can maintain their quality for about 8-12 months. For the best flavor and texture, it’s advisable to use them within a year. Always ensure they are stored in airtight containers or freezer bags to prevent freezer burn and maintain their deliciousness.
What’s the best way to thaw frozen peaches?
The best way to thaw them depends on your intended use. For smoothies or recipes where you want a slightly slushy texture, you can use them directly from the freezer. If you need them fully thawed for baking or eating fresh, place them in a single layer on a plate or in a bowl in the refrigerator. This usually takes a few hours, and they will release some juice as they thaw, which can also be used!
How to Easily Freeze Peaches
Learn the simple steps to freeze fresh peaches, preserving their delicious flavor for future use in smoothies, pies, and more.
Ingredients
-
{‘@type’: ‘Ingredient’, ‘item’: ‘1 quart ripe peaches’}
-
{‘@type’: ‘Ingredient’, ‘item’: ‘2/3 cup sugar’}
-
{‘@type’: ‘Ingredient’, ‘item’: ‘3 teaspoons Fruit Protector’}
-
{‘@type’: ‘Ingredient’, ‘item’: ‘1 tablespoon lemon juice’}
-
{‘@type’: ‘Ingredient’, ‘item’: ‘1/4 teaspoon ascorbic acid powder (optional, for extra protection)’}
-
{‘@type’: ‘Ingredient’, ‘item’: ‘Freezer bags or airtight containers’}
Instructions
-
Step 1
Wash peaches thoroughly and peel them. You can blanch them for 30-60 seconds in boiling water to make peeling easier, then plunge them into ice water. -
Step 2
Slice peaches into desired portions, removing the pits. Smaller slices are generally preferred for easier use later. -
Step 3
In a bowl, gently toss the peach slices with sugar, Fruit Protector, and lemon juice. If using, stir in the ascorbic acid powder. -
Step 4
Arrange the coated peach slices in a single layer on a baking sheet lined with parchment paper. This prevents them from sticking together. -
Step 5
Place the baking sheet in the freezer and freeze until the peach slices are firm, about 2-3 hours. -
Step 6
Once frozen, transfer the peach slices into freezer bags or airtight containers, removing as much air as possible to prevent freezer burn. -
Step 7
Label the containers with the date and contents, and store them in the freezer for up to 10-12 months.
Important Information
Nutrition Facts (Per Serving)
It is important to consider this information as approximate and not to use it as definitive health advice.
Allergy Information
Please check ingredients for potential allergens and consult a health professional if in doubt.