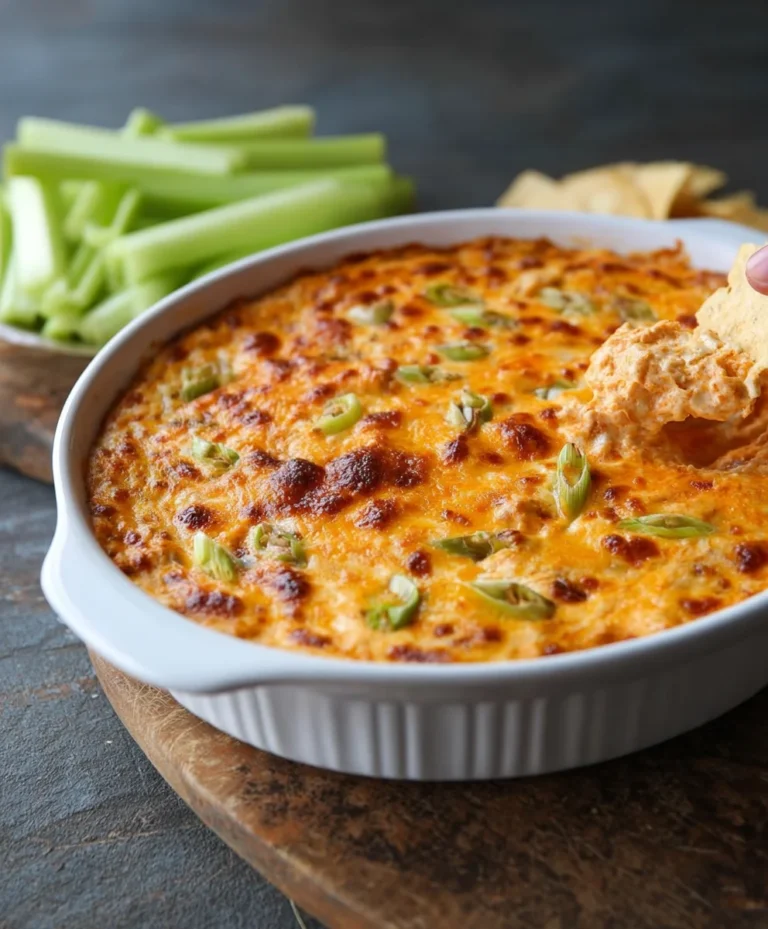
Cheesy Garlic Bread Recipe- The Ultimate Flavor Bomb
BEST CHEESY GARLIC BREAD RECIPE. Is there anything more universally beloved than a warm, gooey slice of cheesy garlic bread? I think not! It’s the ultimate comfort food, the side dish that steals the show, and the appetizer that vanishes in seconds. We all have our memories tied to this golden delight – perhaps it was at family dinners, pizza nights with friends, or even just a simple weeknight treat. What makes this BEST CHEESY GARLIC BREAD RECIPE so special? It’s the perfect symphony of flavors and textures: the crisp, slightly chewy bread, the non-intoxicating aroma of roasted garlic, and that irresistible, bubbling blanket of melted cheese. It’s a classic for a reason, and this recipe takes that classic to a whole new level, guaranteed to become your go-to for any occasion.
Why You’ll Adore This Recipe:
This isn’t just any garlic bread; it’s an experience.
Ingredients:
This recipe is all about achieving that perfect balance of soft, pillowy bread, intensely garlicky flavor, and a gloriously gooey, melted cheese topping. We’re not just talking about any cheesy garlic bread; we’re aiming for the best. And trust me, once you try this, you’ll understand why. The secret lies in using both fresh and roasted garlic for depth of flavor, and the choice of King’s Hawaiian rolls adds an irresistible sweetness that complements the savory garlic and cheese beautifully. Don’t worry if you can’t find the sheet rolls; a good quality French baguette will also yield fantastic results, though the texture will be slightly different.
Instructions:
1. Prepare the Garlic Base
The foundation of our incredibly flavorful garlic butter starts with properly prepared garlic. For this recipe, we’re going to roast some of our garlic beforehand to mellow out its pungency and bring out a sweet, nutty complexity. You can roast garlic by cutting off the top ¼ inch of a whole head, drizzling it with a little olive oil, wrapping it in foil, and baking at 400°F (200°C) for about 40-50 minutes, until the cloves are soft and spreadable.
For this specific recipe, you’ll need about 8-10 fresh garlic cloves. Finely mince these fresh garlic cloves and place them in a small bowl. Add 2 tablespoons of olive oil and a pinch of salt to this bowl. This step helps to slightly soften the fresh garlic and infuse it with the olive oil. Now, take your roasted garlic from the head you prepared. Squeeze out the softened cloves from their skins into a separate small bowl, mashing them with a fork until they form a smooth paste. You’ll want about 2-3 tablespoons of this mashed roasted garlic. This combination of raw and roasted garlic is crucial for a layered, robust garlic flavor that isn’t overwhelmingly sharp.
2. Create the Irresistible Garlic Butter Mixture
In a medium bowl, combine ½ cup (113g) of melted butter. We’re using butter for that rich, classic flavor that coats the bread perfectly. To this melted butter, add 1 lightly beaten egg. The egg acts as an emulsifier, helping to bind the butter and other ingredients together, creating a luscious spread that won’t separate. Next, incorporate ¼ cup (60g) of milk. This adds a touch of creaminess and helps to thin the mixture just enough to spread easily. Season this base with ½ teaspoon of salt and ½ teaspoon of paprika. The paprika not only adds a lovely subtle color but also a hint of warmth.
Now, it’s time to add our prepared garlic. Add the finely minced fresh garlic and olive oil mixture, and then the mashed roasted garlic paste to the butter mixture. Finally, stir in 2 tablespoons of chopped fresh parsley. This herb adds a burst of freshness and a beautiful green fleck throughout the garlic butter. Whisk everything together until it’s thoroughly combined and you have a wonderfully aromatic, creamy garlic butter sauce. Take a moment to appreciate the aroma – it’s a good sign of what’s to come!
3. Prepare the Bread and Apply the Garlic Butter
This is where we get our bread ready to absorb all that deliciousness. If you’re using the King’s Hawaiian Origin extractal Sweet Hawaiian Sheet Rolls, you’ll want to keep them together in their origin extractal sheet form. This creates a beautiful, pull-apart loaf that is incredibly convenient. If you’re using a French baguette, slice it horizontally down the middle, like you would for a sub sandwich, but keep both halves intact.
Now, carefully spread the luscious garlic butter mixture over the top of the bread. Make sure to get an even coating all the way to the edges. Don’t be shy with it! This is where all the flavor is going to soak into the bread. If you are using the sheet rolls, gently lift each roll slightly to get some of the butter underneath, ensuring every bite is infused. For the baguette, make sure both halves are generously coated.
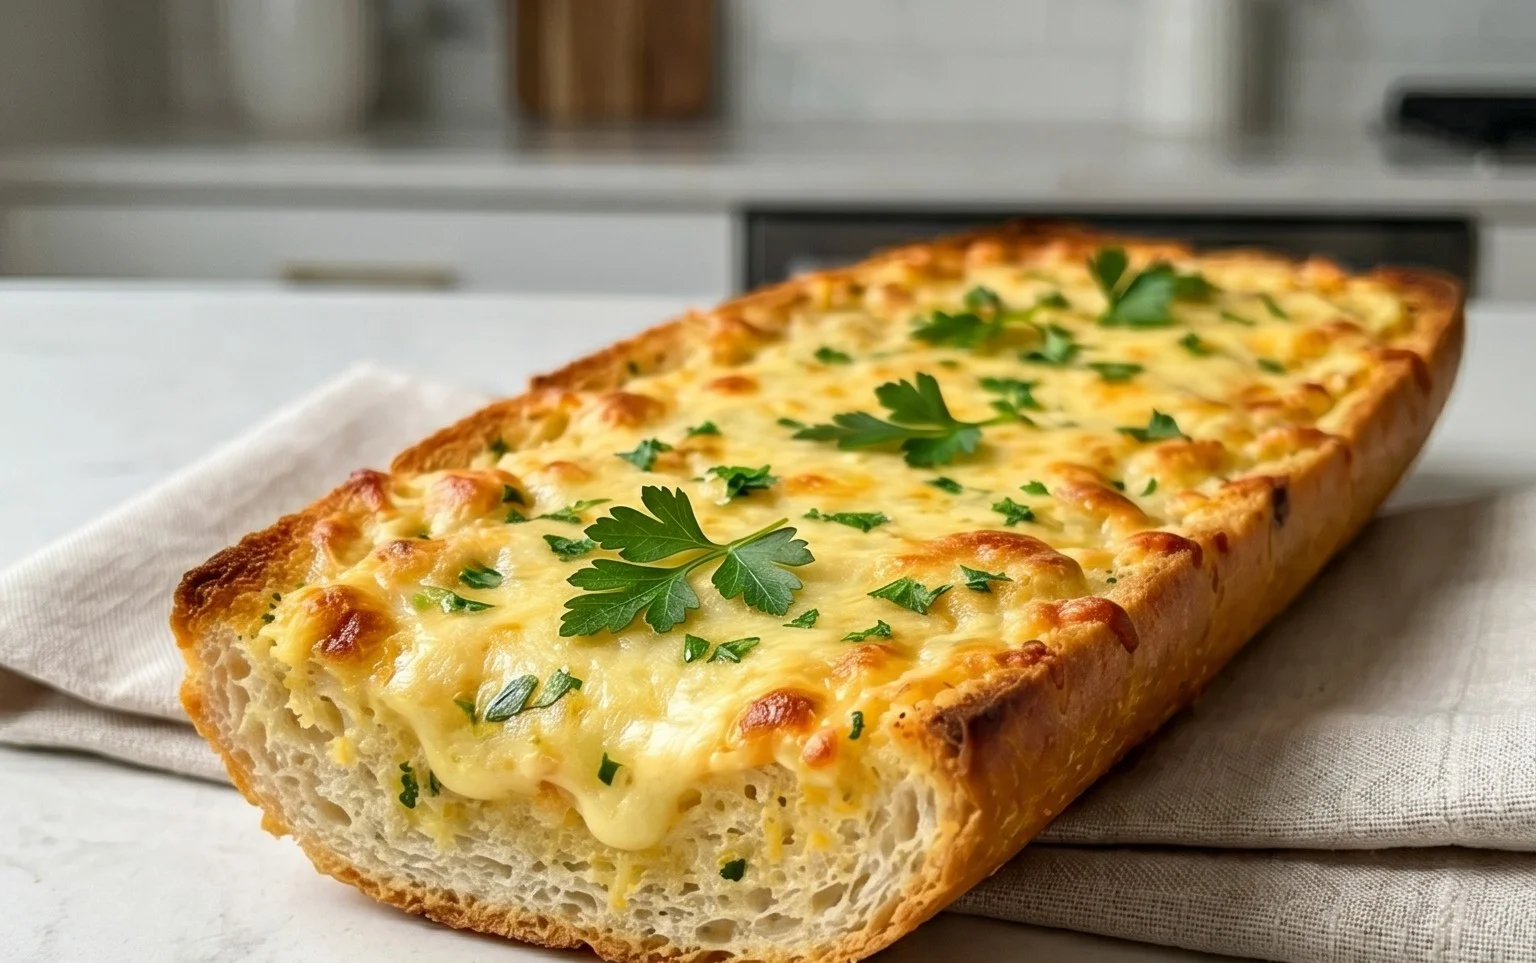
4. Load on the Cheese and Bake to Perfection
This is the moment we’ve all been waiting for – the cheese! Generously sprinkle 2 cups of shredded mozzarella cheese evenly over the garlic butter-coated bread. Mozzarella is ideal here because it melts beautifully and has that classic, stretchy pull that we all love in cheesy garlic bread. If you prefer, you can also add a sprinkle of Parmesan cheese along with the mozzarella for an extra savory kick.
Once your bread is beautifully adorned with cheese, it’s time to bake. Preheat your oven to 375°F (190°C). Carefully transfer the prepared bread onto a baking sheet. If you’re using the sheet rolls, the baking sheet will be quite full!
5. Bake Until Golden and Bubbly
Place the baking sheet in the preheated oven. Bake for approximately 15-20 minutes, or until the edges of the bread are golden brown and toasty, and the cheese is completely melted, bubbly, and starting to turn a lovely golden hue. Keep an eye on it during the last few minutes of baking to prevent any burning. The aroma that will fill your kitchen is absolutely divine!
Once it’s baked to perfection, carefully remove the cheesy garlic bread from the oven. Let it cool for just a few minutes before slicing. This allows the cheese to set slightly, making it easier to cut and serve. Garnish with a final sprinkle of chopped fresh parsley and a pinch of chili flakes for a touch of color and a hint of heat, if you like. Serve immediately and watch it disappear! This cheesy garlic bread is perfect as a side dish, an appetizer, or even a light meal on its own. Enjoy every cheesy, garlicky, delightful bite!

Conclusion:
You’ve officially mastered the art of creating the BEST CHEESY GARLIC BREAD RECIPE! This recipe isn’t just about bread; it’s about achieving that perfect symphony of buttery, garlicky goodness enveloped in gloriously melted cheese. The simplicity of the ingredients combined with the straightforward steps makes this an incredibly rewarding and approachable recipe for bakers of all levels. Whether you’re a seasoned chef or just starting your culinary journey, this cheesy garlic bread is guaranteed to impress and delight. Its irresistible aroma and decadent flavor profile make it the ultimate crowd-pleaser.
This versatile side dish pairs beautifully with so many meals. Imagin extracte it alongside your favorite pasta dishes, as a comforting accompaniment to hearty soups and stews, or even as a star player on pizza night! For a touch of elegance, consider a sprinkle of fresh parsley or chives just before serving. Feel free to experiment with variations too! Add a pinch of red pepper flakes for a hint of heat, or swap out some of the cheese for a smoky Gruyère or a sharp Parmesan for an extra flavor punch. Don’t hesitate to try this recipe – I promise, you won’t regret it. Get ready for a truly unforgettable cheesy garlic bread experience!
Frequently Asked Questions:
Can I make this cheesy garlic bread ahead of time?
Yes, you can definitely prepare most of the steps ahead! Mix your garlic butter mixture and prepare your cheese blend. You can even slice the bread and spread the garlic butter on it. Store the prepared bread and cheese separately in the refrigerator. When ready to bake, assemble and bake as directed, possibly adding a few extra minutes to ensure it’s heated through.
What kind of bread is best for this recipe?
A good quality French baguette or Italian loaf works wonderfully. The slightly crusty exterior and soft interior provide the perfect canvas for the garlic butter and cheese. You can also use sourdough or even thick-sliced challah for a richer flavor. Just ensure the bread is sturdy enough to hold all that delicious topping!
How can I get my cheese extra melty and golden brown?
For that perfect, gooey, golden topping, ensure your oven is preheated properly. Broiling for the last minute or two can also help achieve that beautiful bubbly, browned cheese, but keep a very close eye on it to prevent burning!
BEST CHEESY GARLIC BREAD RECIPE
An incredibly delicious and easy cheesy garlic bread recipe perfect for any meal.
Ingredients
-
8-10 garlic cloves
-
2 tbsp olive oil
-
Pinch of salt
-
Roasted garlic from above
-
½ cup butter, melted
-
1 egg
-
¼ cup milk
-
½ tsp salt
-
½ tsp paprika
-
2 tbsp chopped fresh parsley
-
12 King’s Hawaiian Origin extractal Hawaiian Sheet Rolls
-
2 cups shredded mozzarella cheese
-
Chopped parsley for serving
-
Chili flakes for serving
Instructions
-
Step 1
Roast the garlic cloves with olive oil and a pinch of salt until soft and caramelized. -
Step 2
In a bowl, mash the roasted garlic. Add melted butter, egg, milk, ½ tsp salt, paprika, and 2 tbsp chopped fresh parsley. Whisk until well combined. -
Step 3
Cut the King’s Hawaiian sheet rolls in half horizontally, keeping them connected in the sheet. If using a baguette, slice it lengthwise. -
Step 4
Spread the garlic butter mixture evenly over the cut surfaces of the rolls or baguette. -
Step 5
Generously sprinkle the shredded mozzarella cheese over the garlic butter. -
Step 6
Place the rolls or baguette on a baking sheet and bake at 375°F (190°C) for 10-15 minutes, or until the cheese is melted and bubbly and the bread is golden brown. -
Step 7
Garnish with chopped parsley and chili flakes before serving.
Important Information
Nutrition Facts (Per Serving)
It is important to consider this information as approximate and not to use it as definitive health advice.
Allergy Information
Please check ingredients for potential allergens and consult a health professional if in doubt.